2021 Update 1st Floor Bathroom Renovation
2021 is certainly remembered for one major "house" event. It altered our lives in a major way, especially regarding our ongoing renovation. On June 8, 2021, while Cindy was busy throwing a birthday party for a friend at a nearby restaurant and I was out of town working, the water line from the street exploded just inside the wall of the house. Fortunately this happened while a friend was staying with us. He was home at the time when he heard something crash to the ground. I received a rather panicked phone call which I could barely understand over the sound of water spraying at high pressure. Our friend was desperately trying to shut off the water in the utility room where it is piped in from the street.
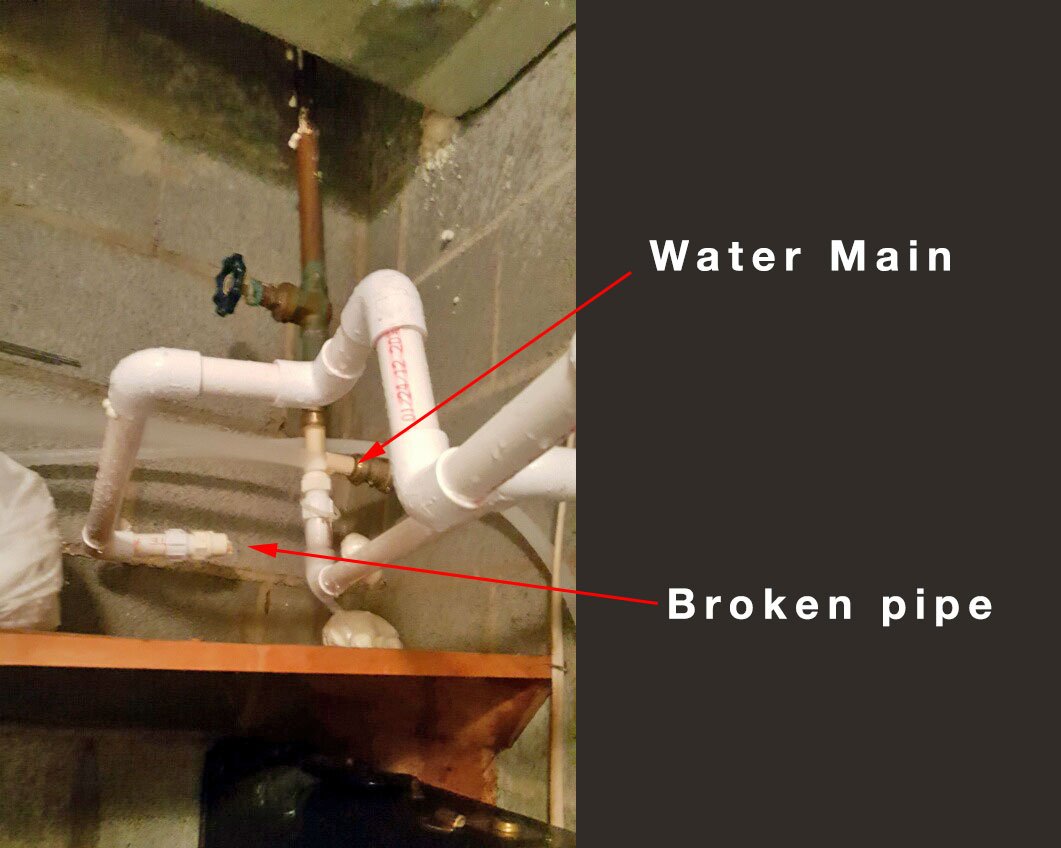
The problem was the shutoff valve was on the other side of the break. This meant the water had to be shut off at the street. Well, I had not purchased a tool for this. I mean, why would I need it? As I struggled to fix this problem from 120 miles away, I remembered Alan! I quickly called Alan, the man we bought the house from who lives a couple miles away. A retired Army Ranger, Allen was the life saver of the moment. He drove straight over and shut the water off with using big wrench.
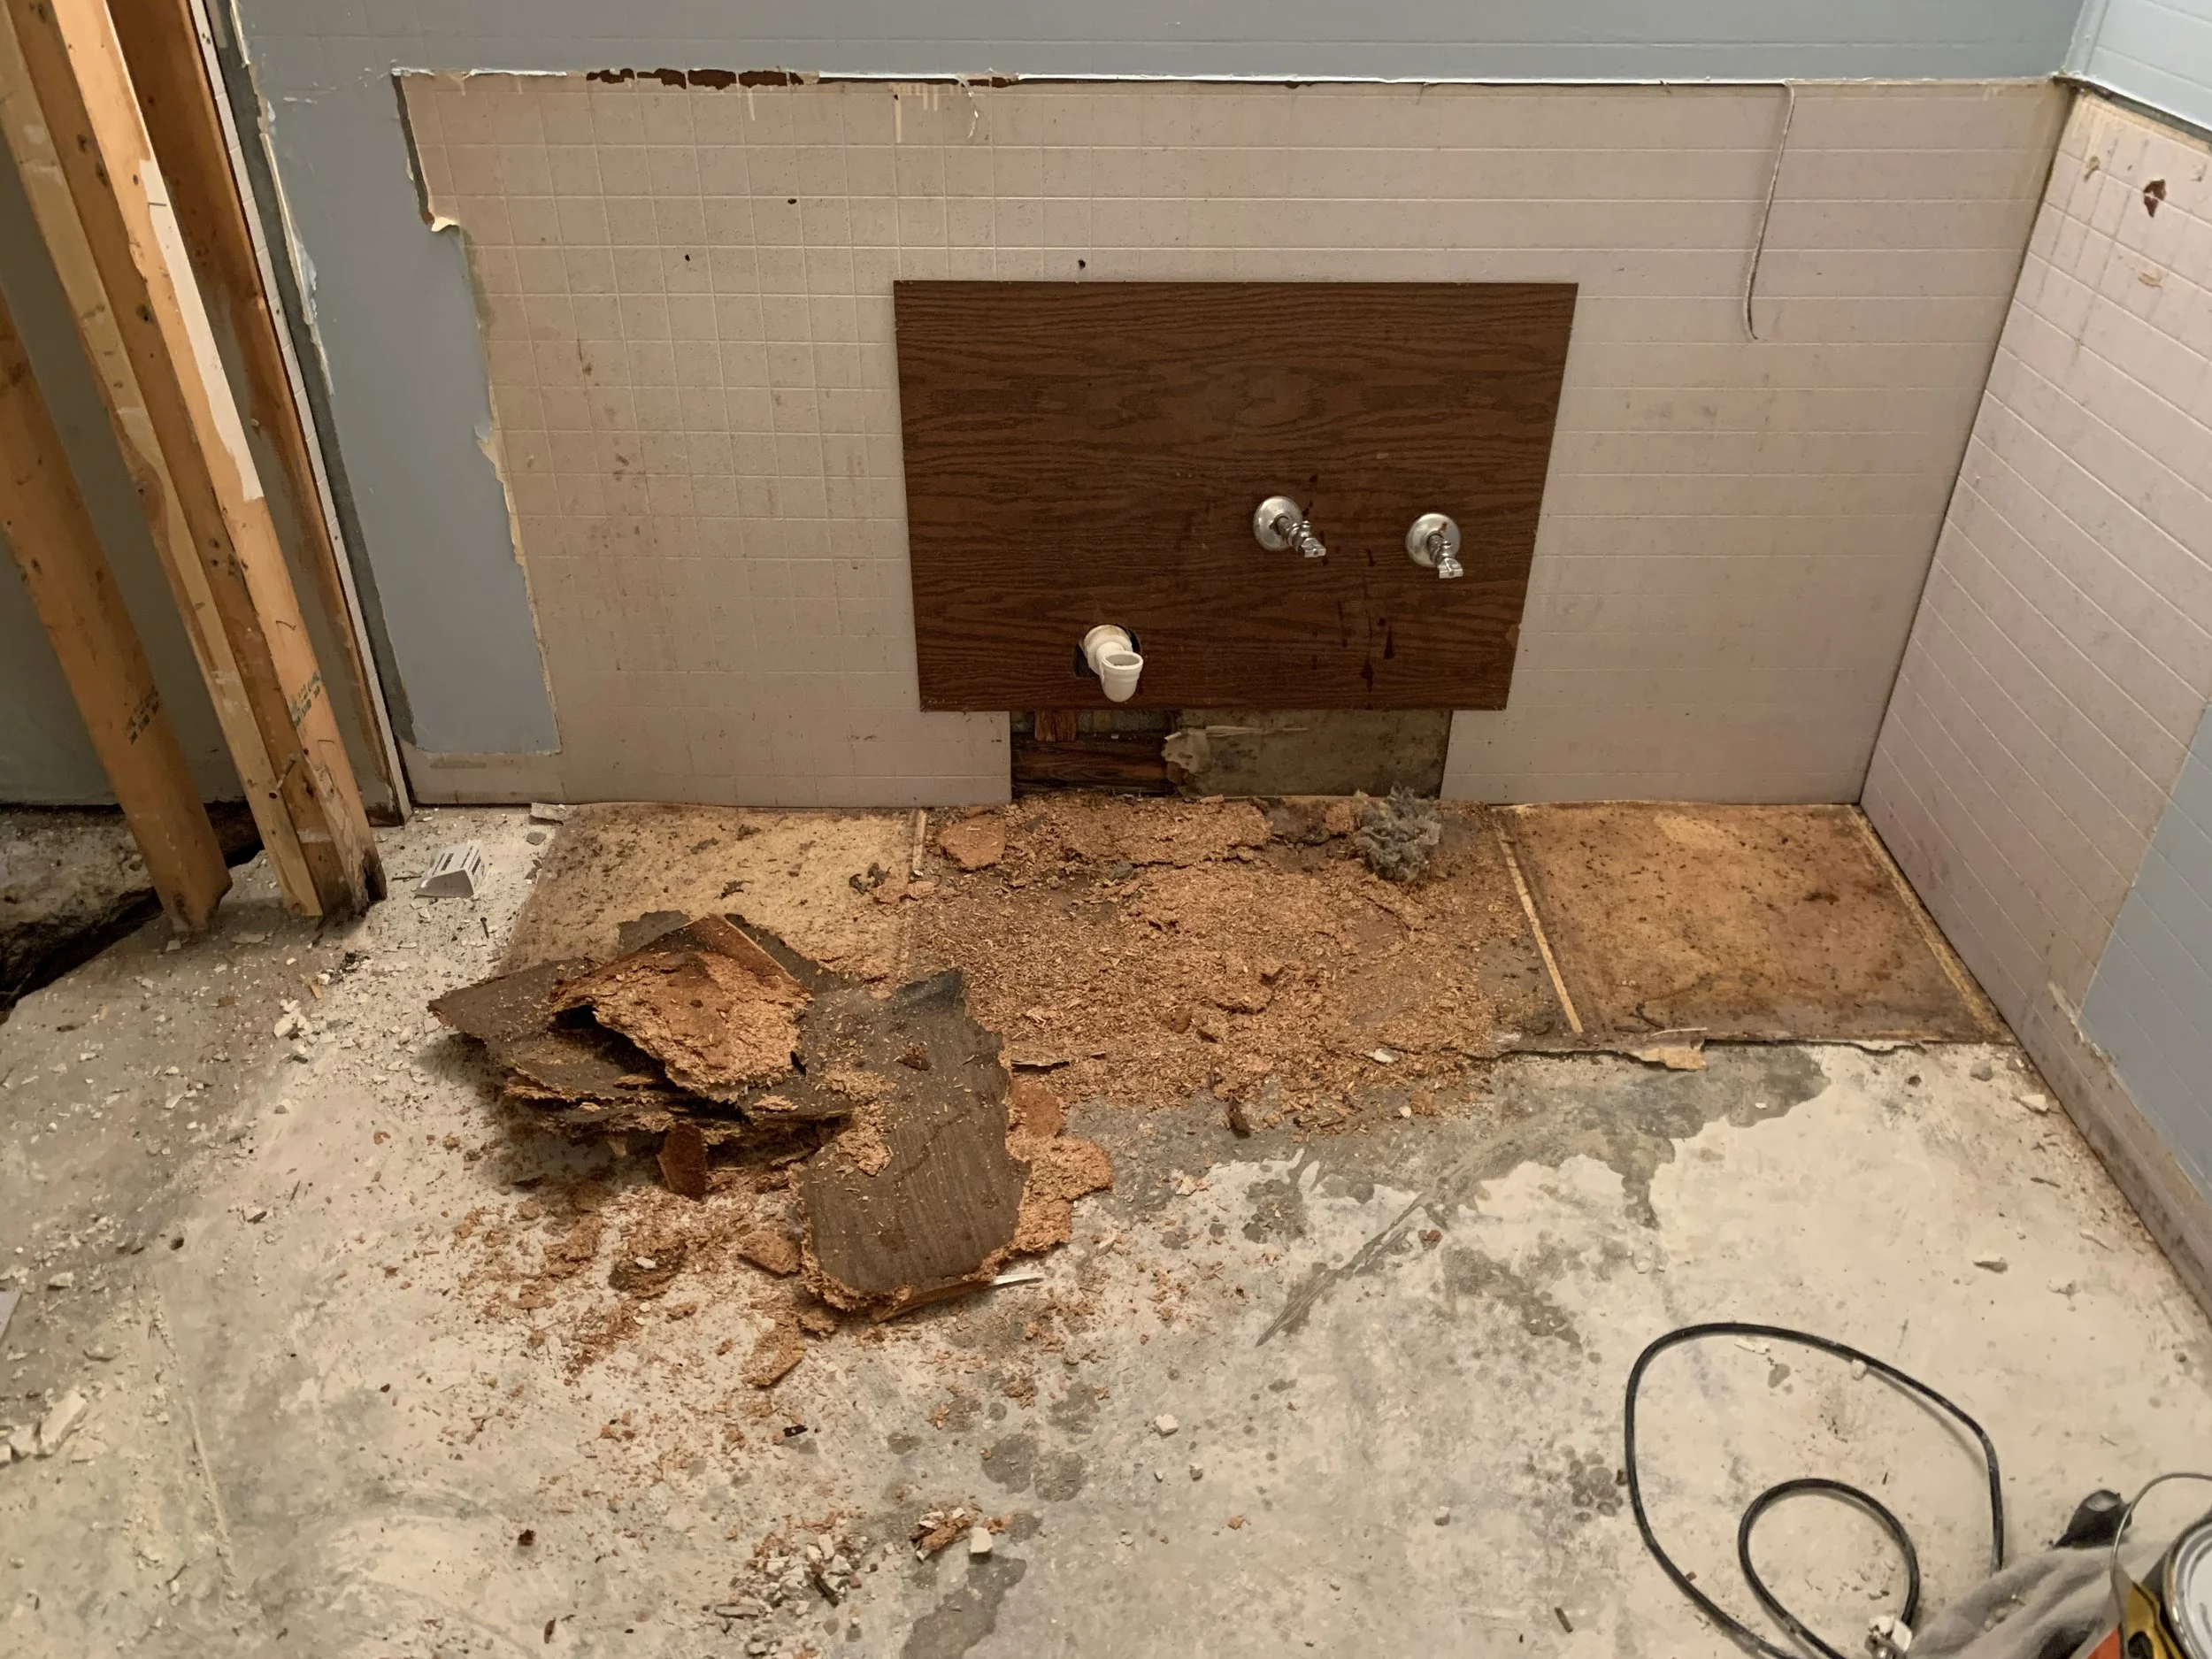
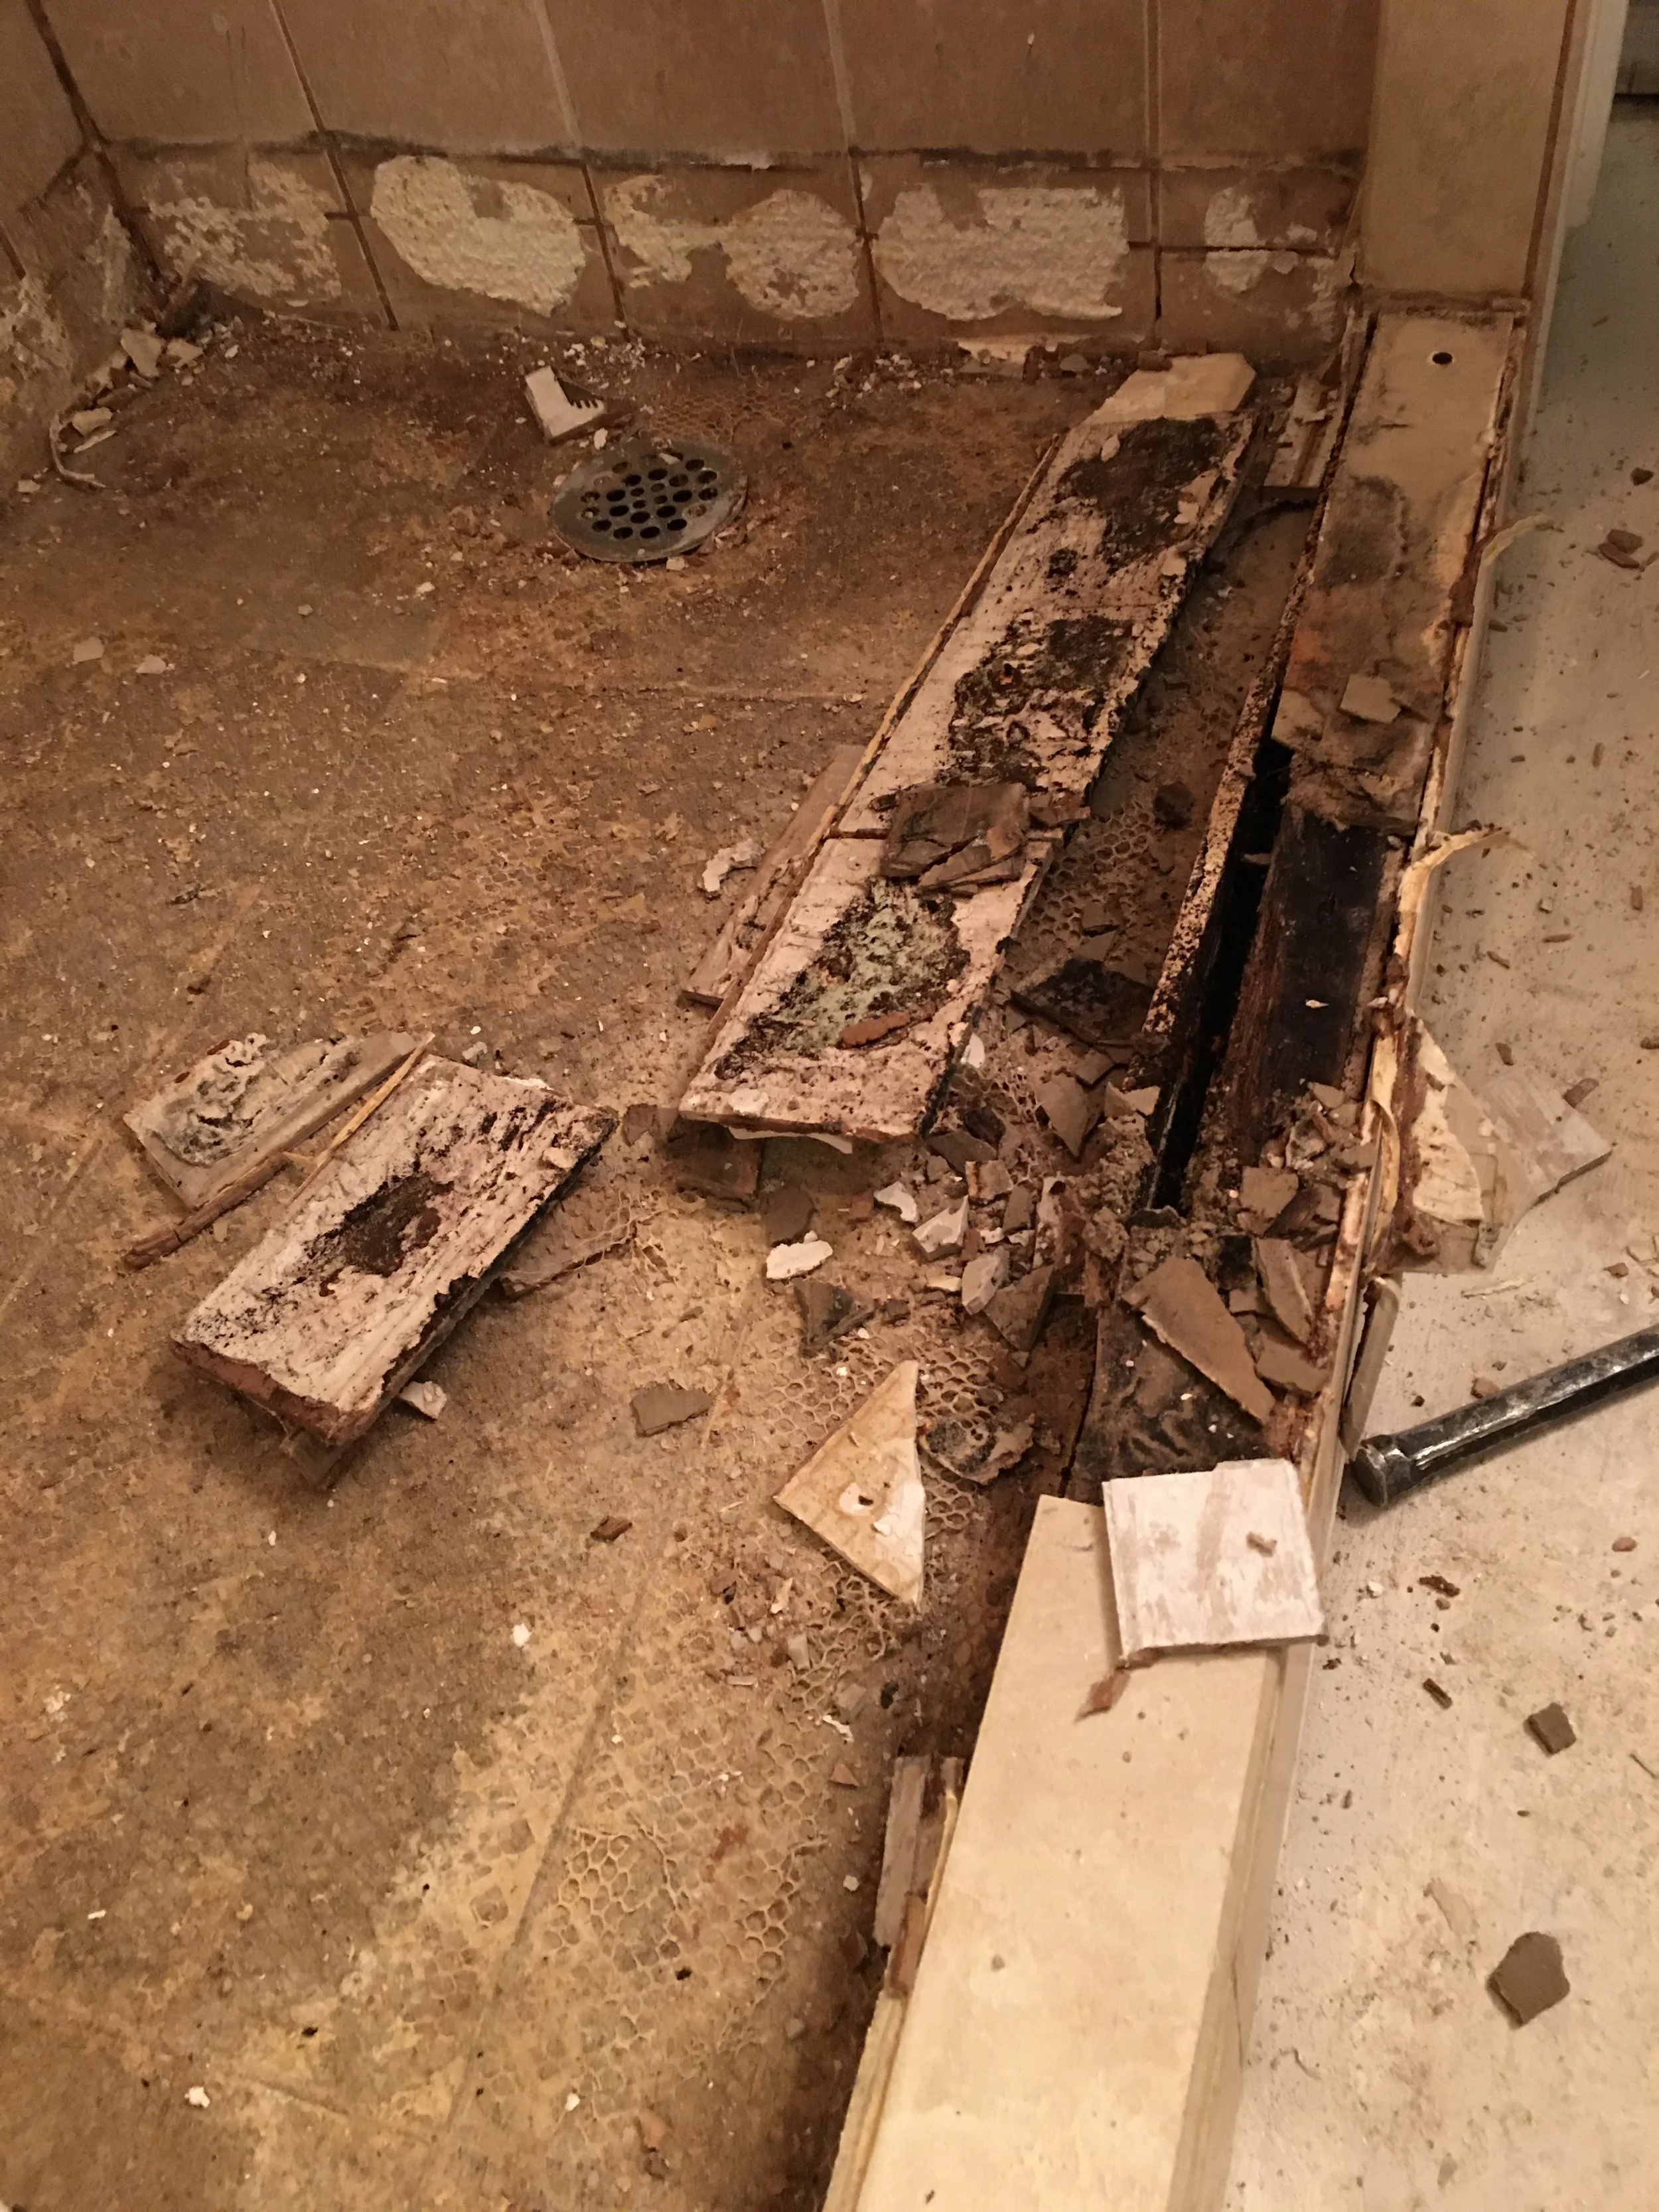
Unfortunately, the water had already been spraying at high pressure into our 1st floor utility room for approximately 45 minutes. Even worse, the spray was deflected by another pipe which directed part of the stream upwards into the the ceiling of the next room. This 45 minute deluge caused enough damage to call in the professionals. They set up dehumidifiers and fans in every space on the 1st floor. The entire downstairs was a disaster! After several days of drying out they returned. Most of the moisture was gone. However, the tile in the downstairs bathroom was removed because they could NOT get it to dry out. Oh well.... that meant another space was about to get RENOVATED!
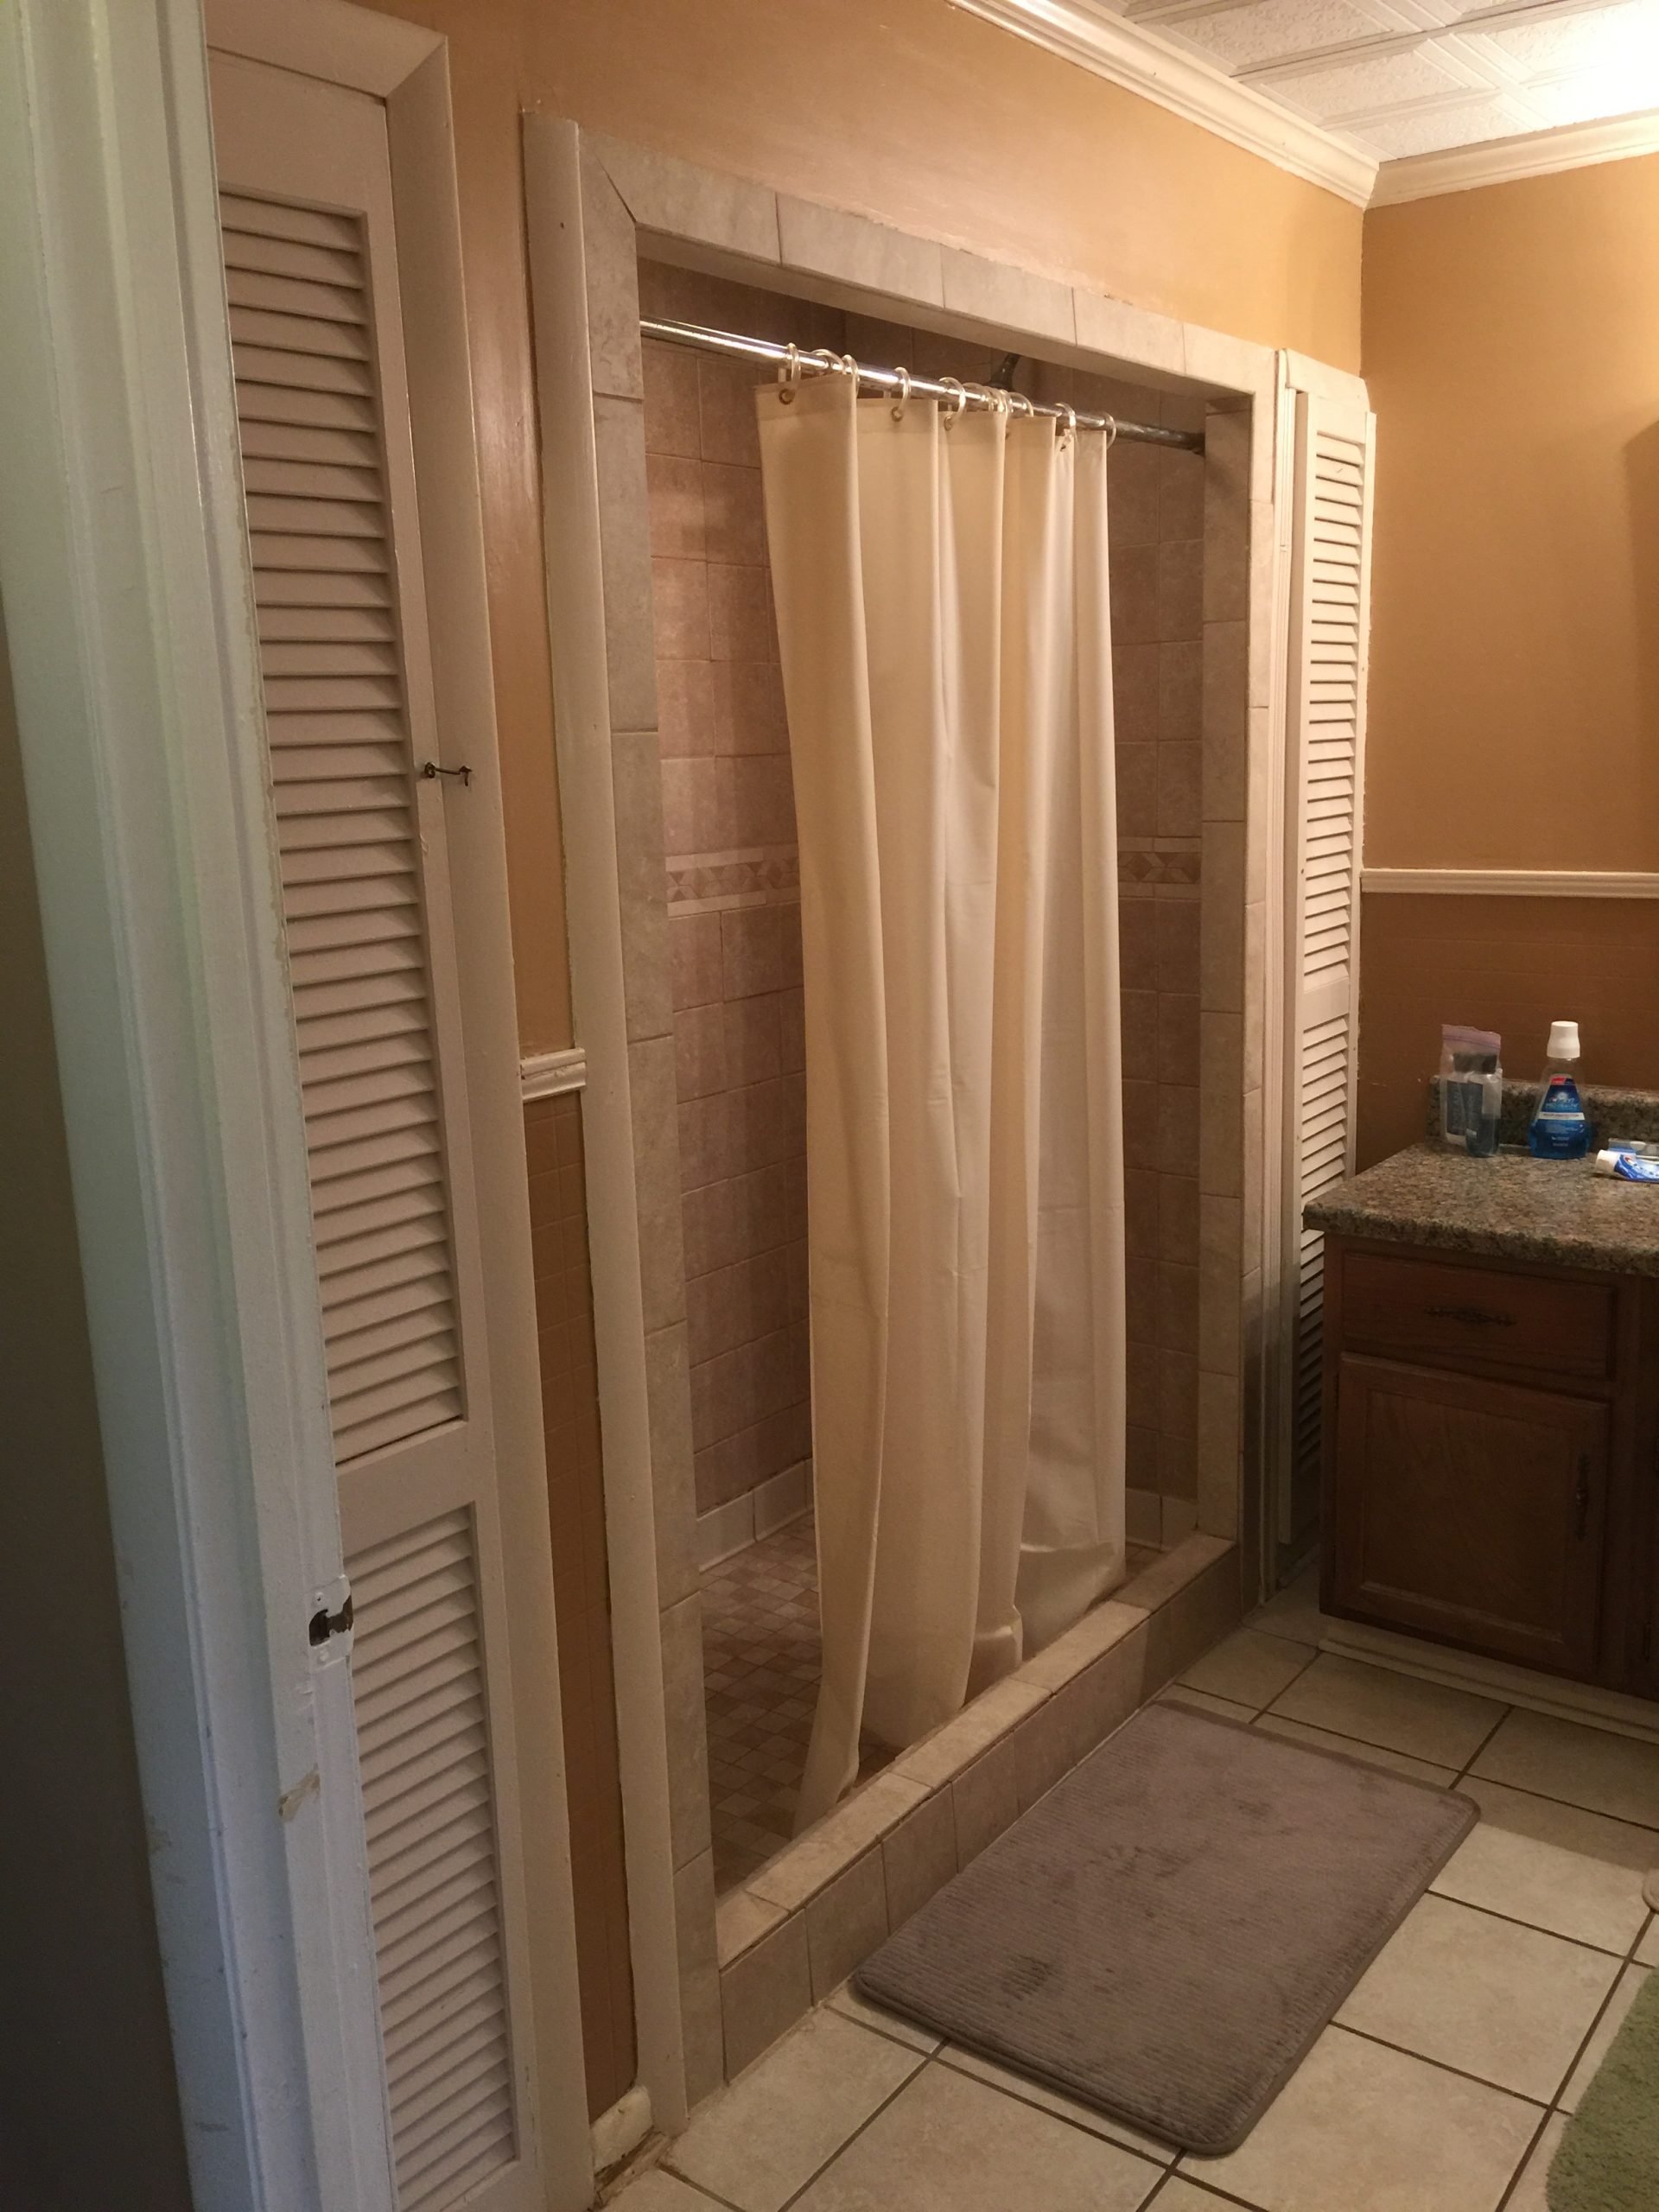
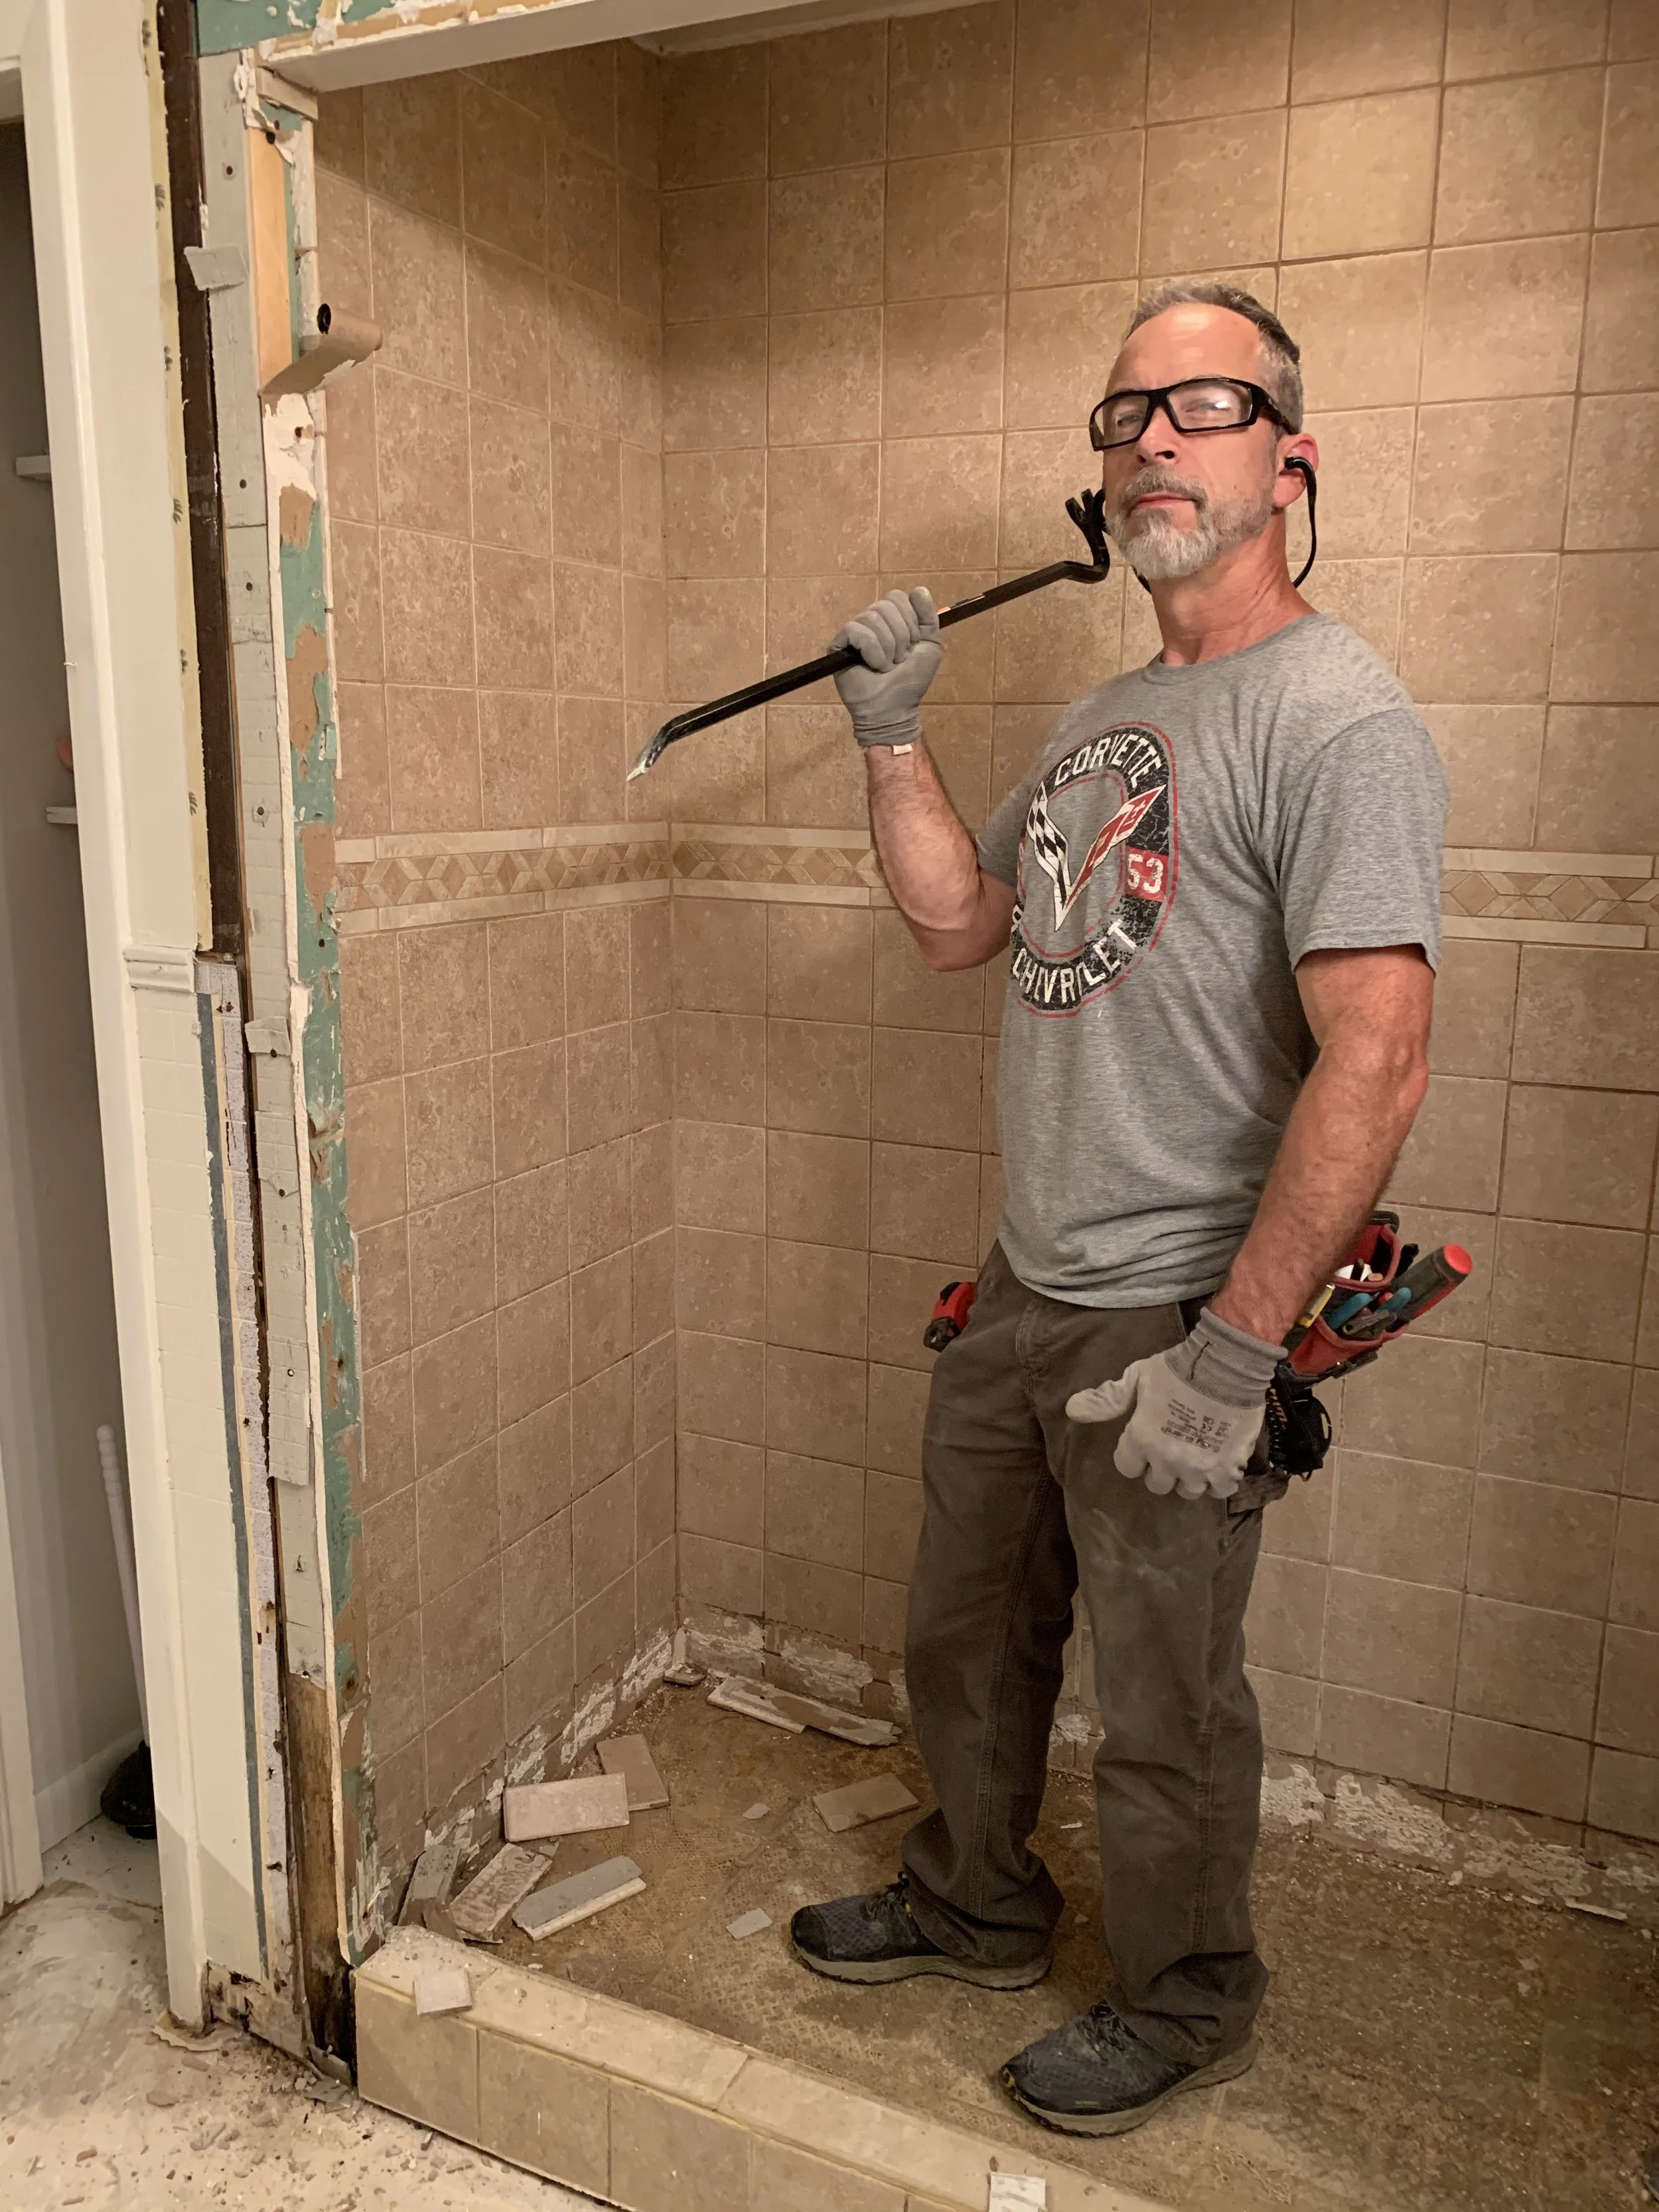
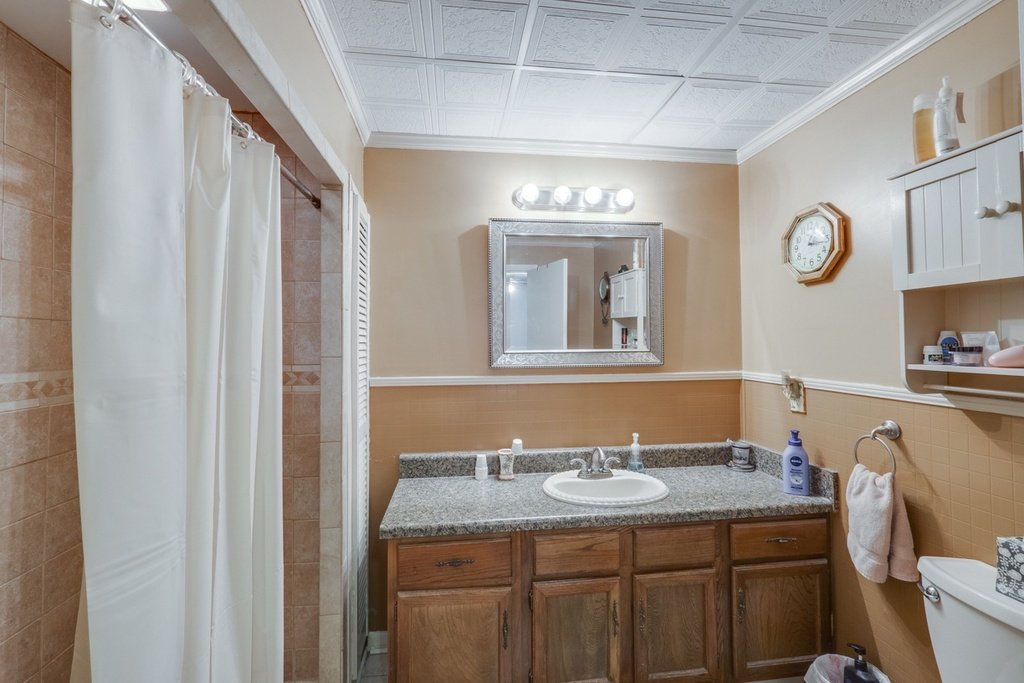
The downstairs bathroom-before
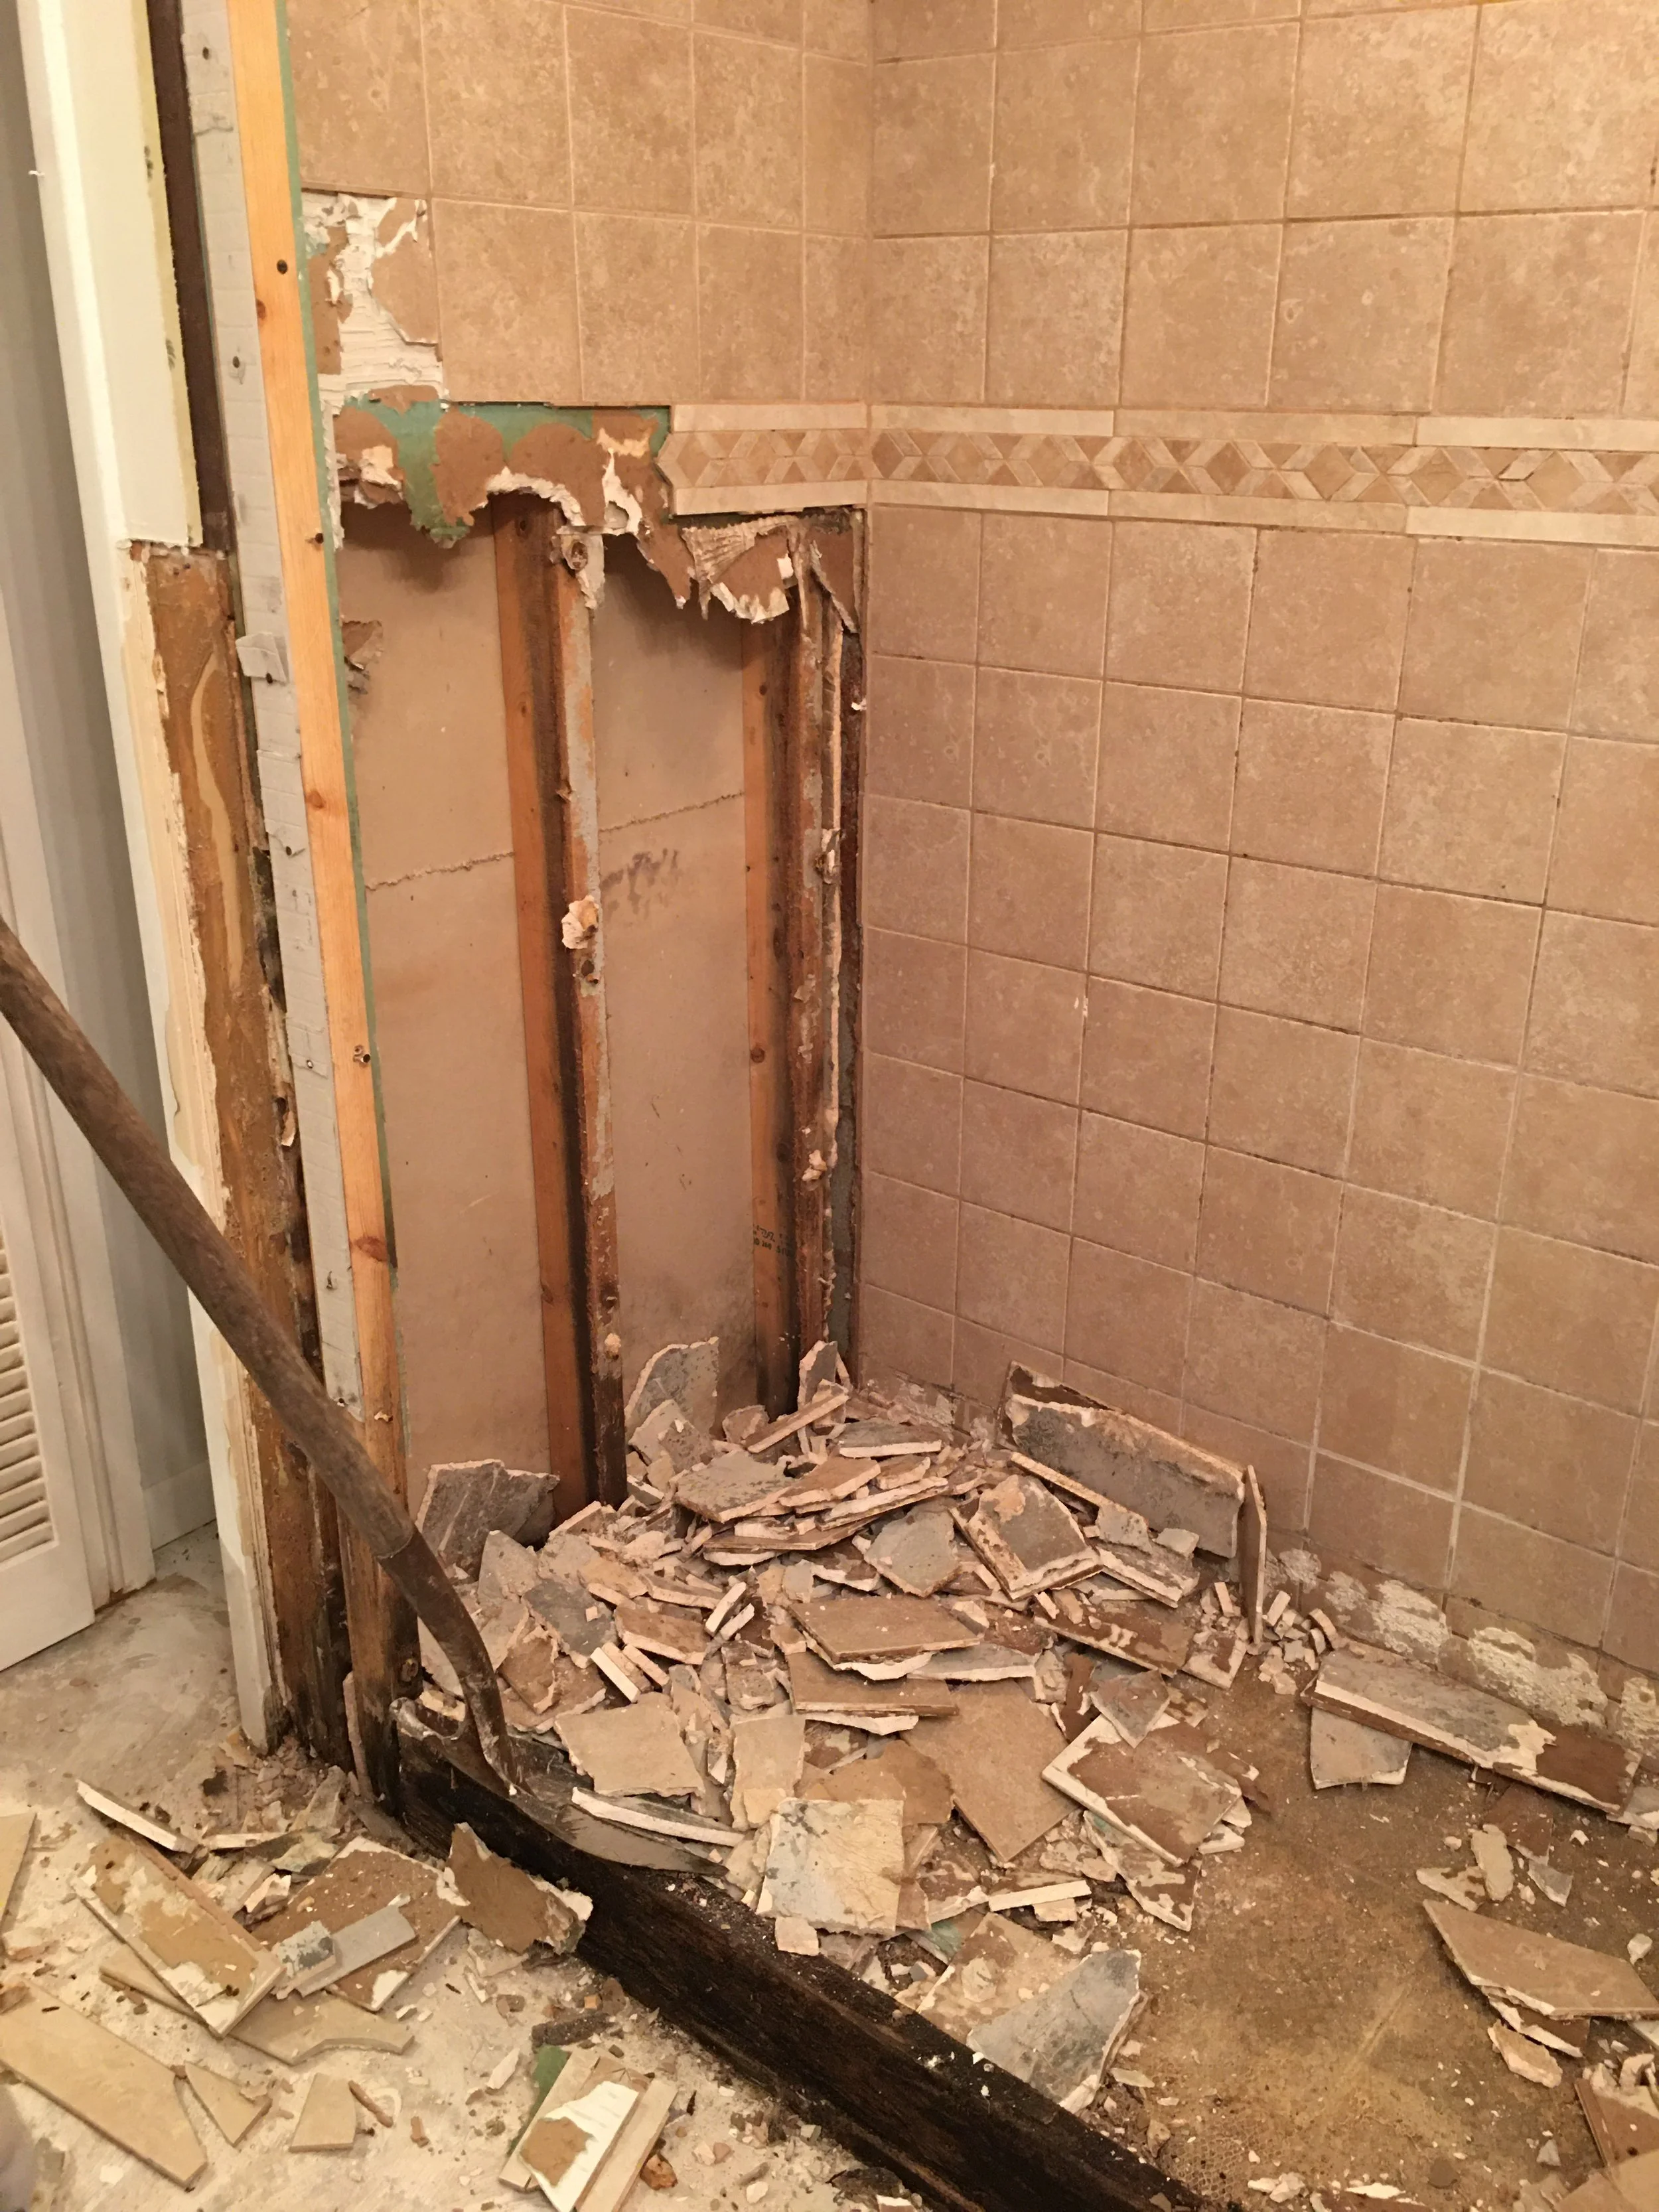
This bathroom probably looked OK in the early 90's....well maybe not even then. The tile was laid poorly, leaked into the framing and it was ripe for destruction.
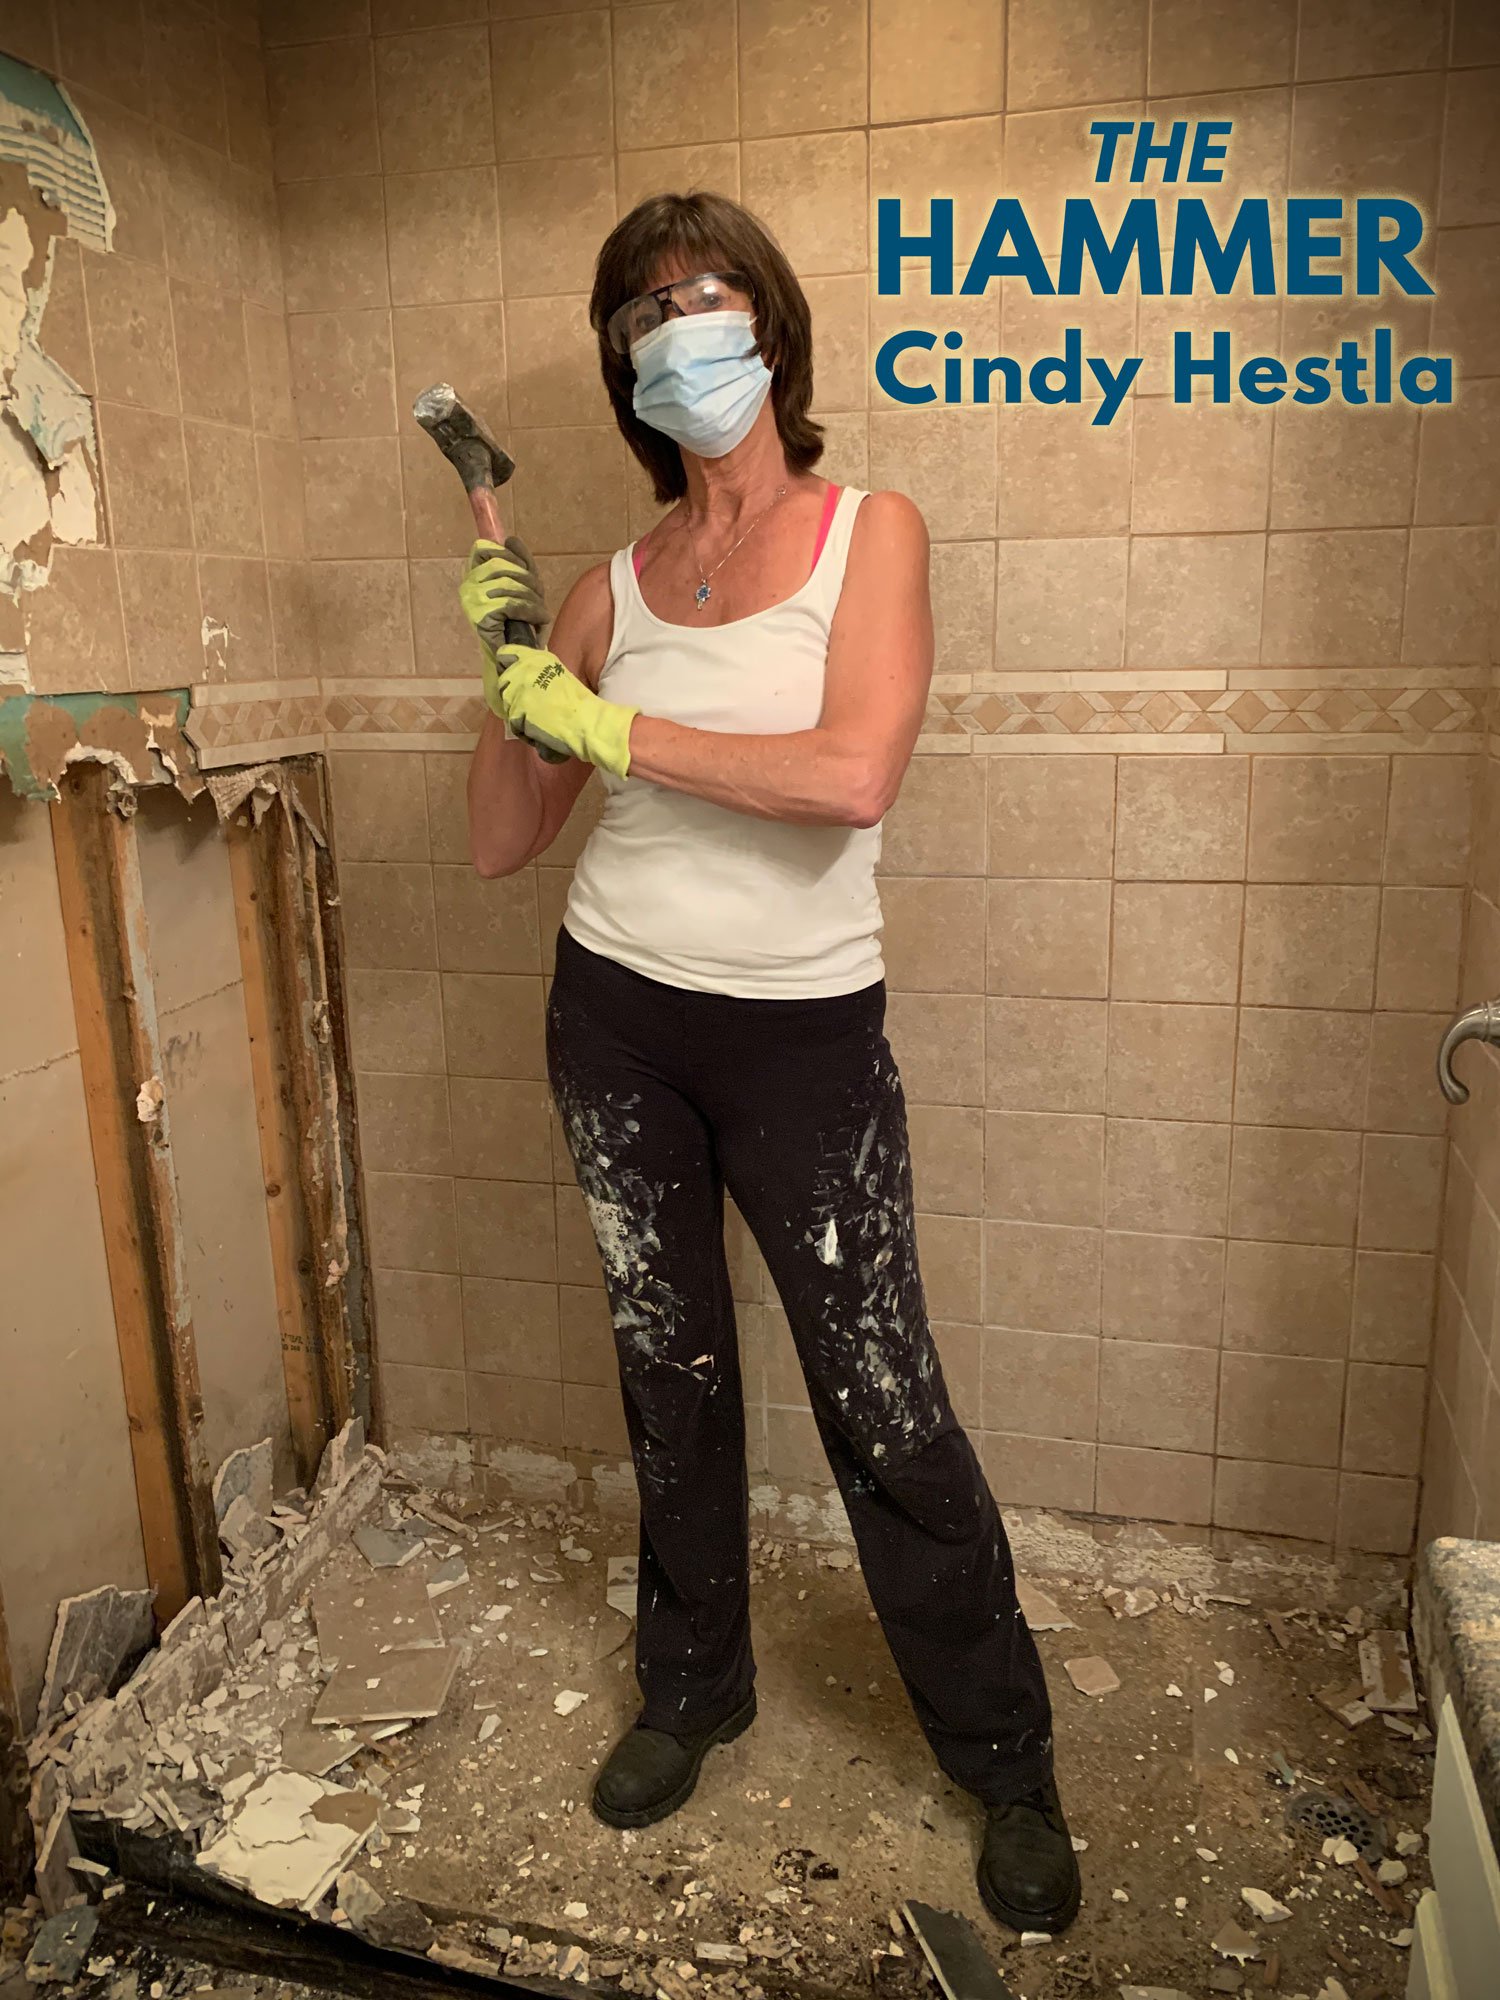
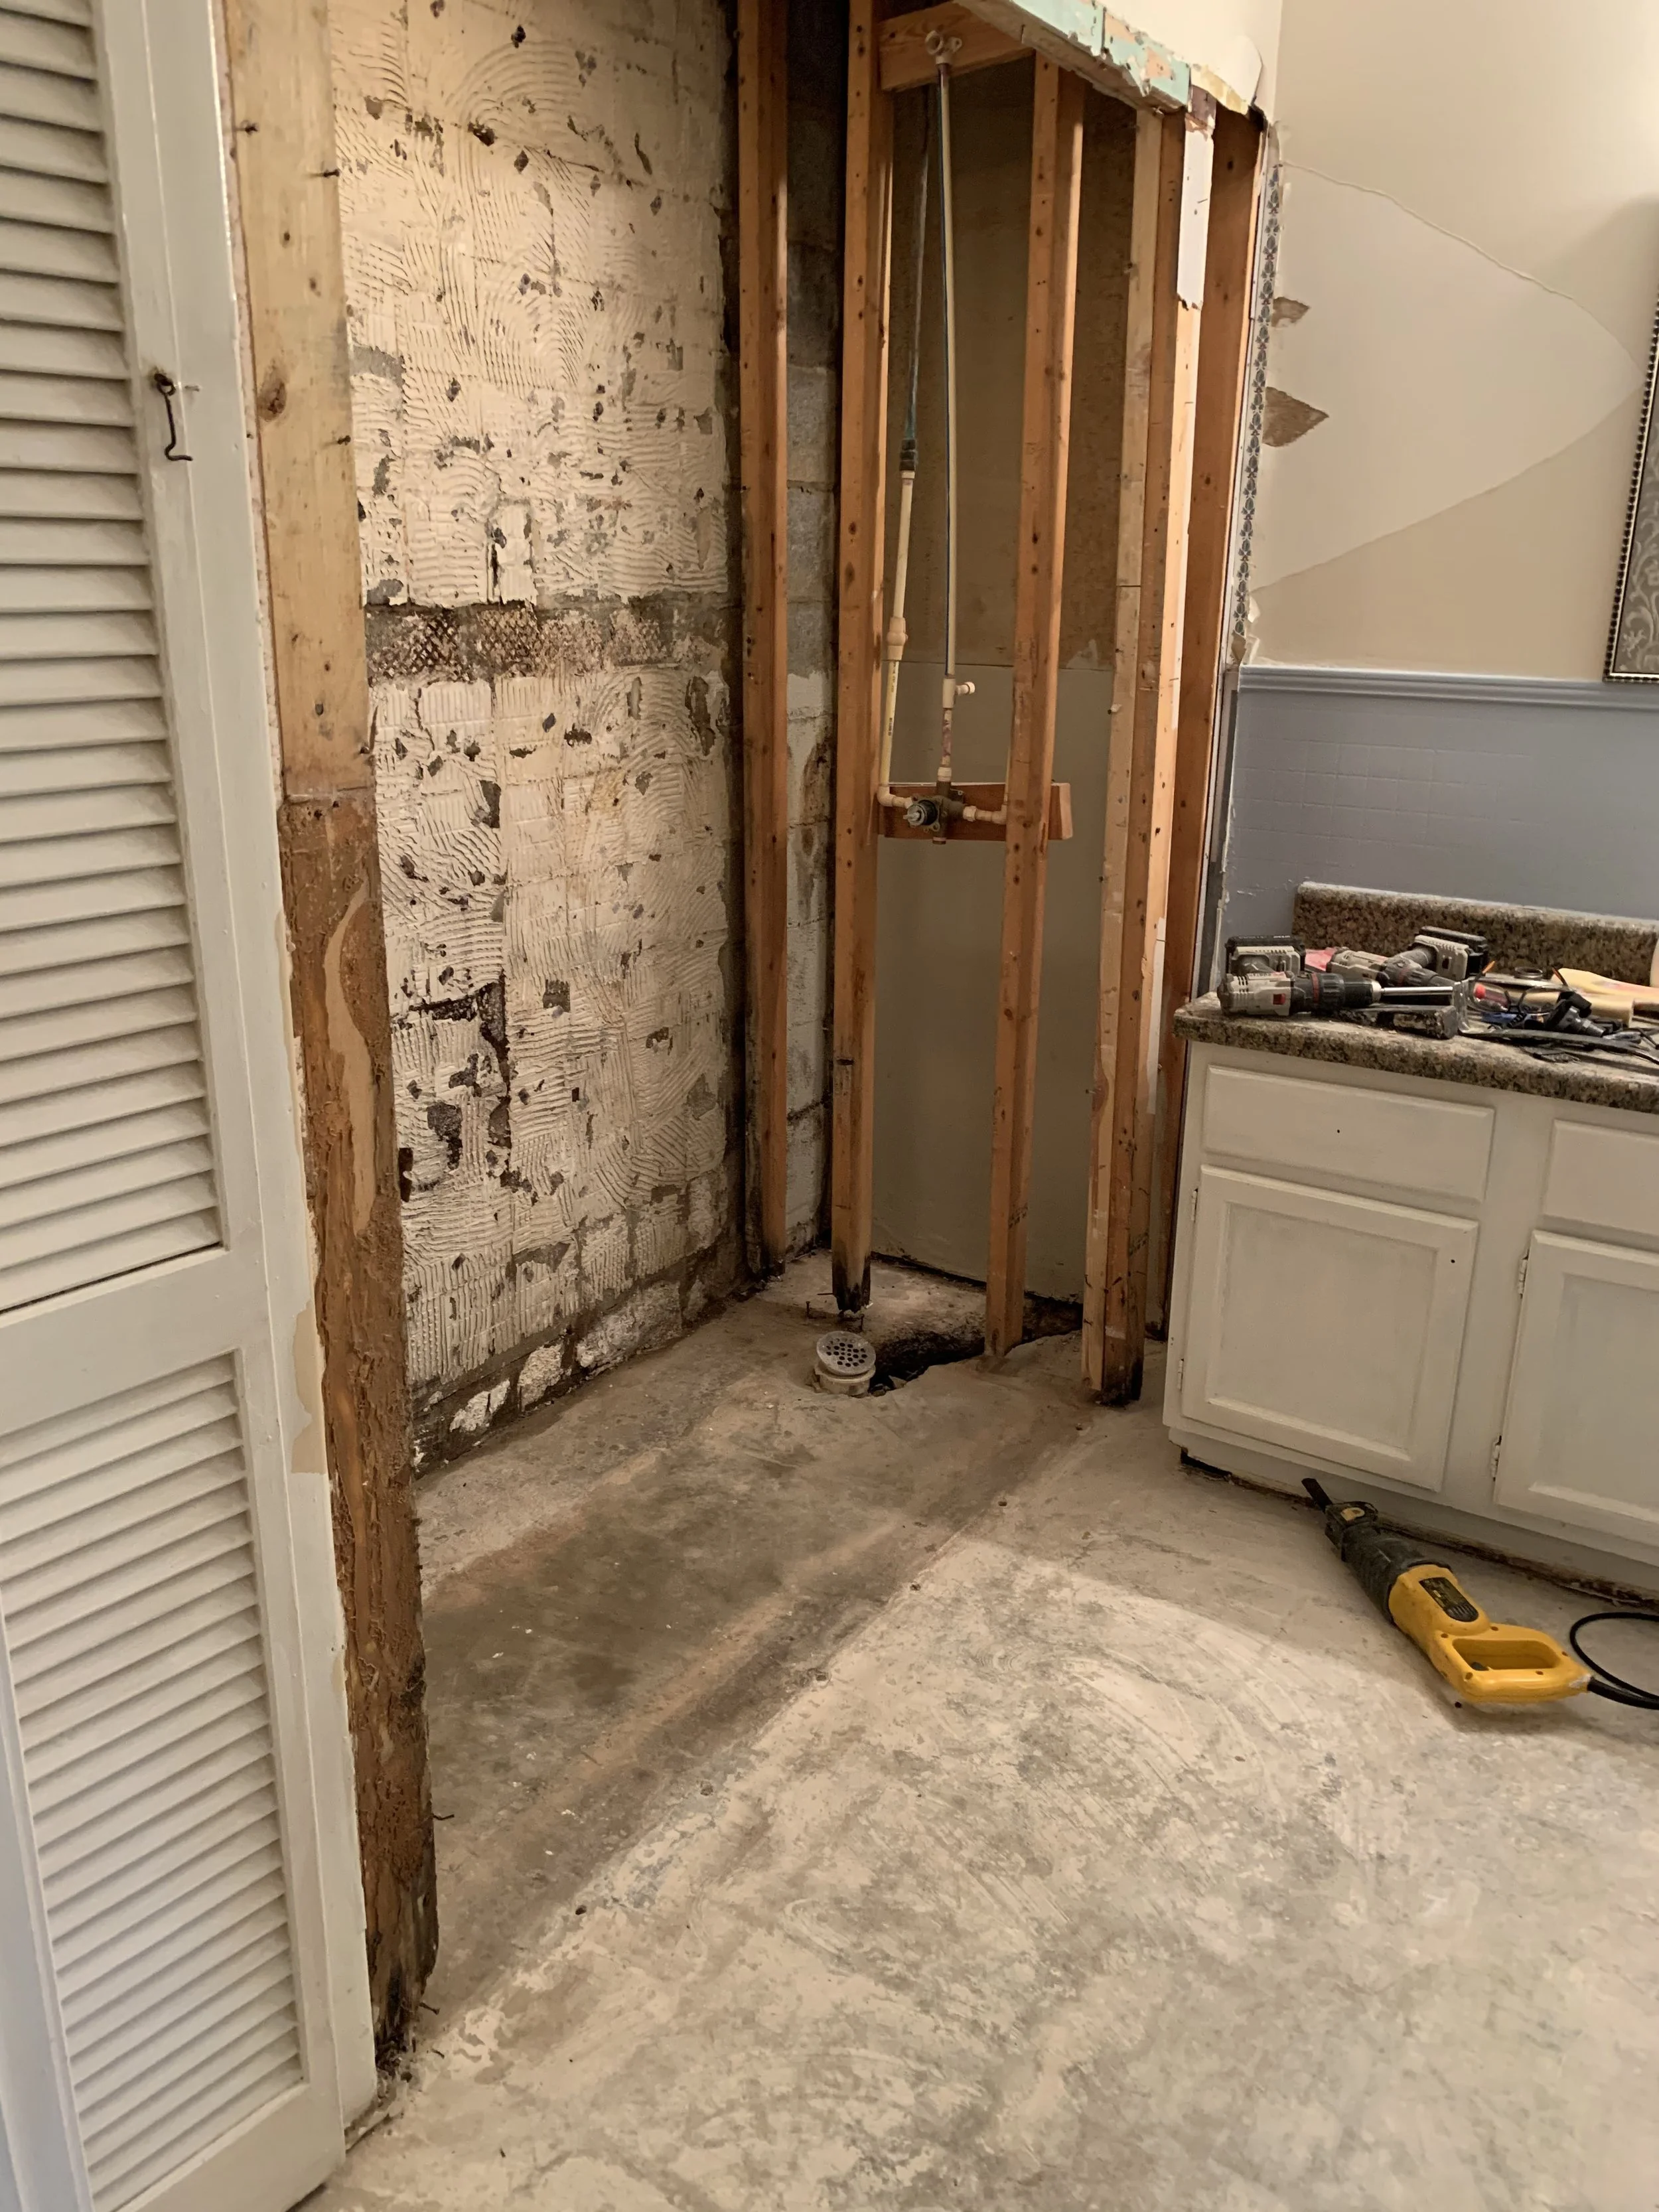
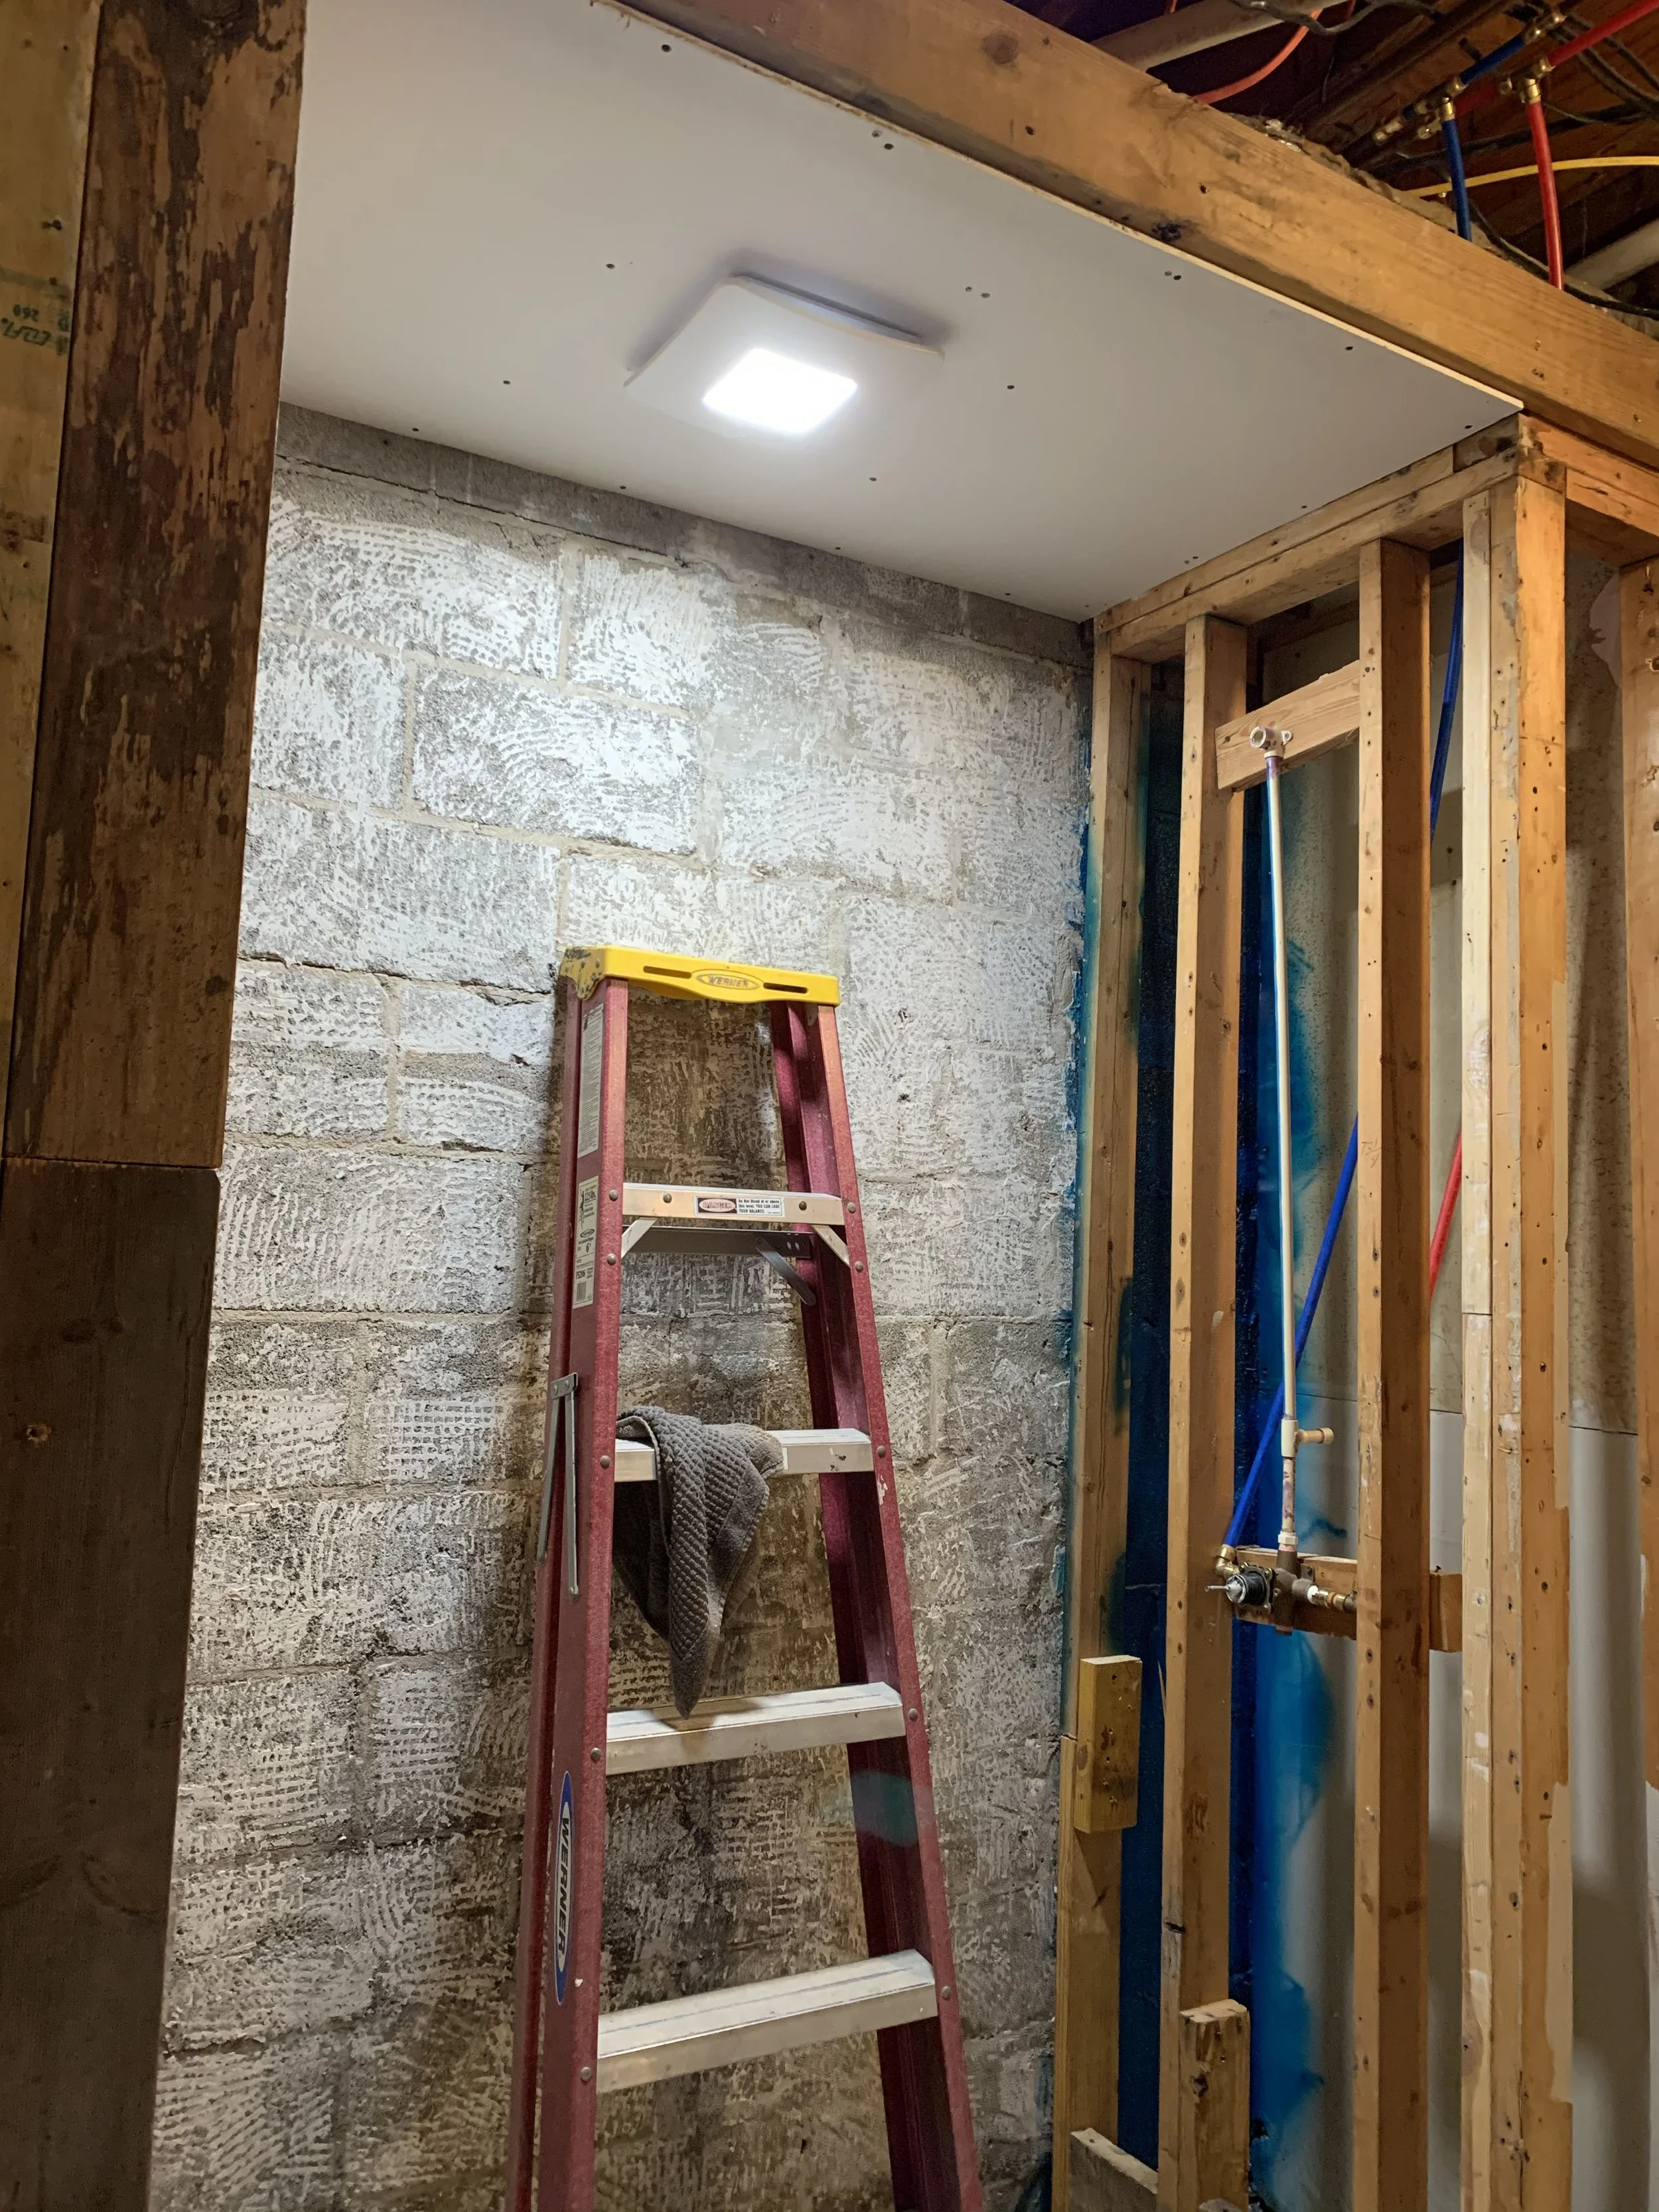
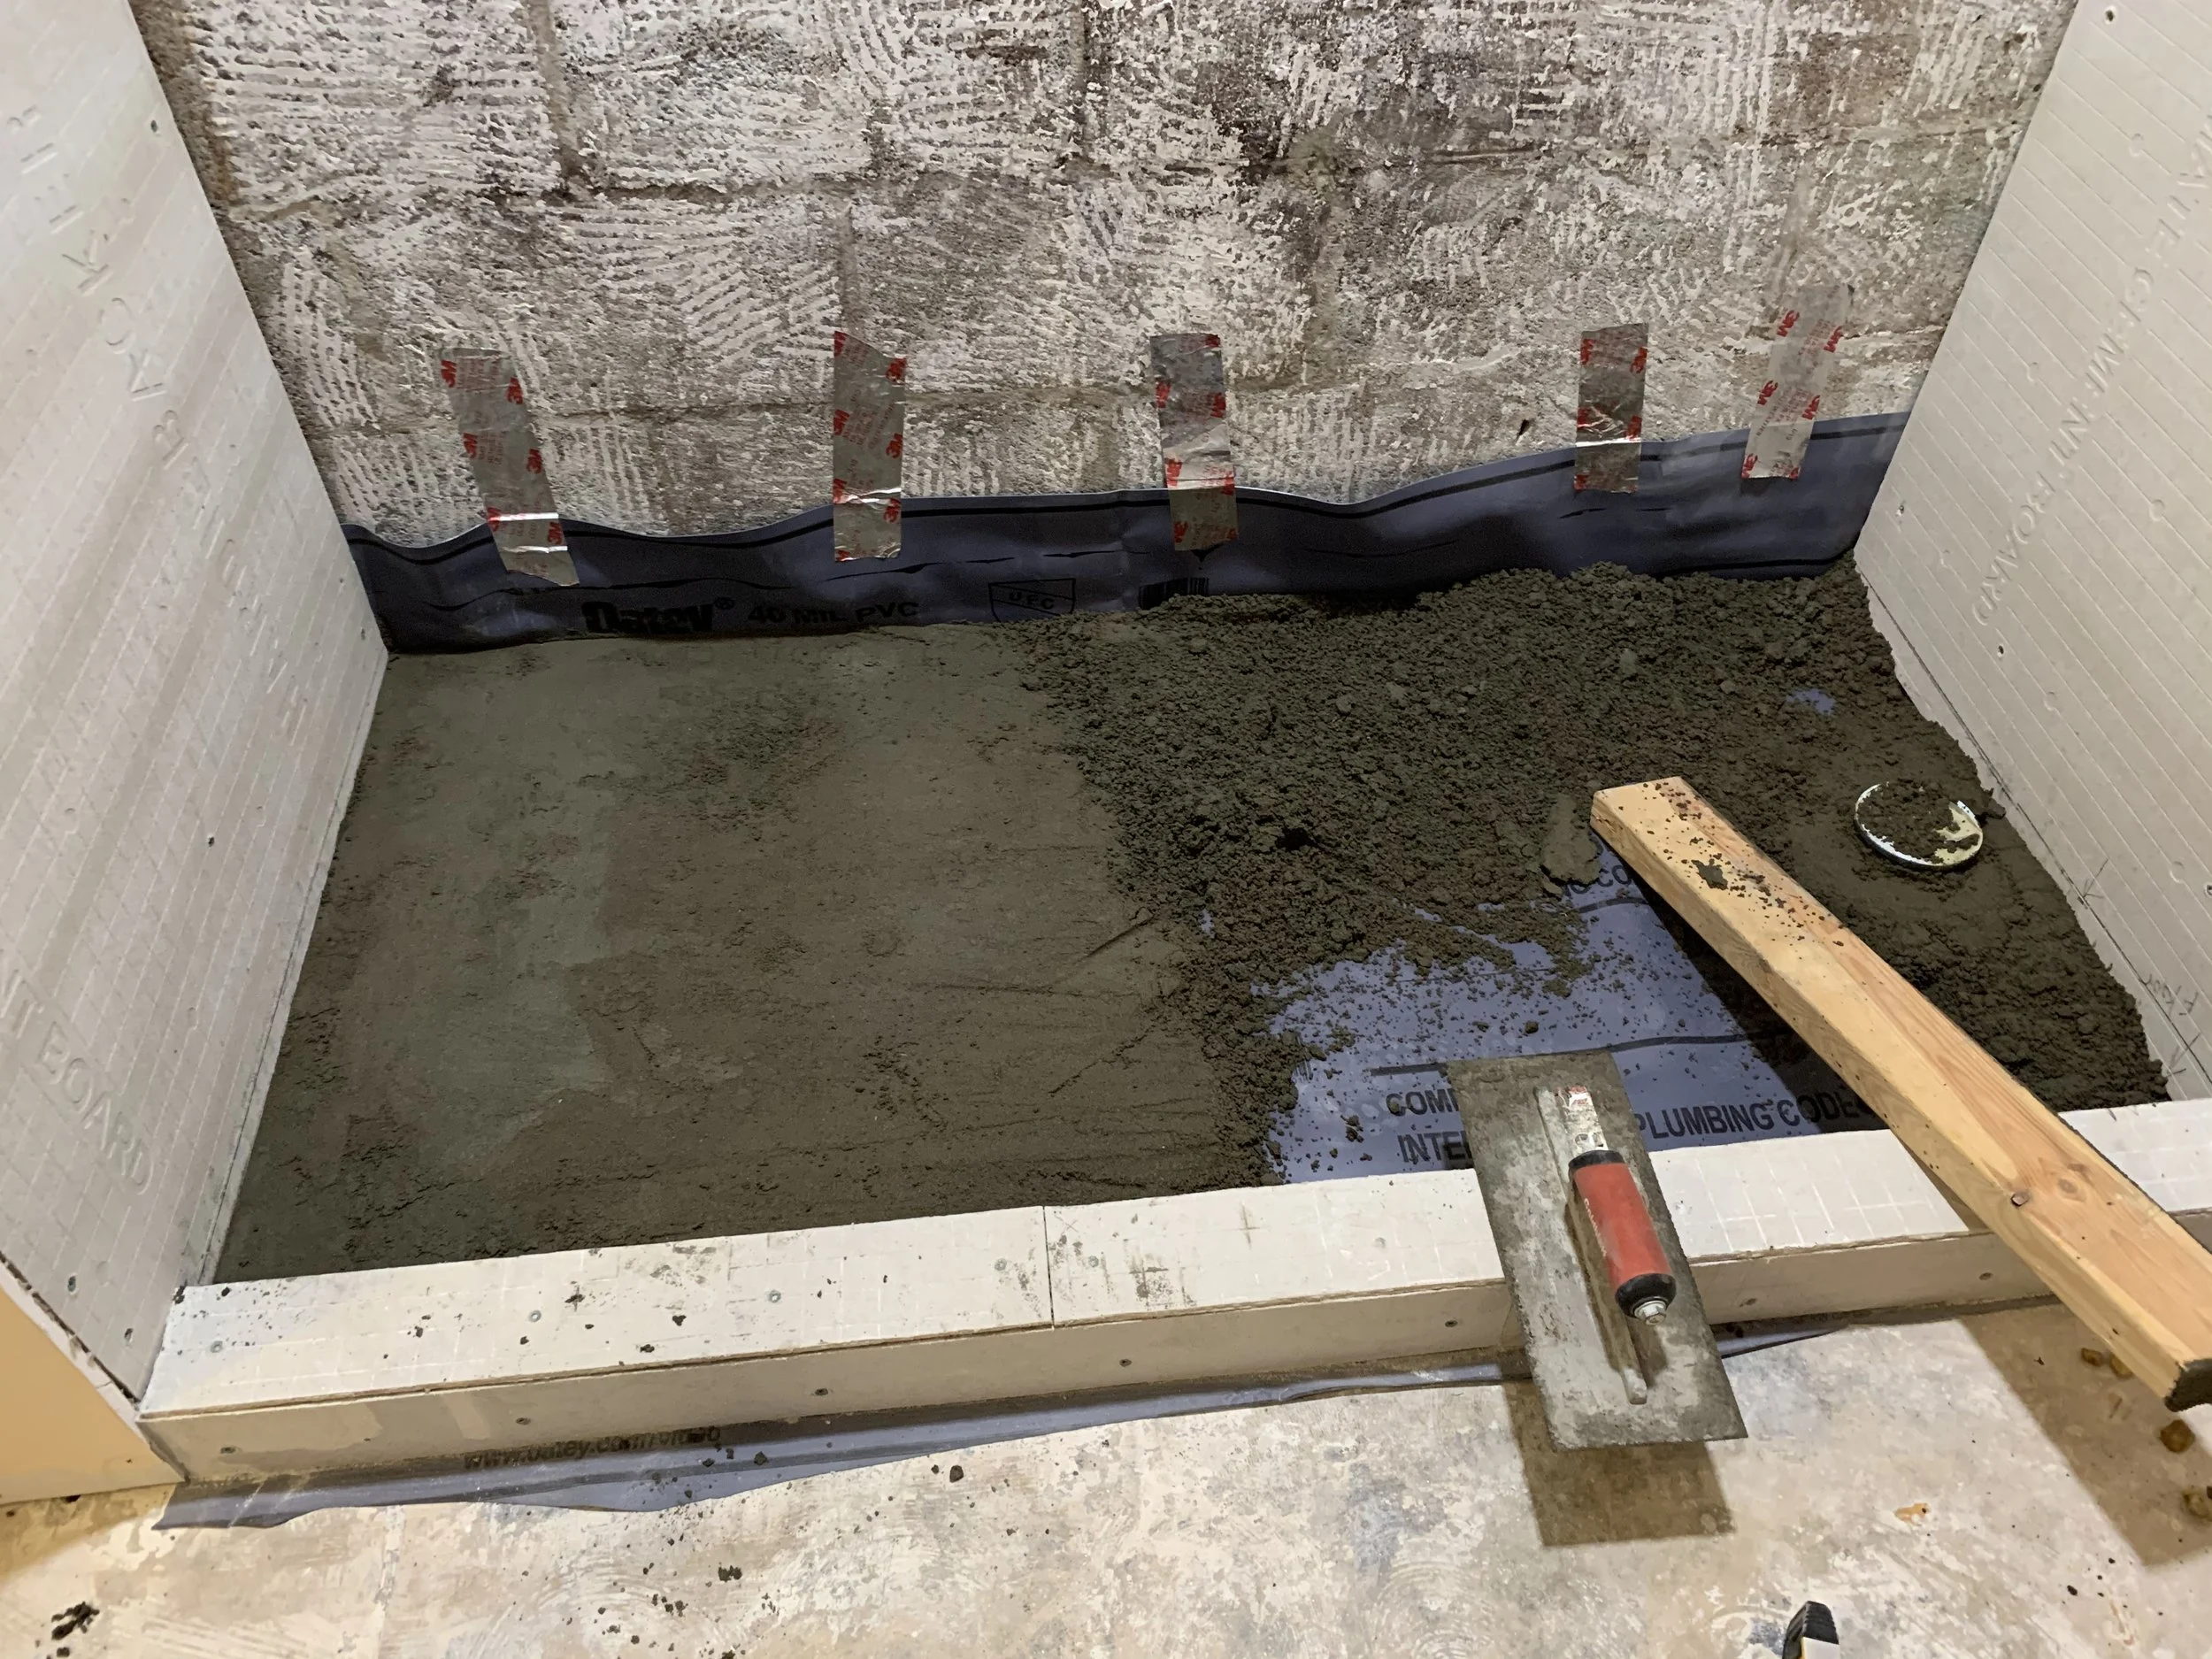
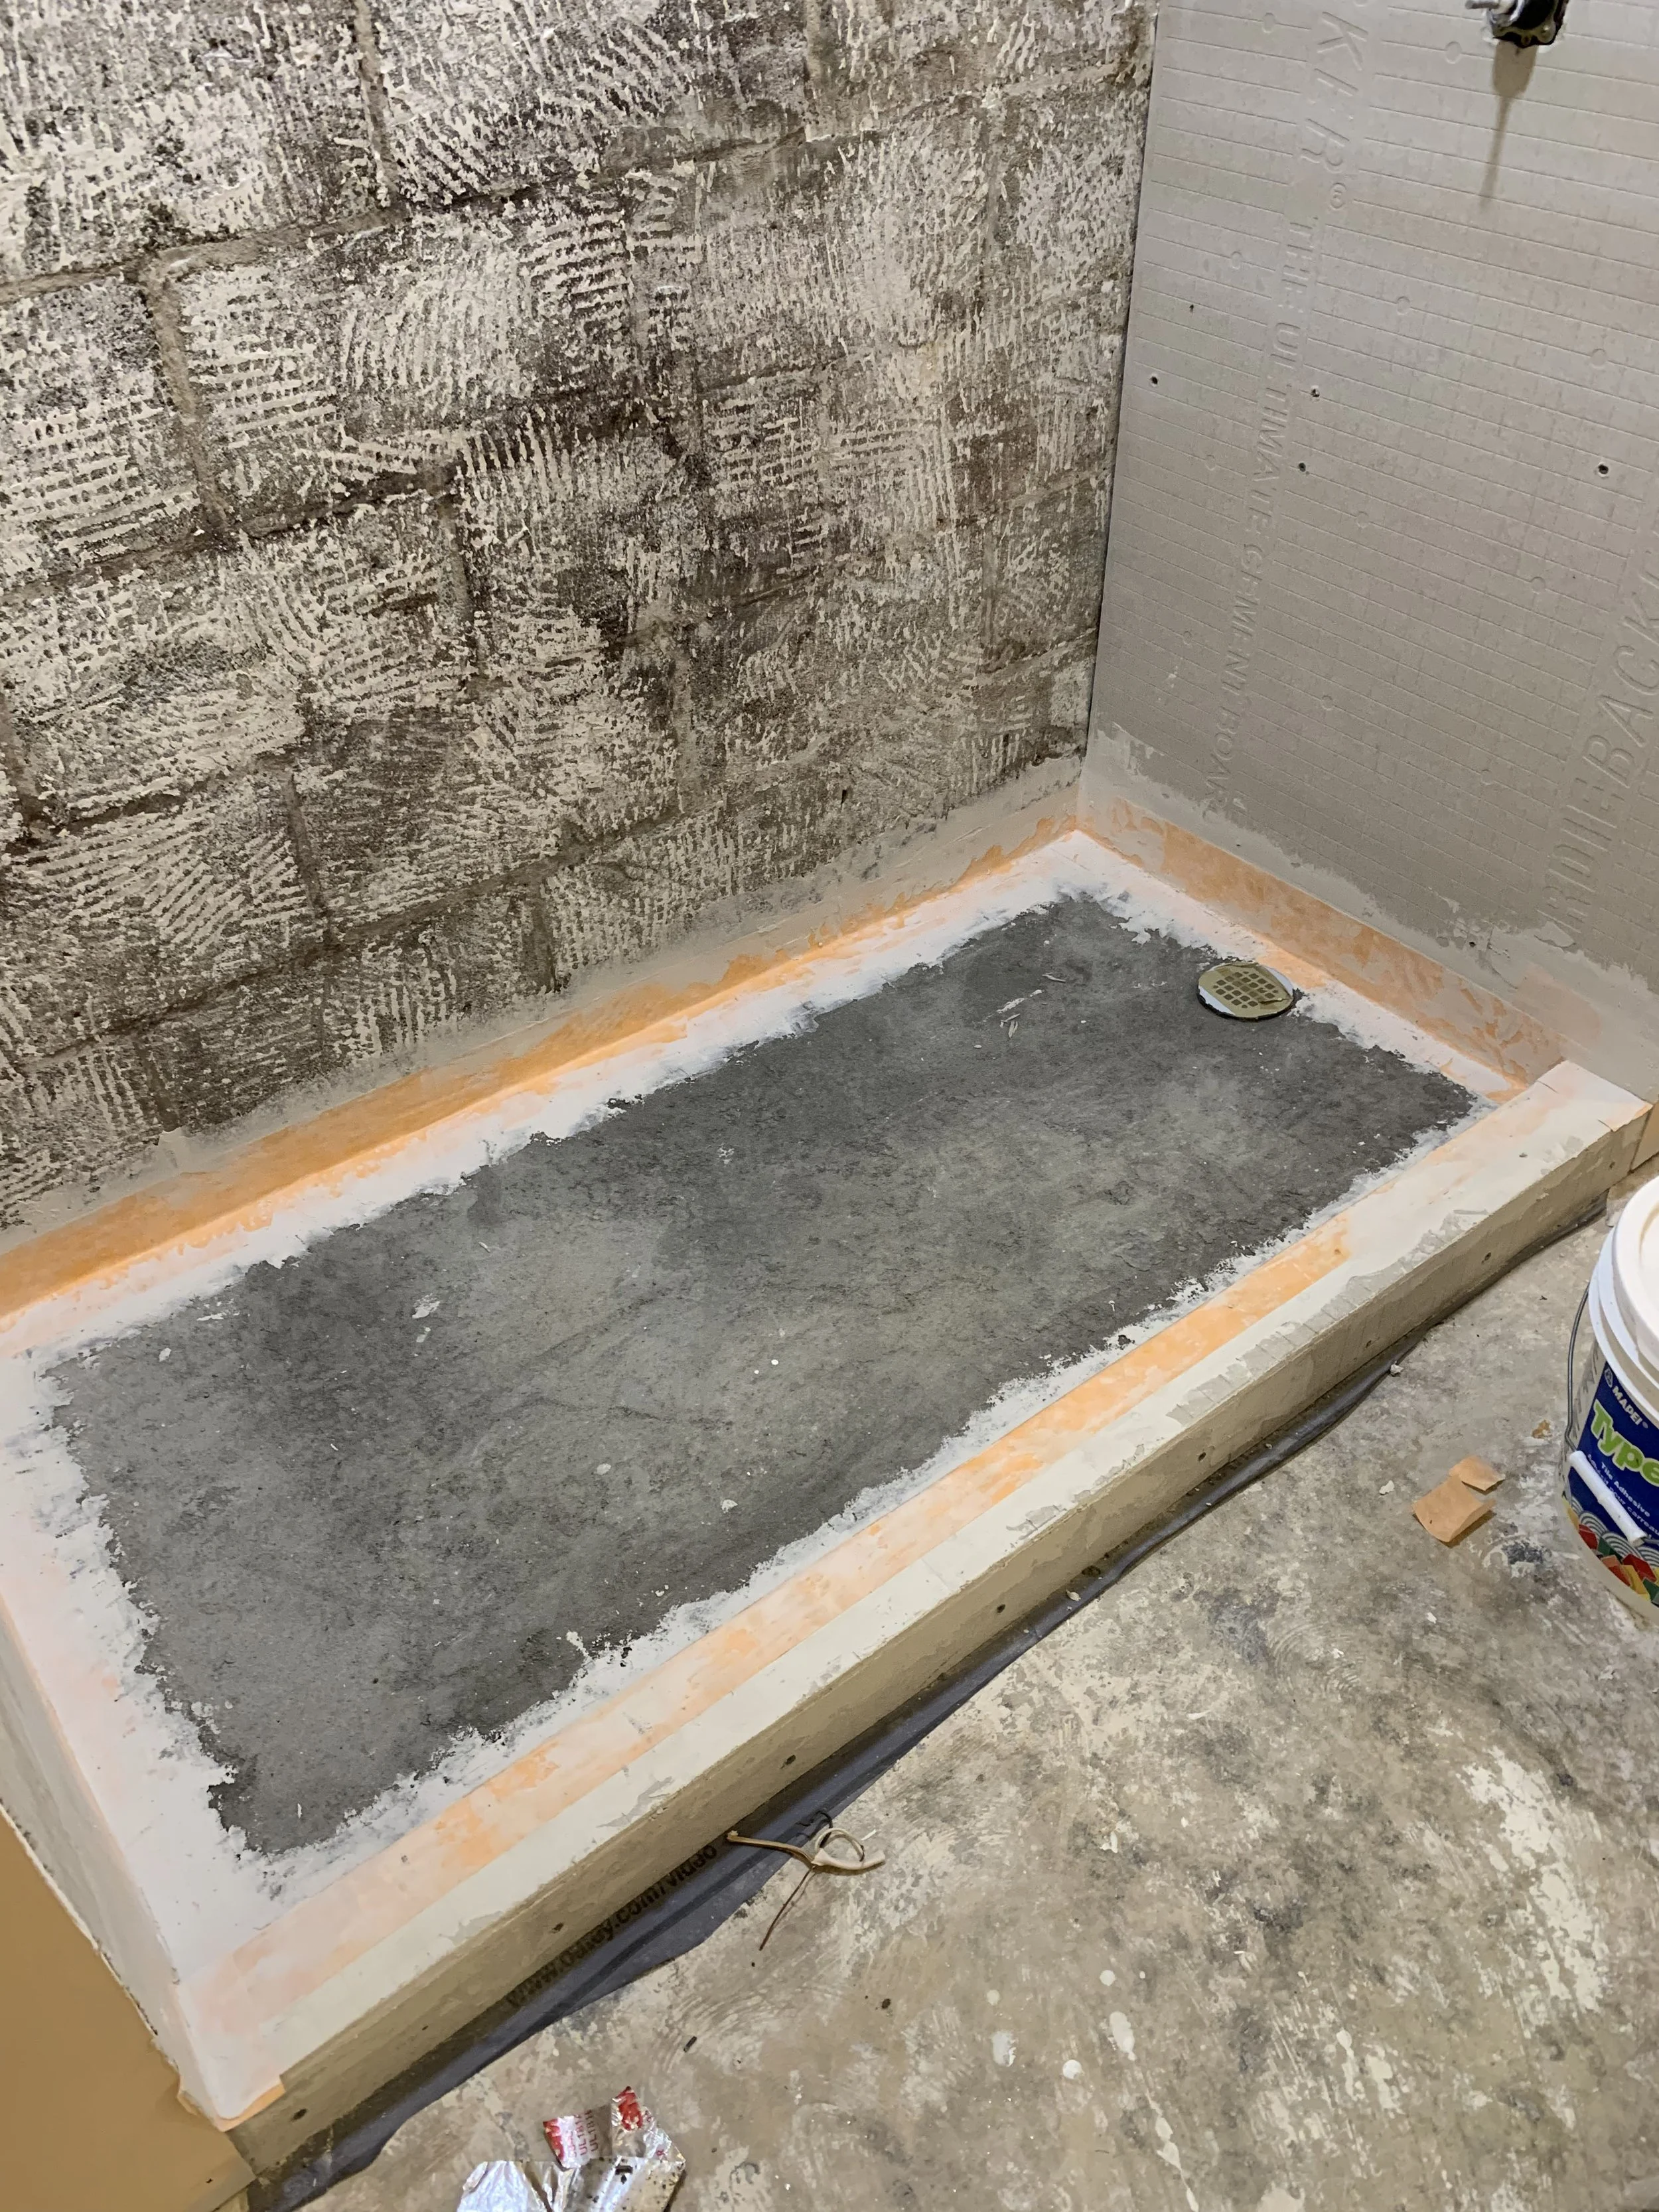
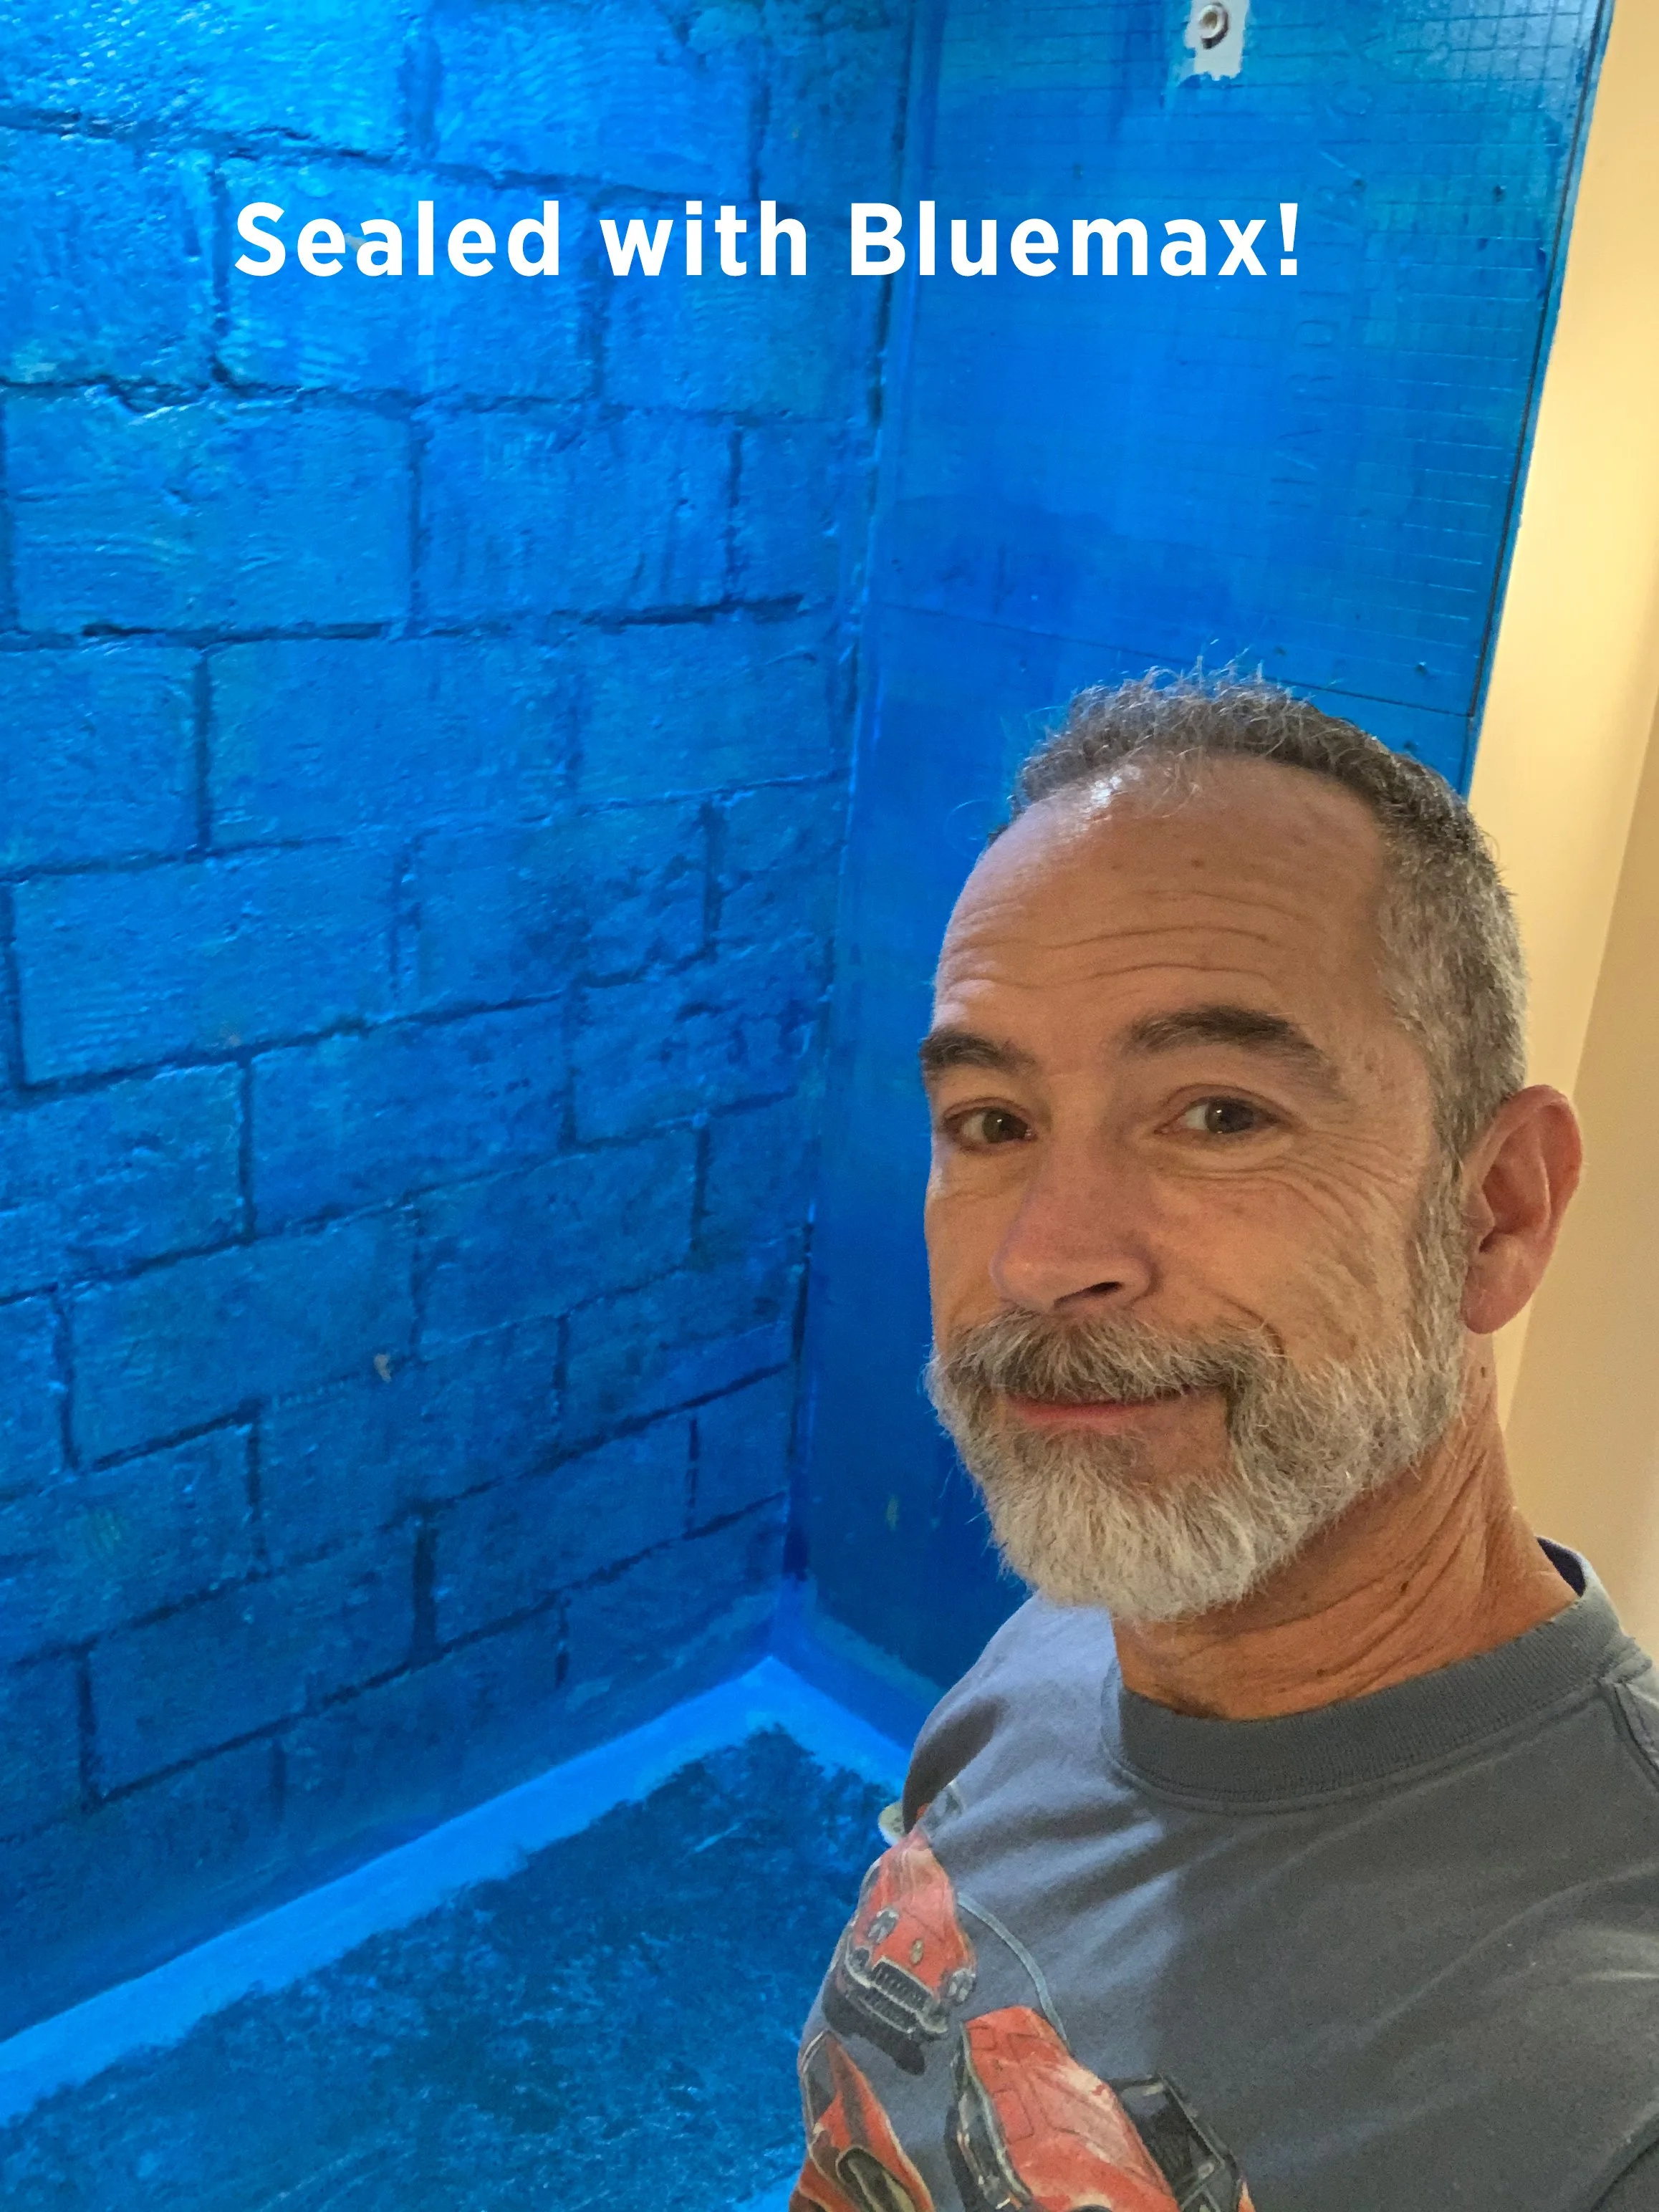
We made quick work of demoing the downstairs bathroom. We took it down to the studs and removed all the old tile and shower pan. It was not well built and evidence of leaks were everywhere.

It was absolutely time to tackle this project, even though we did NOT have this area in our immediate plans.
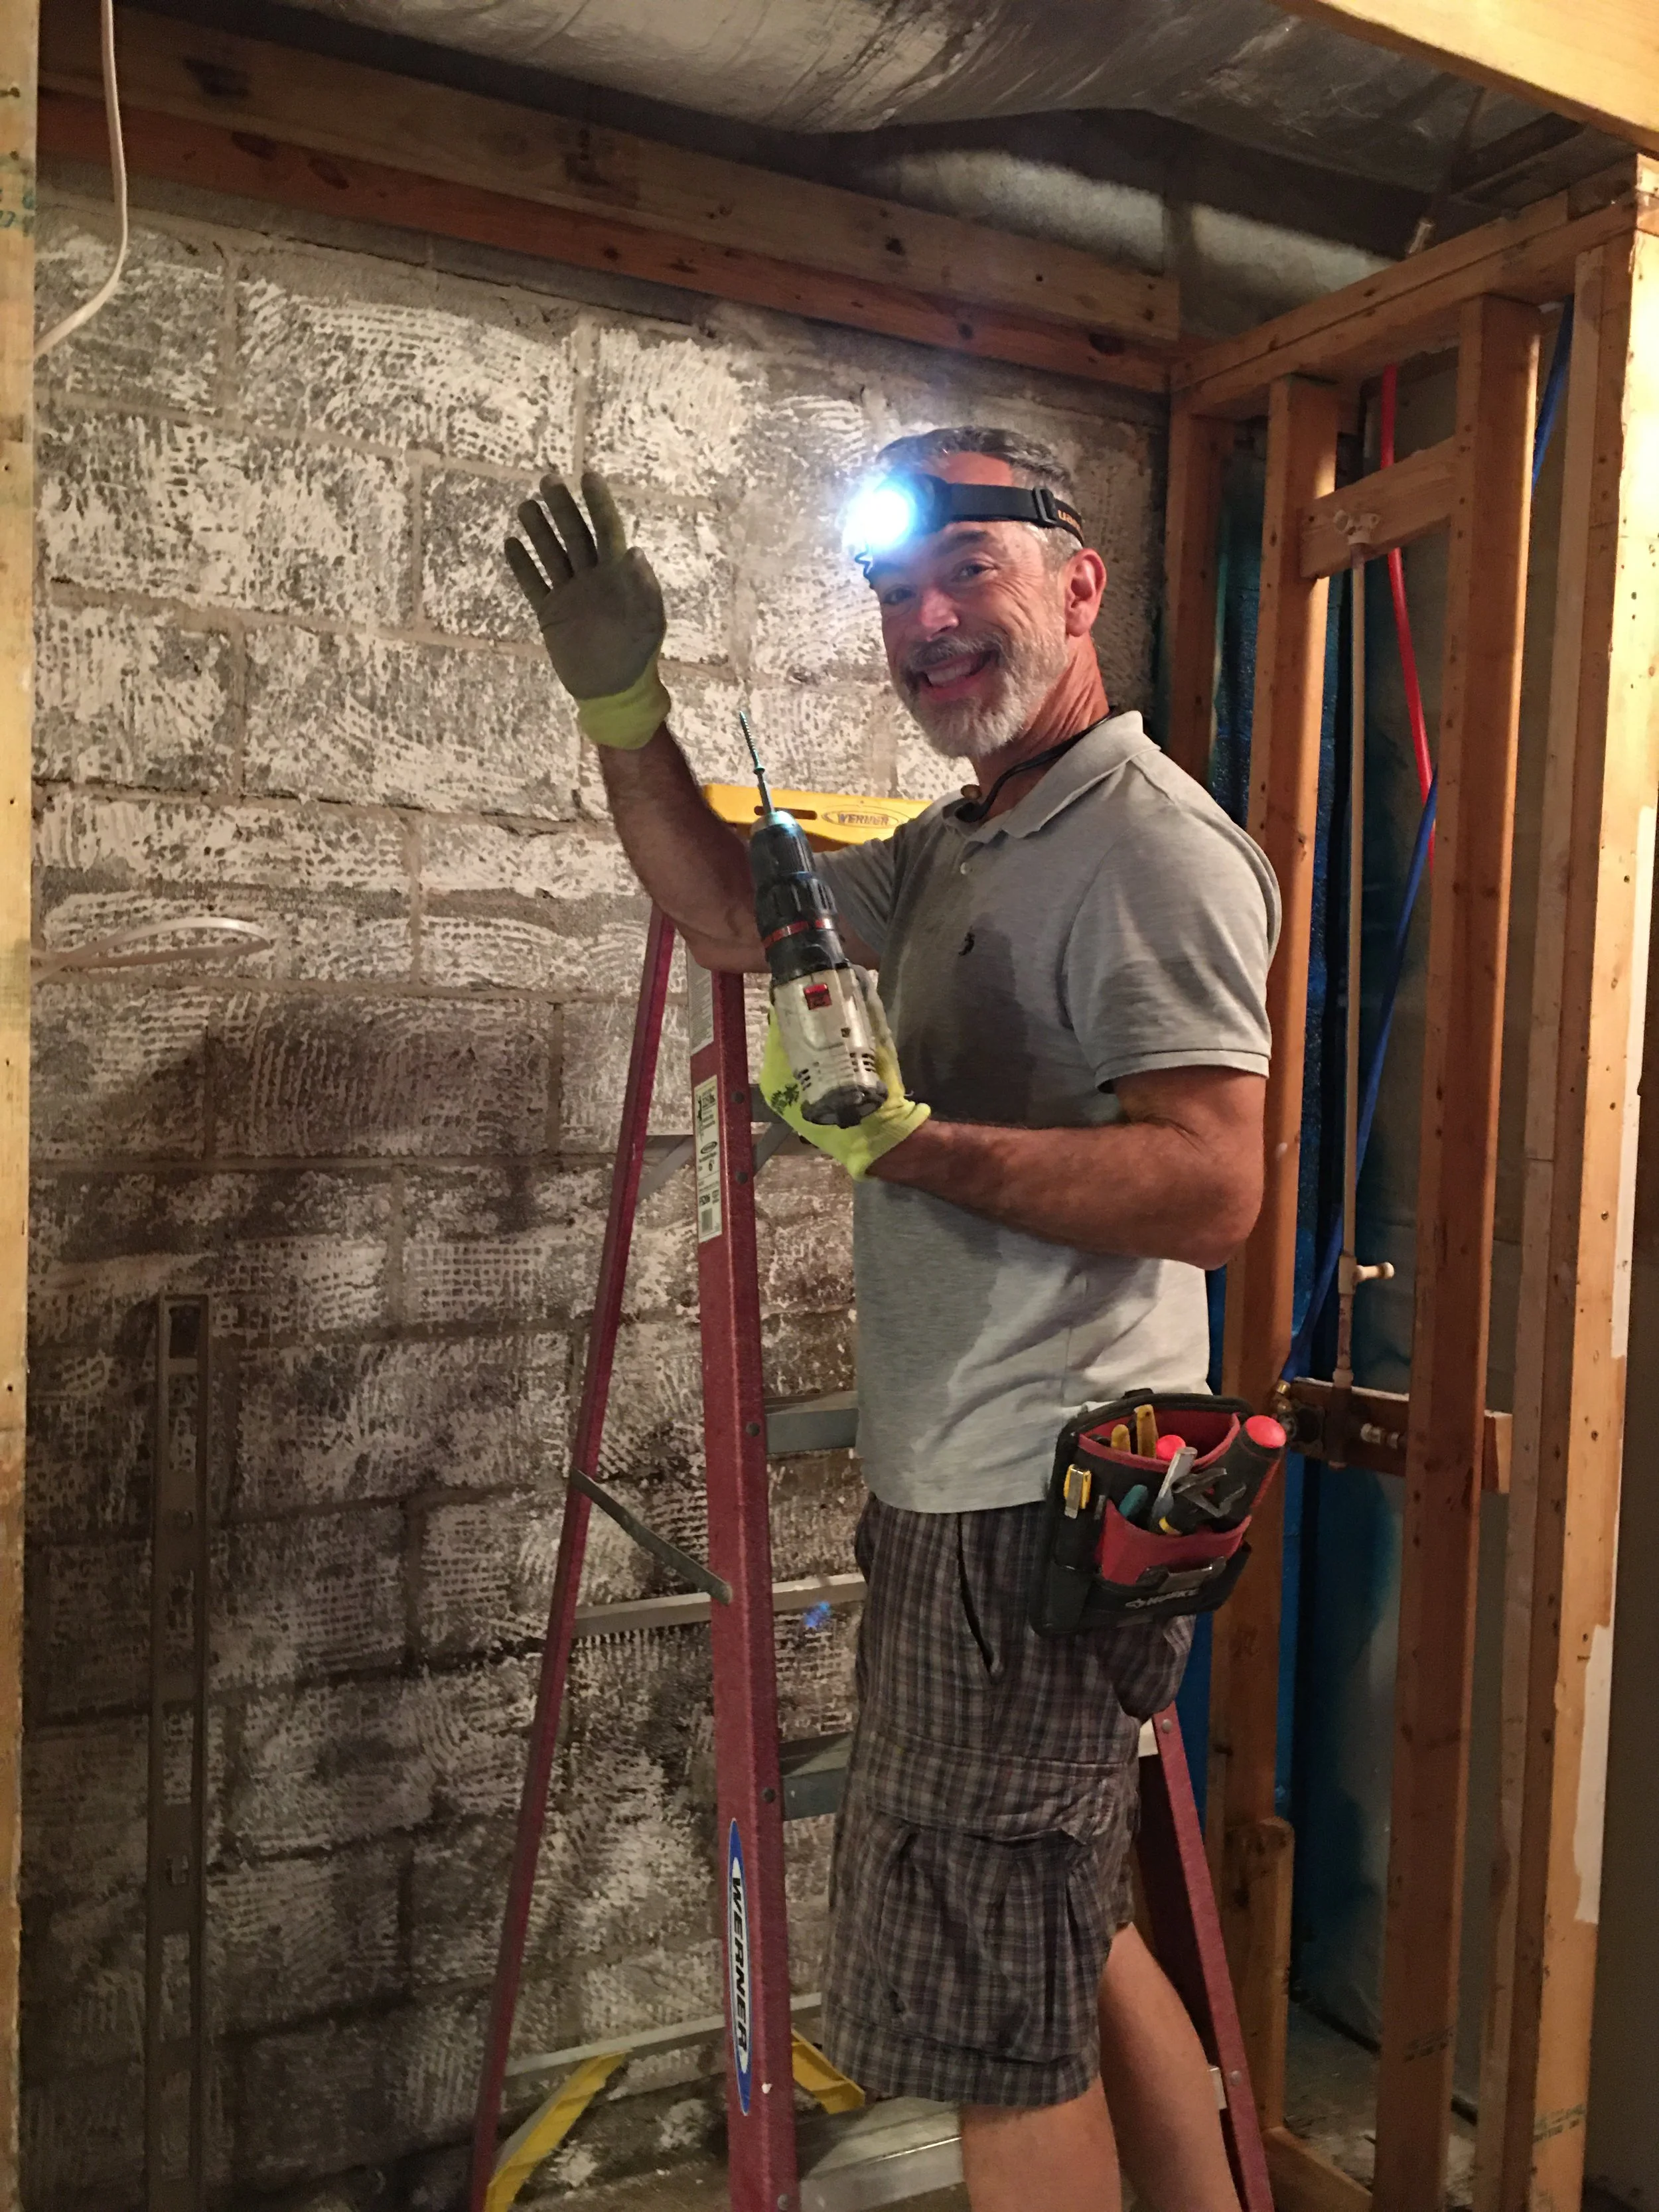
After the insurance adjuster wrote us a check we paid the cleanup company and I decided to use the rest of the $$ to buy materials for the bathroom renovation. I would do all the work myself. This would allow us to tackle a few other projects and take advantage of the storage unit paid for by the cleanup company.
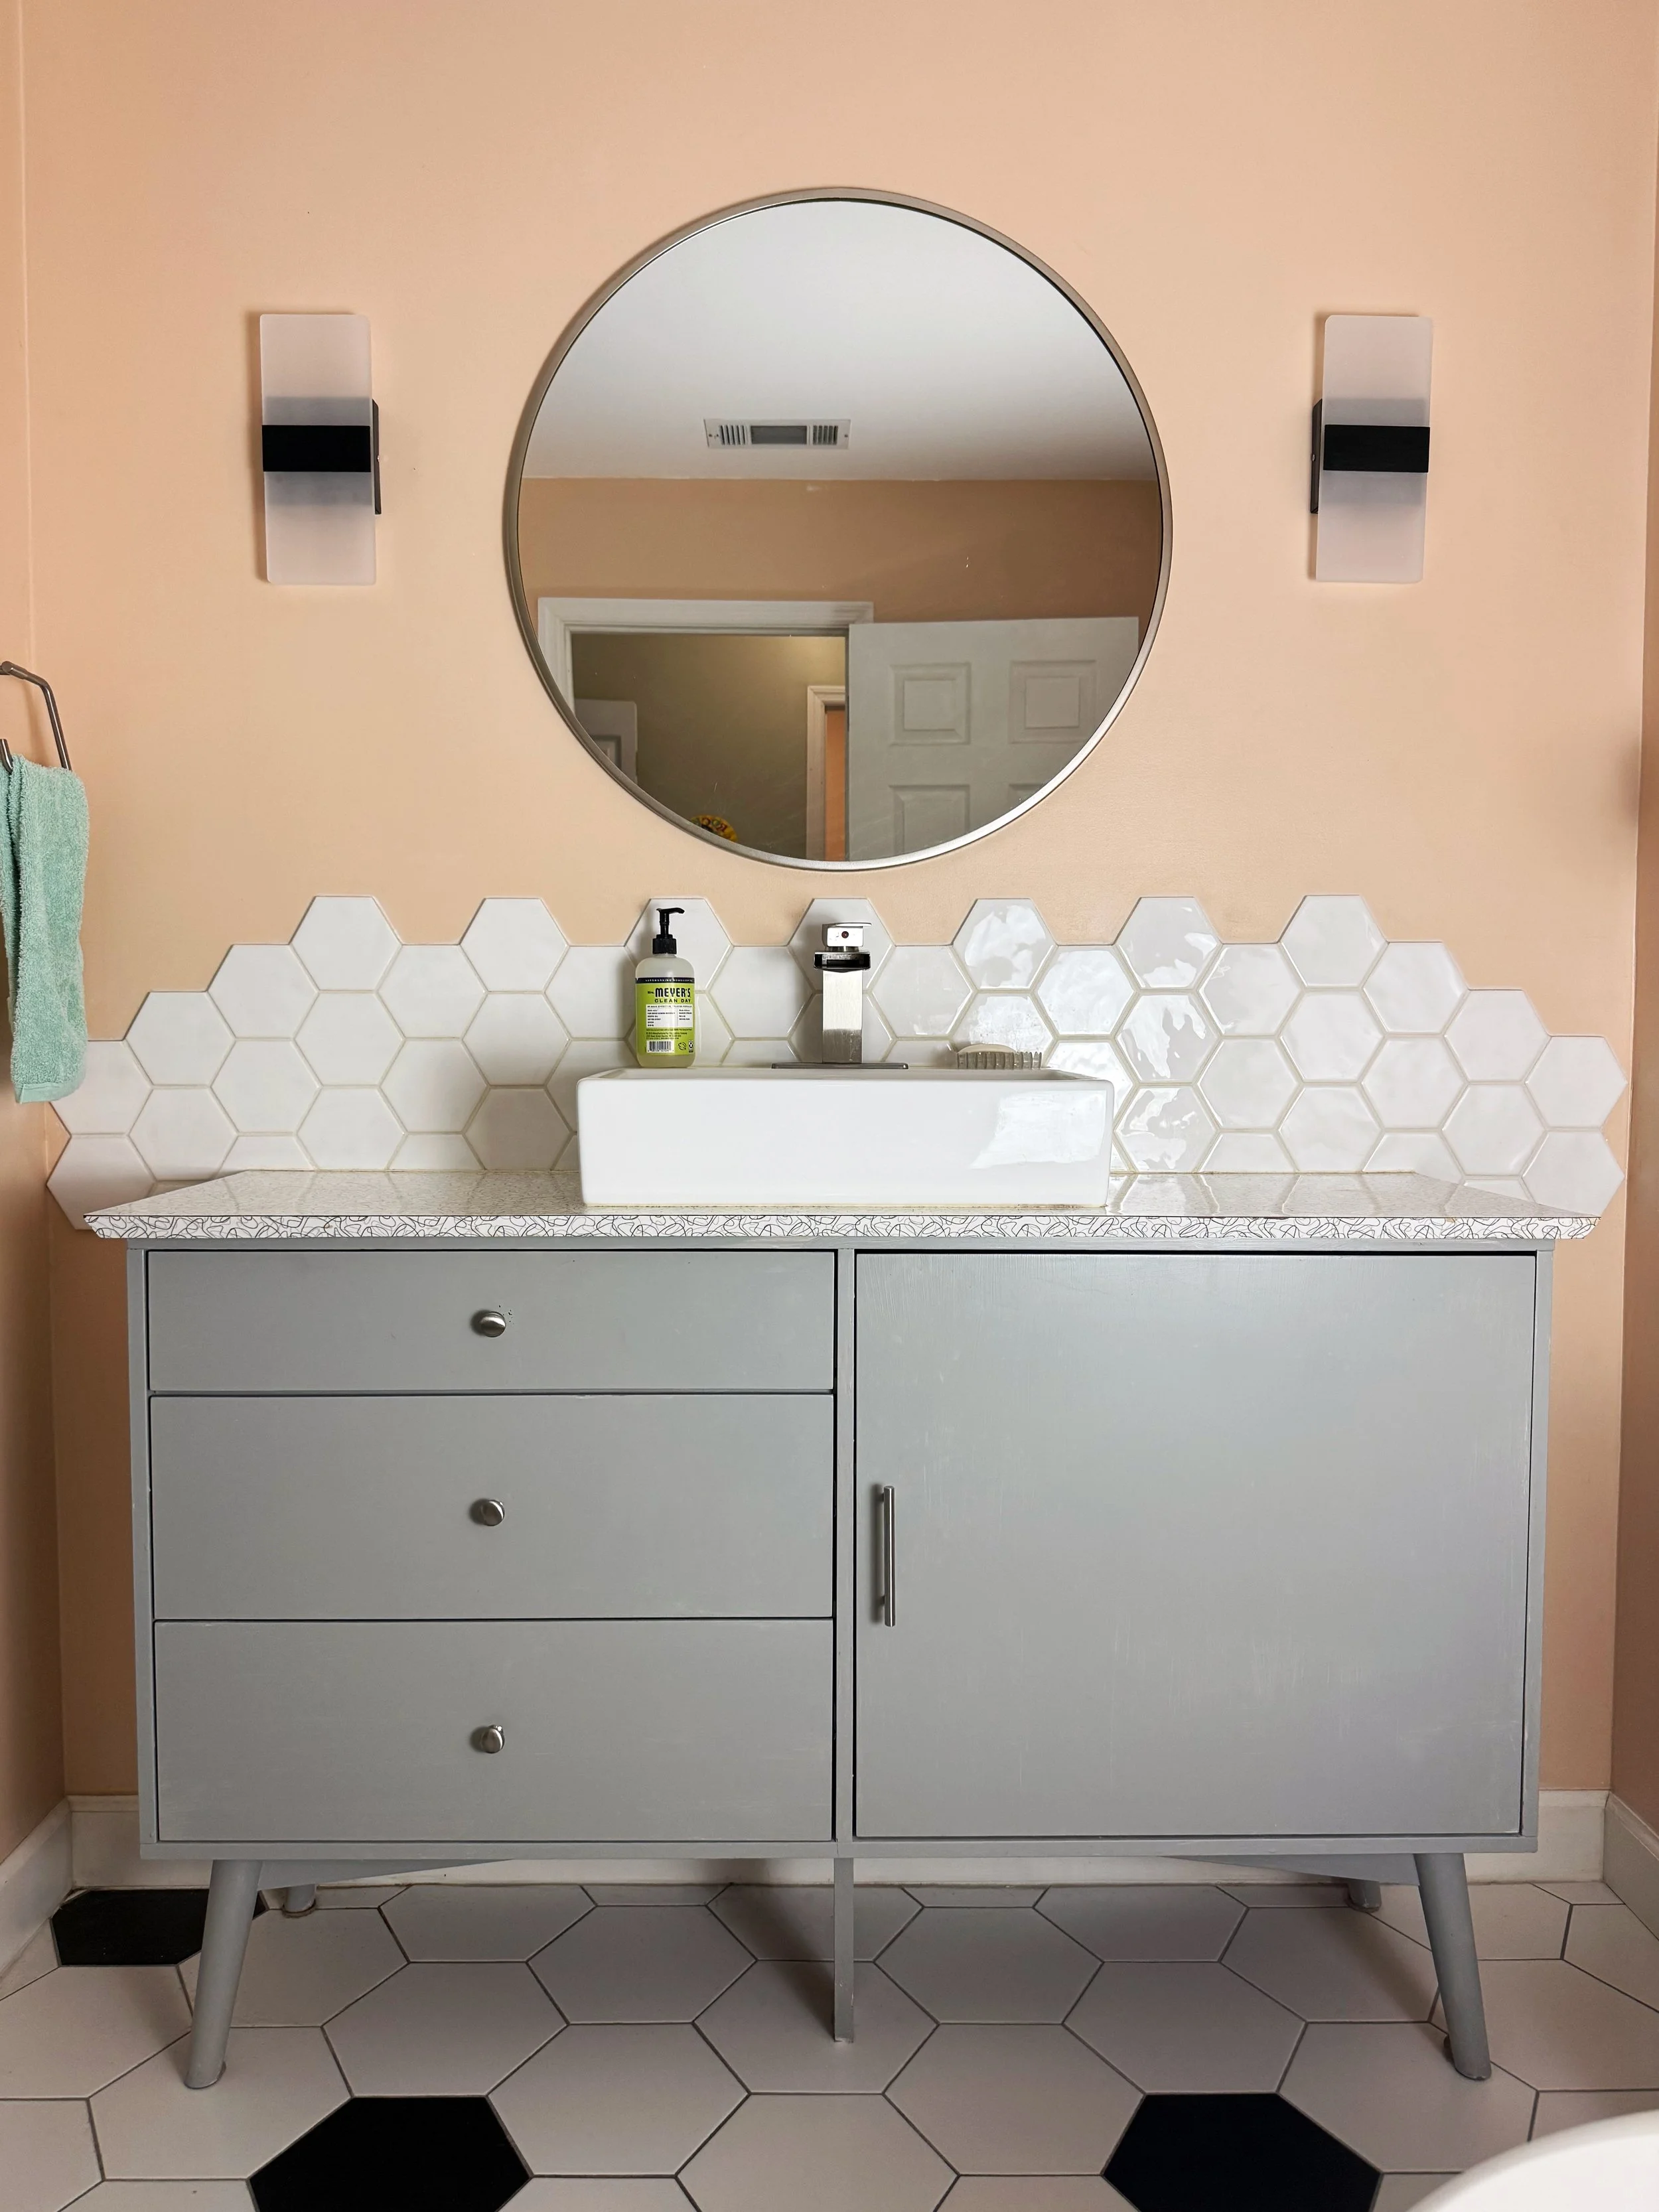
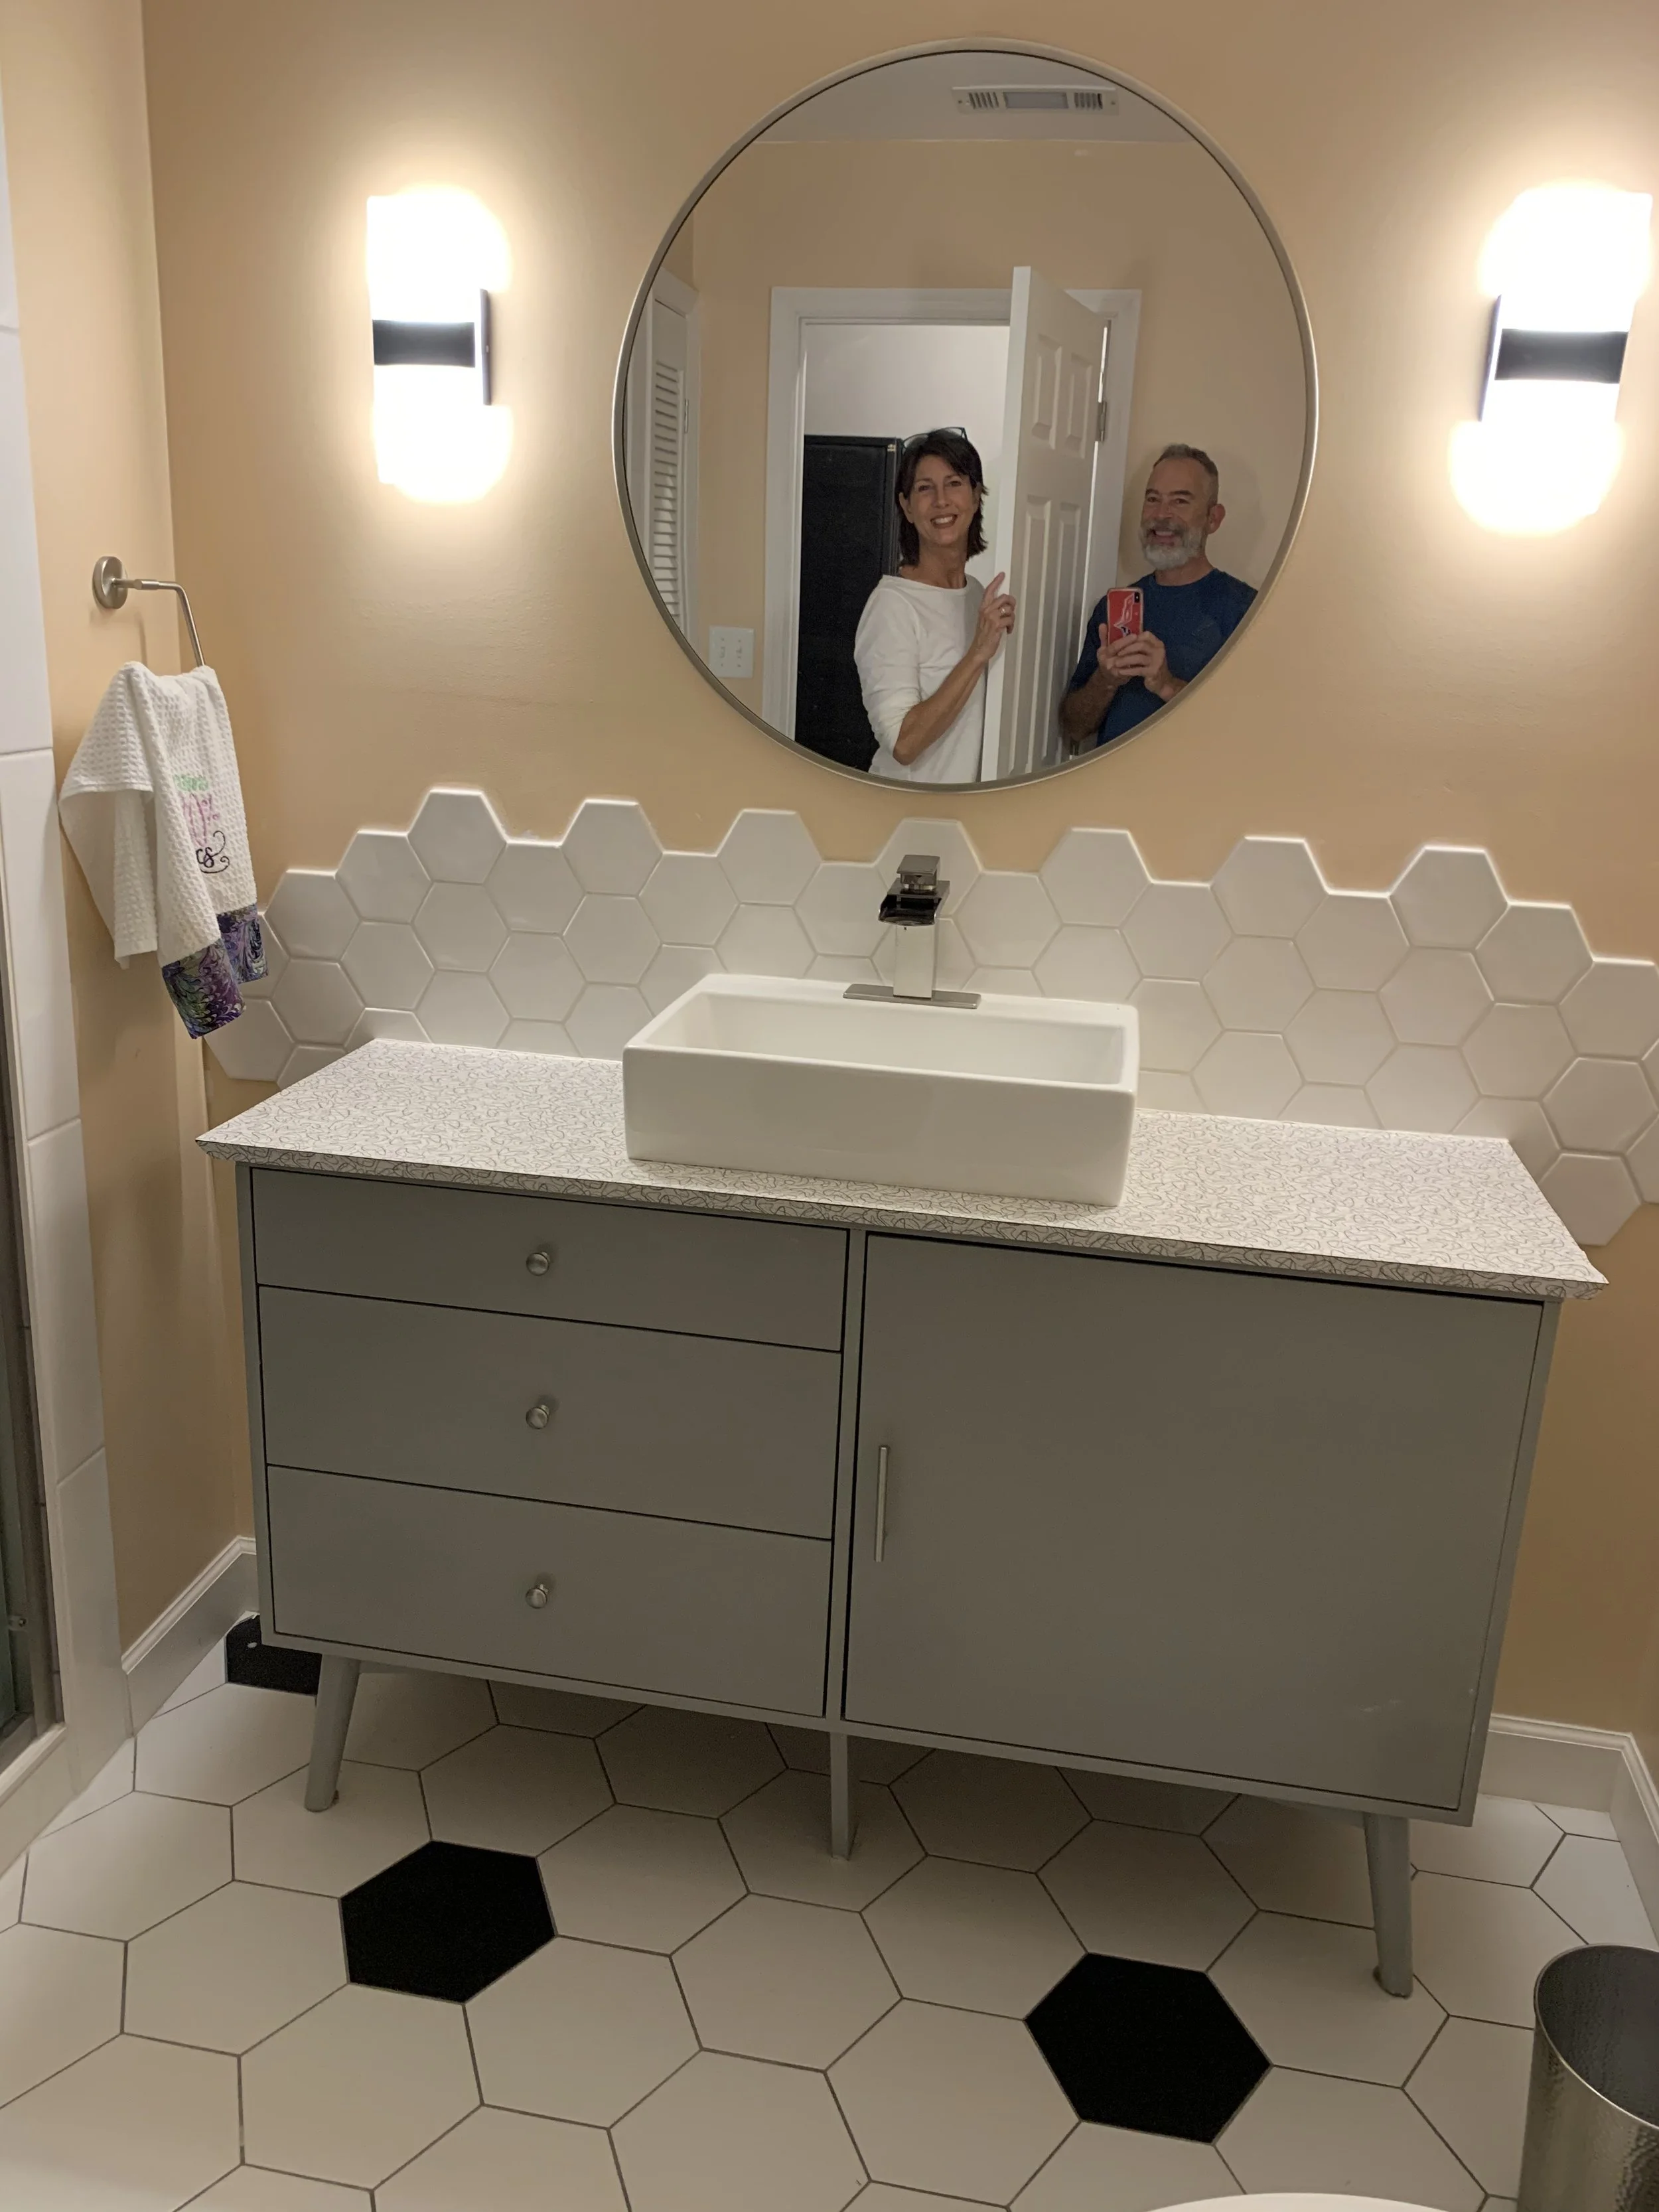
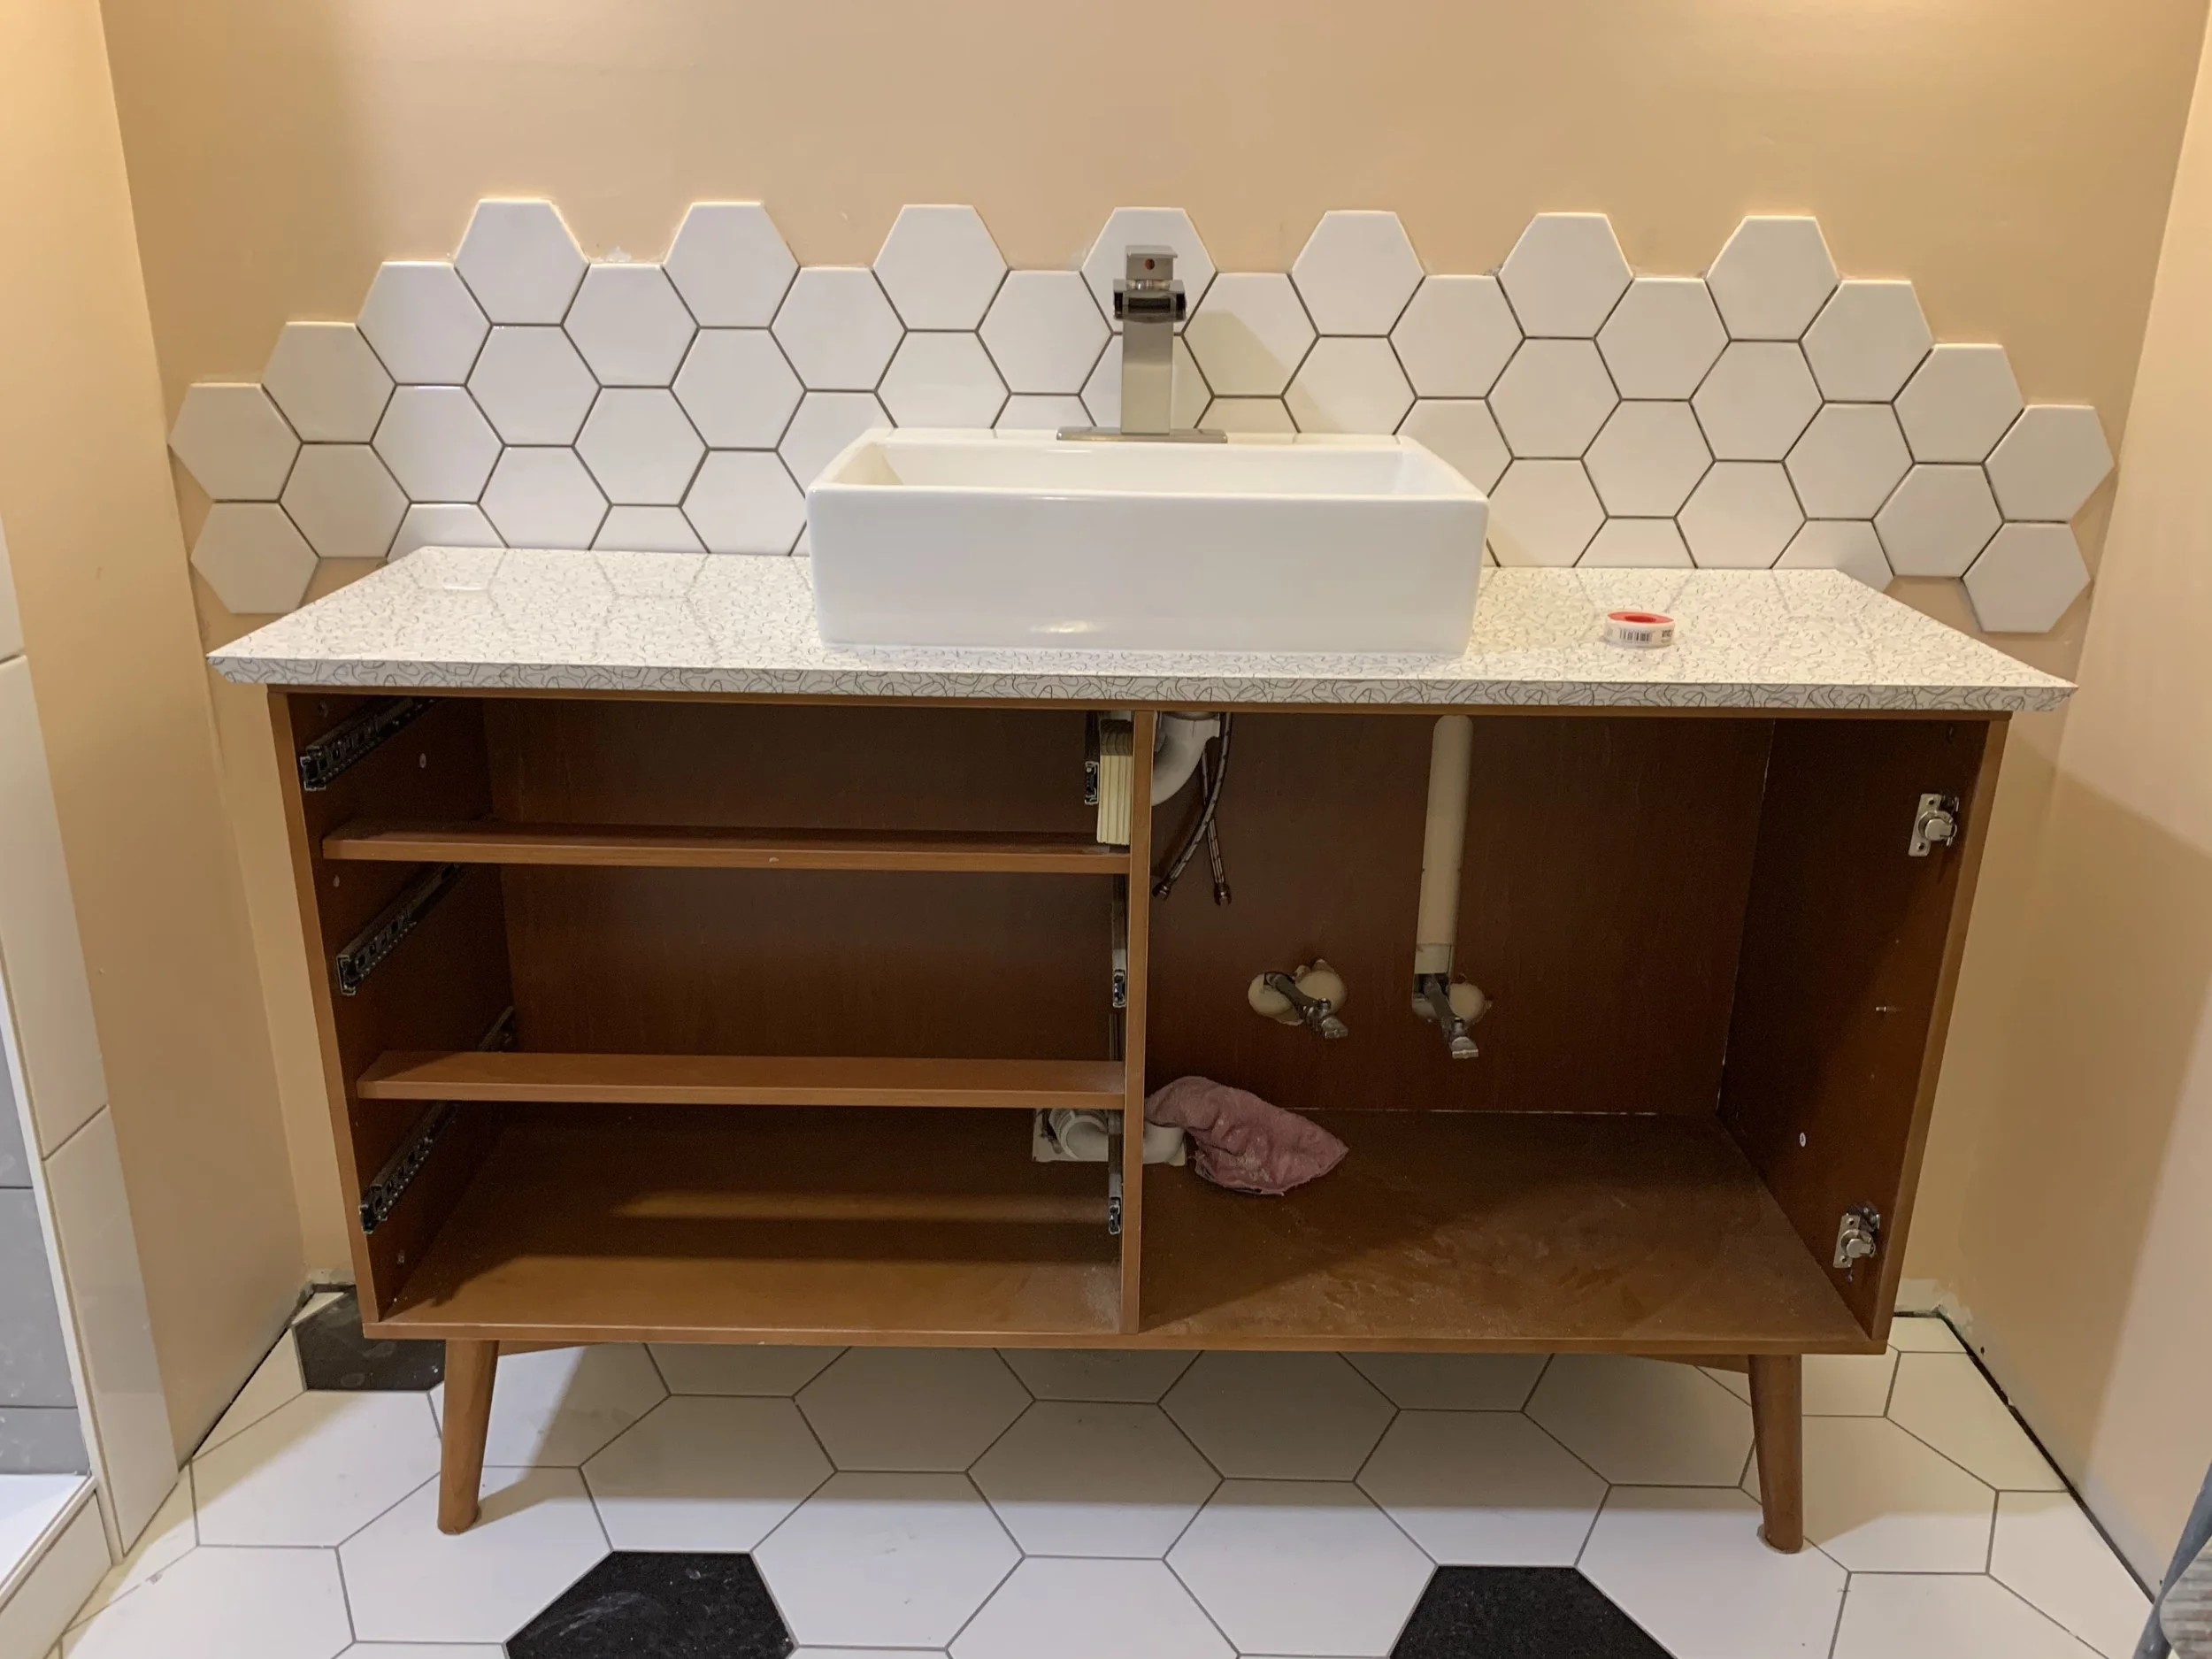
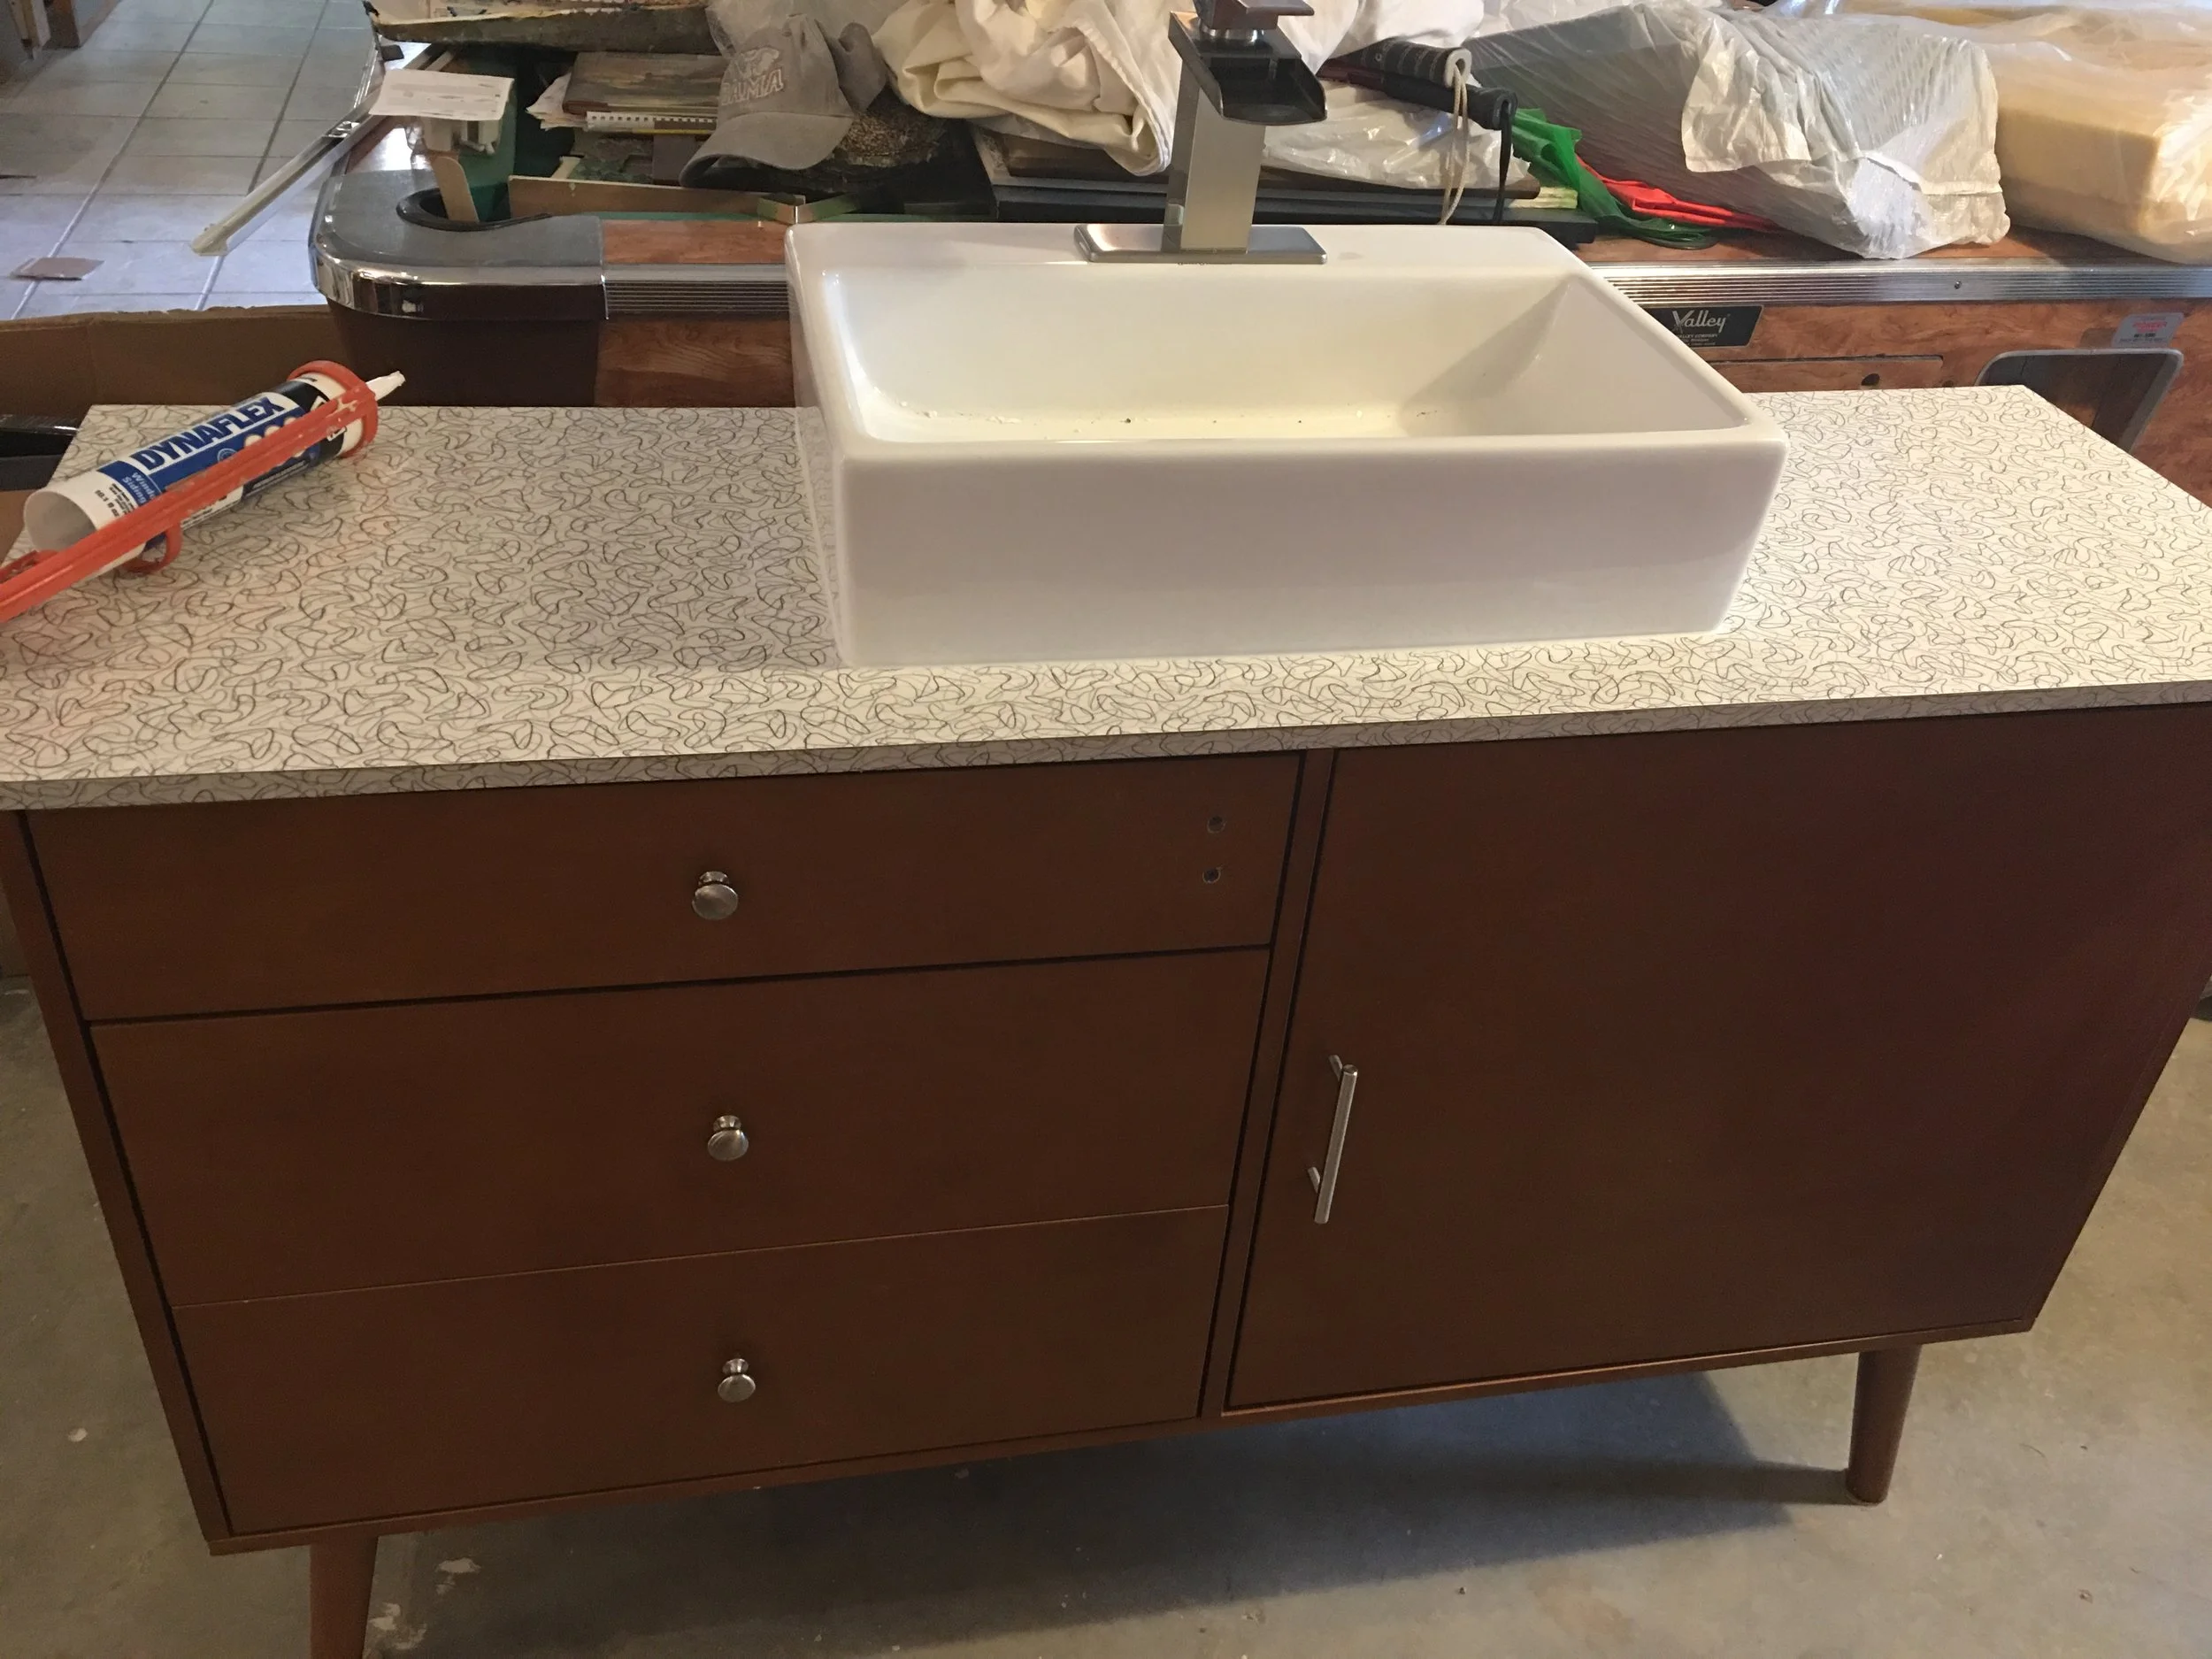
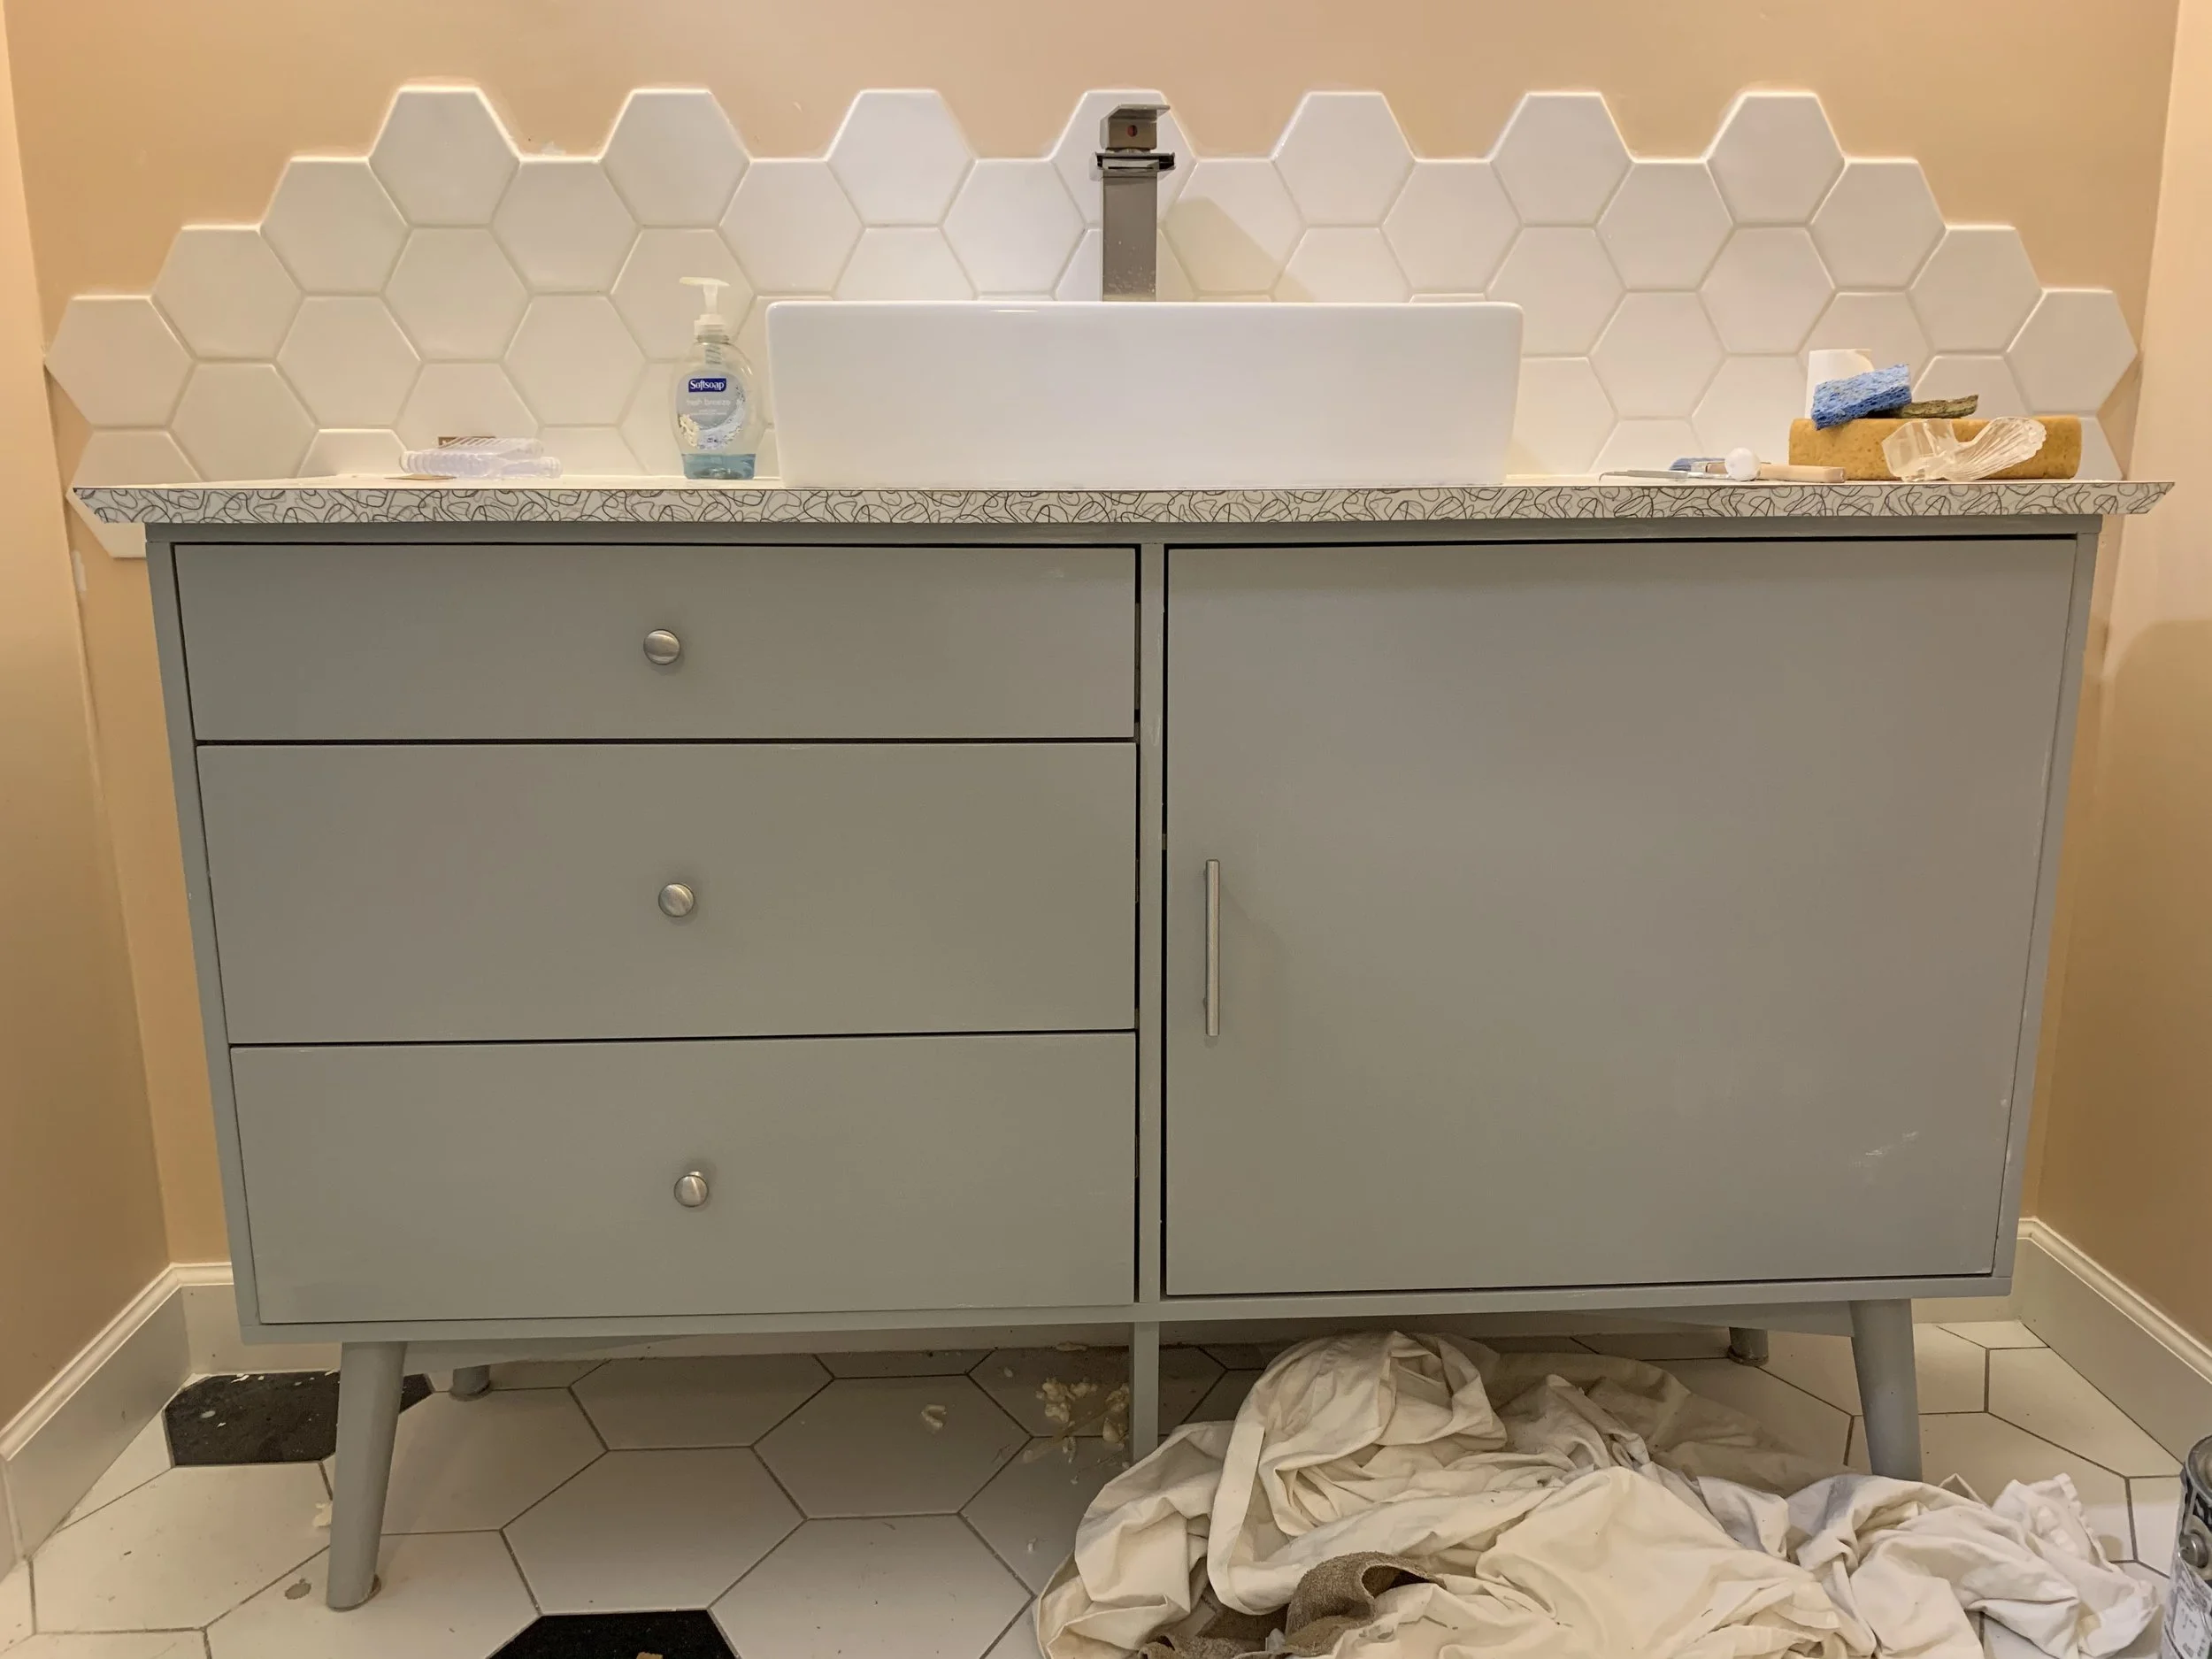
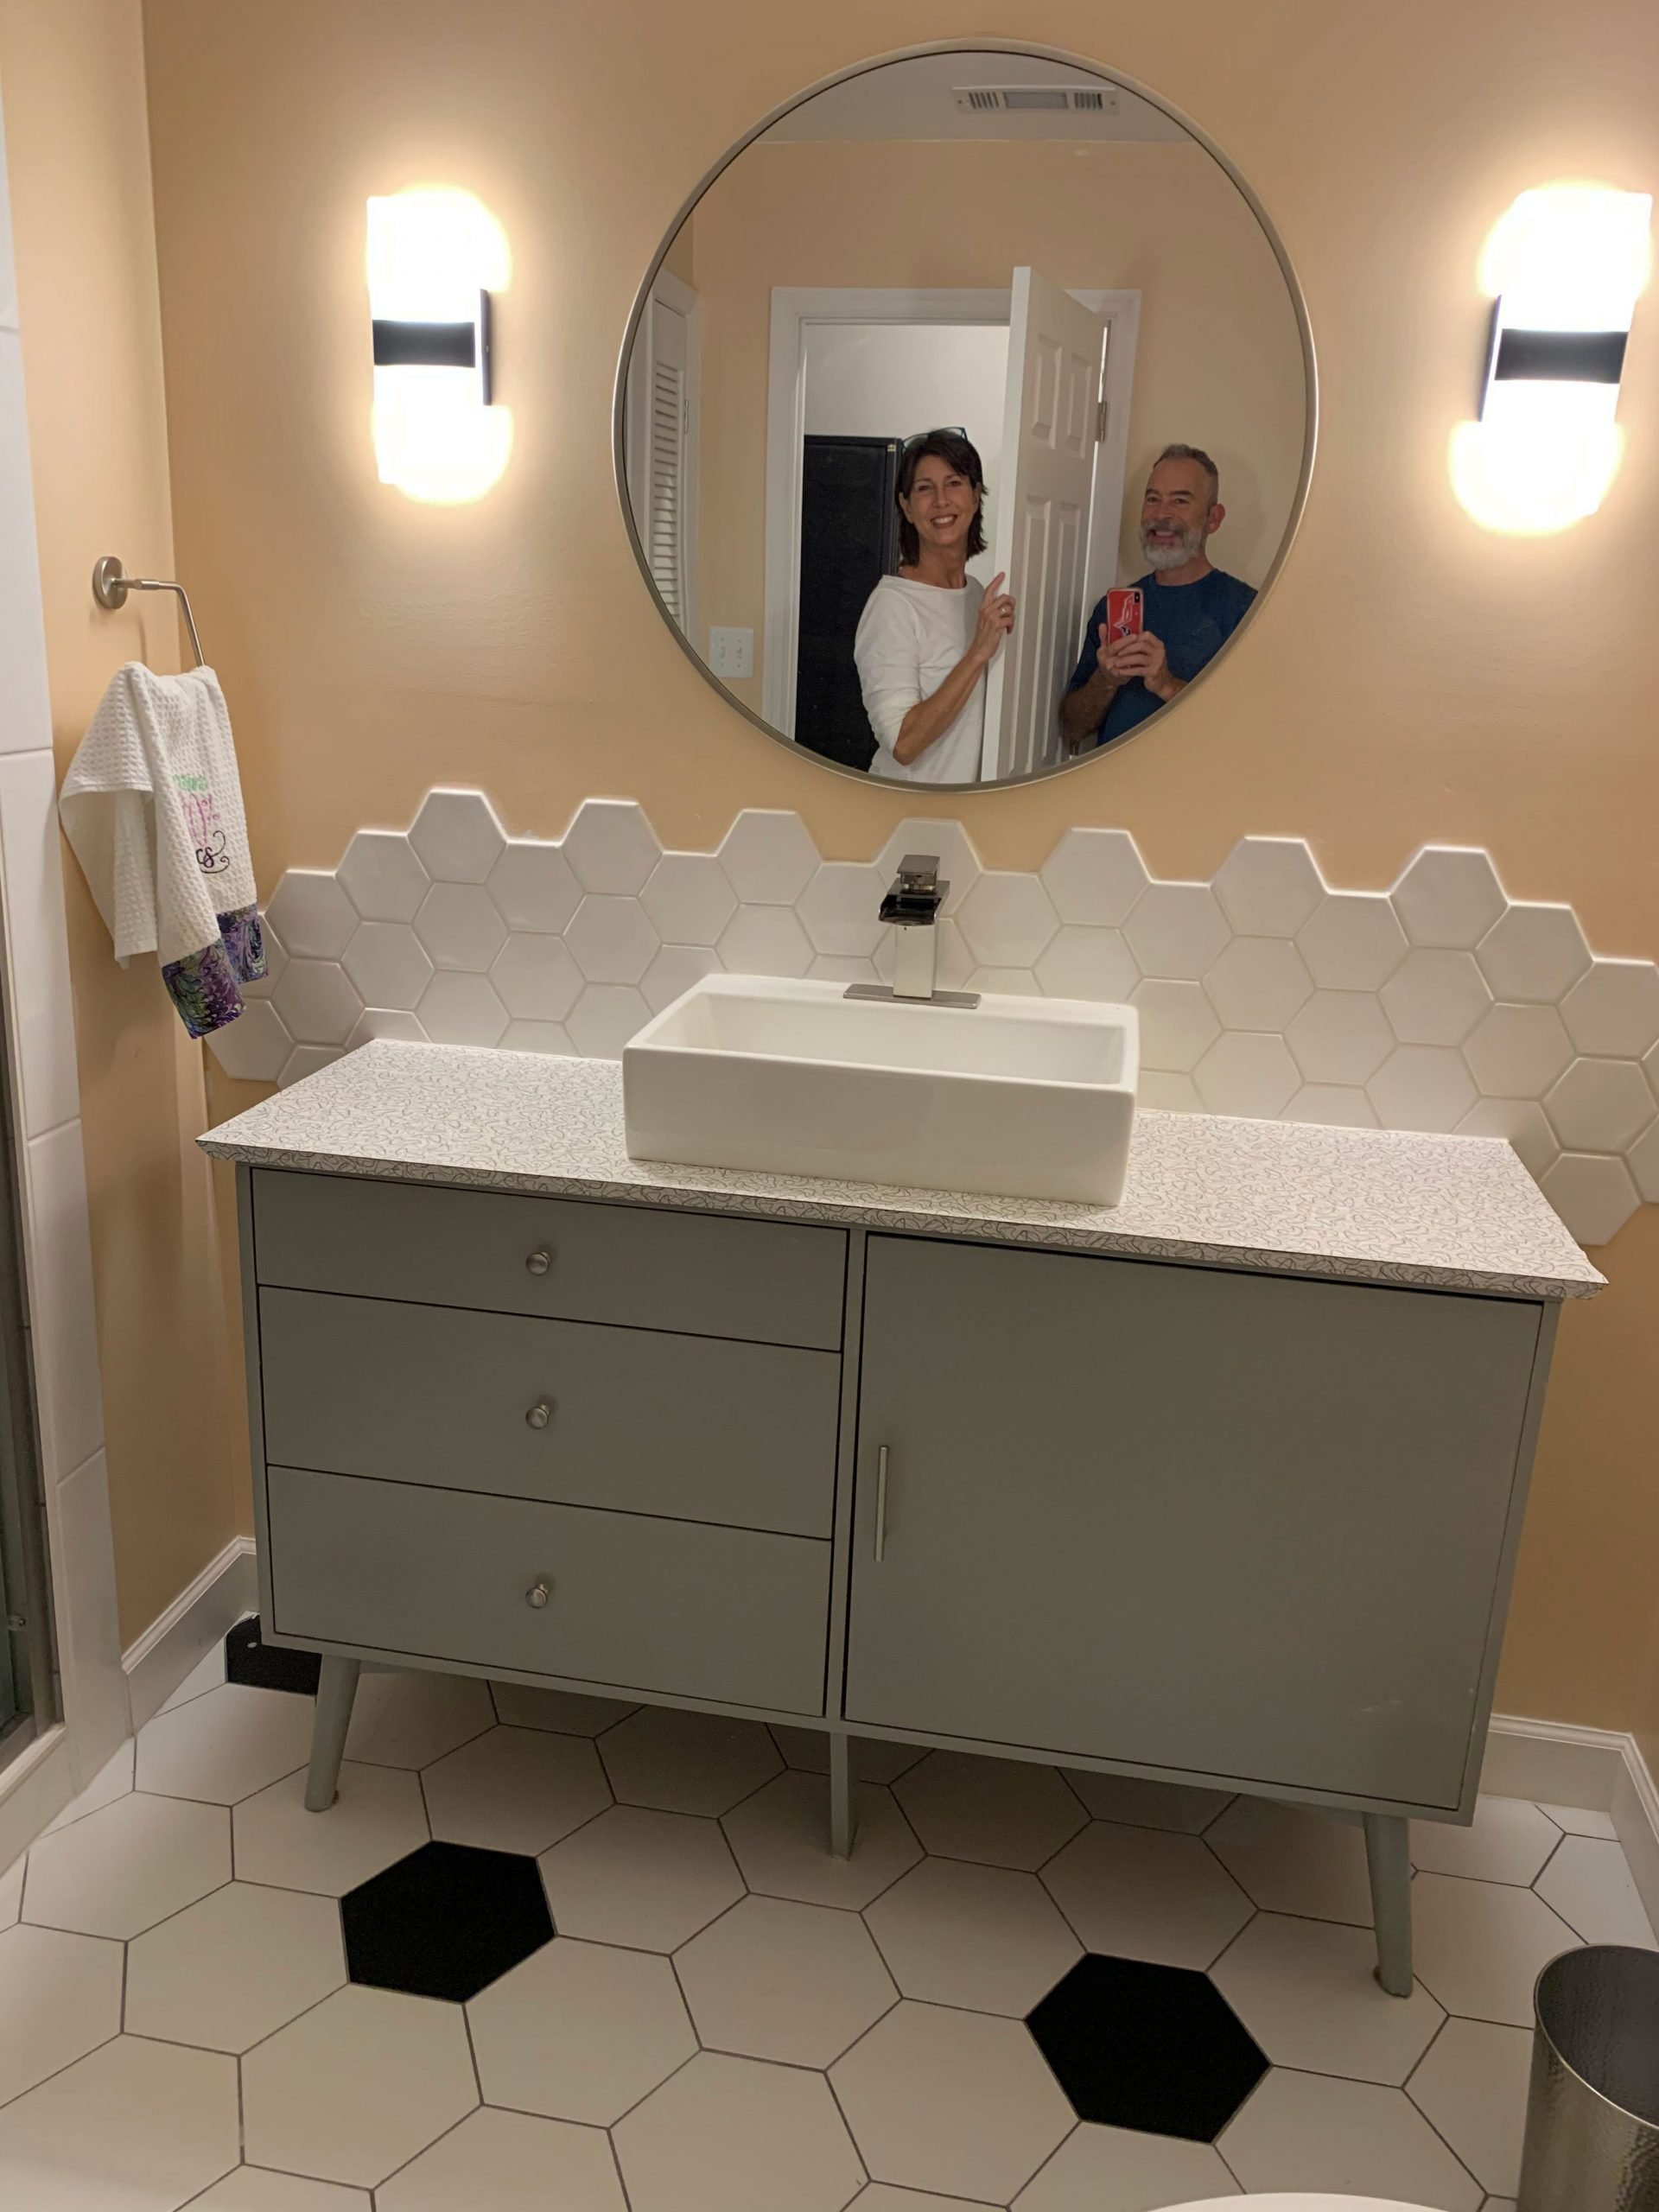
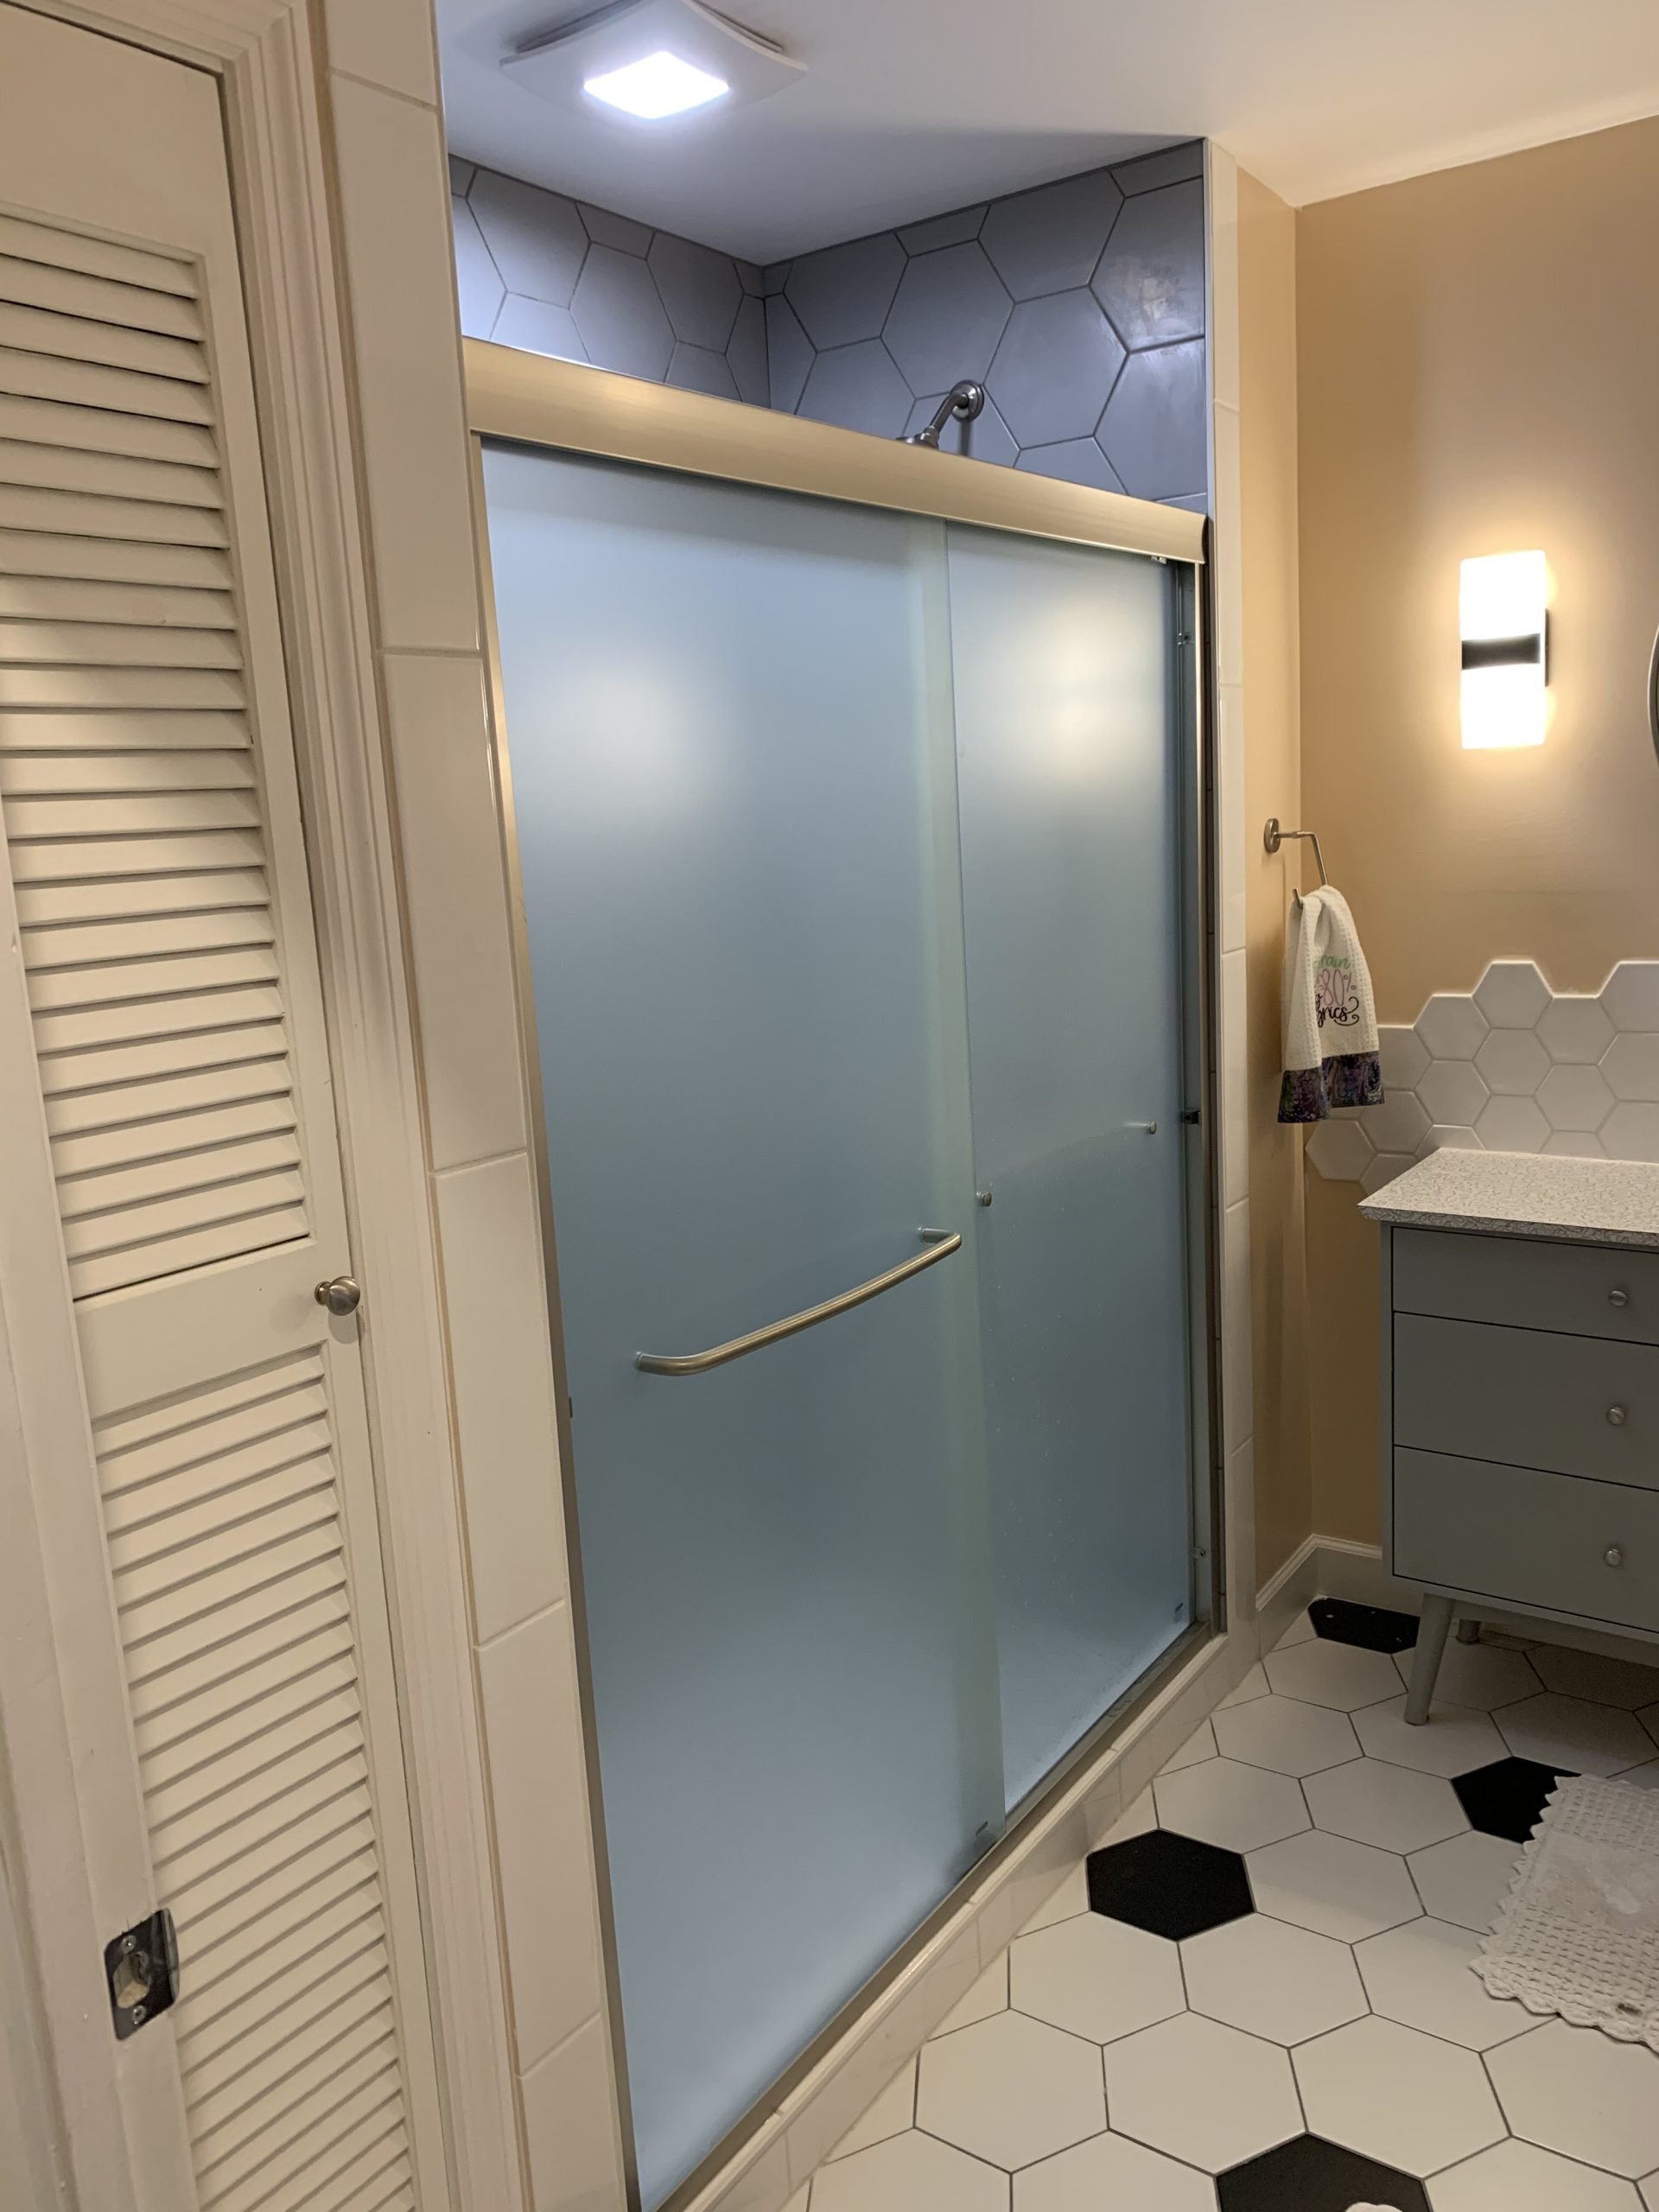
The bathroom renovation actually took precedence and was completed before I framed in the new downstairs ceiling. We decided to go mid-century modern with the design. The tile choice was black white and grey and all hexagon.
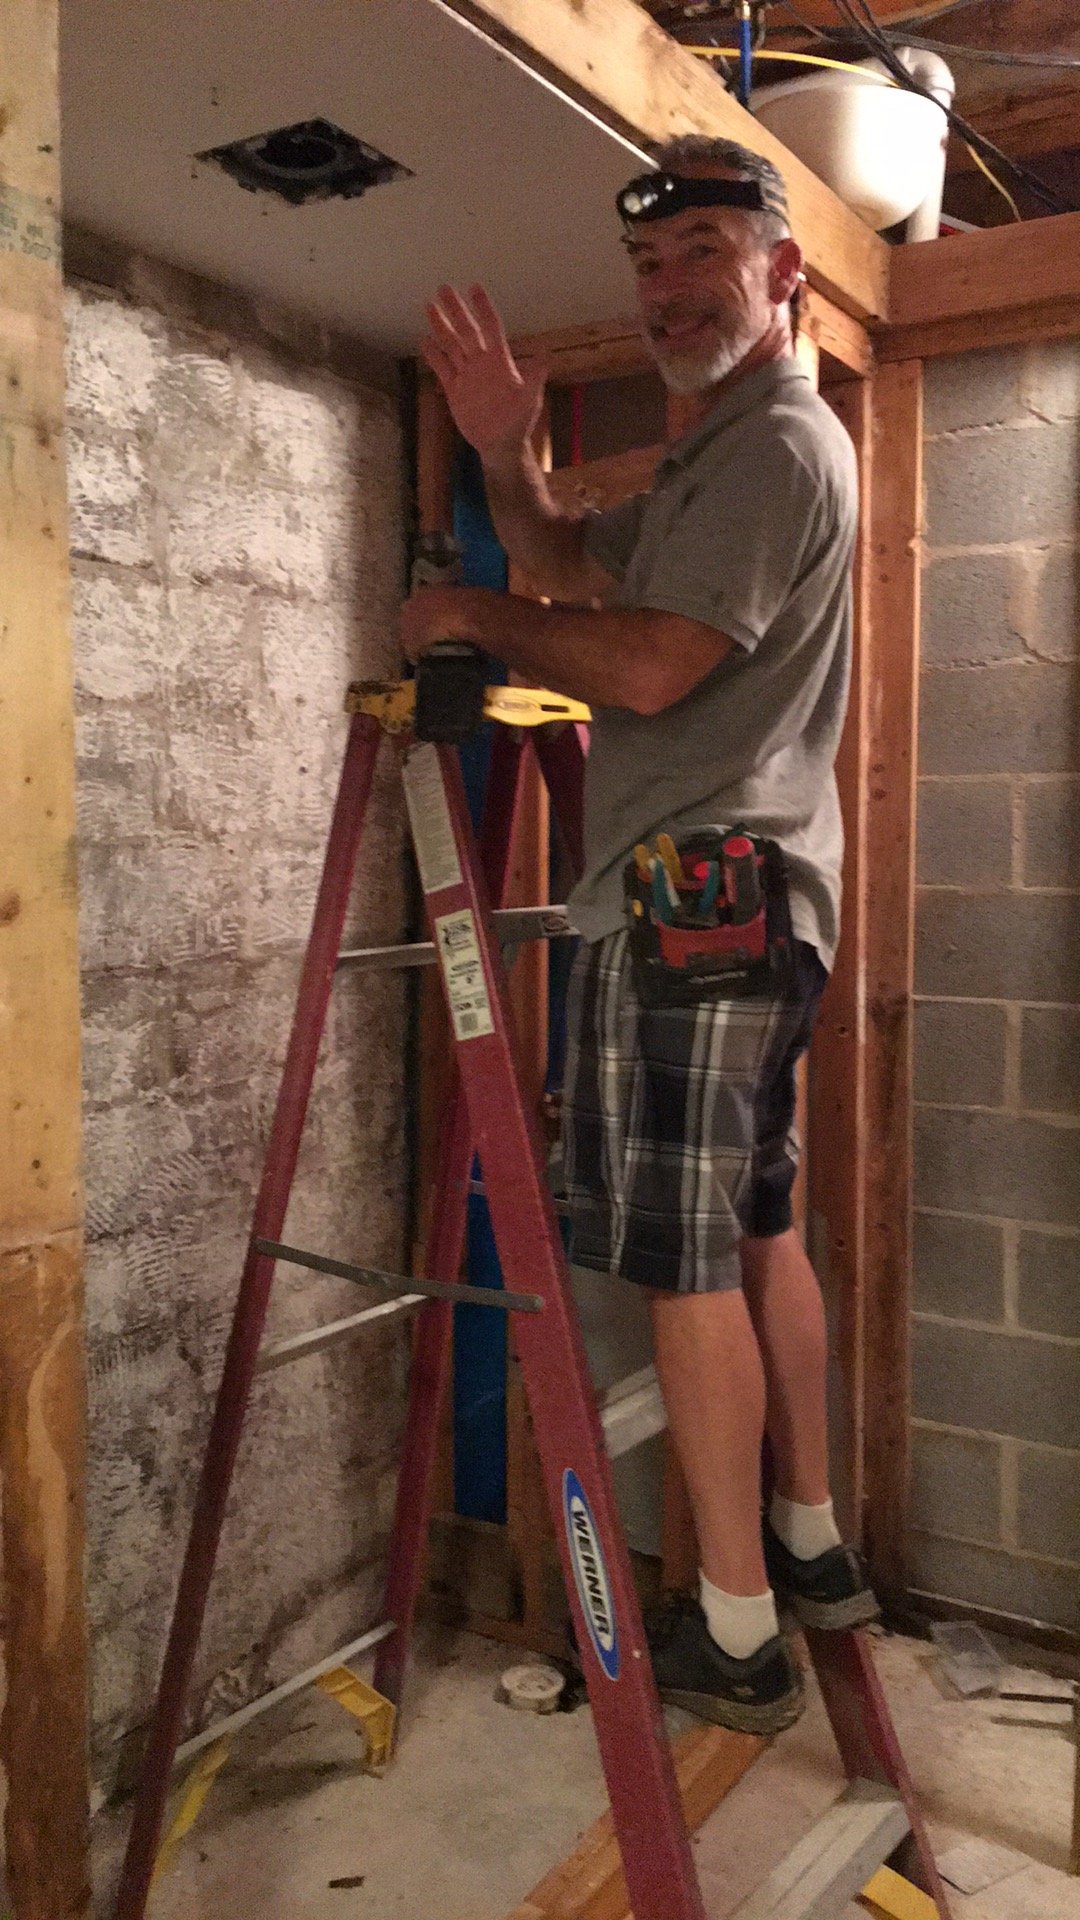
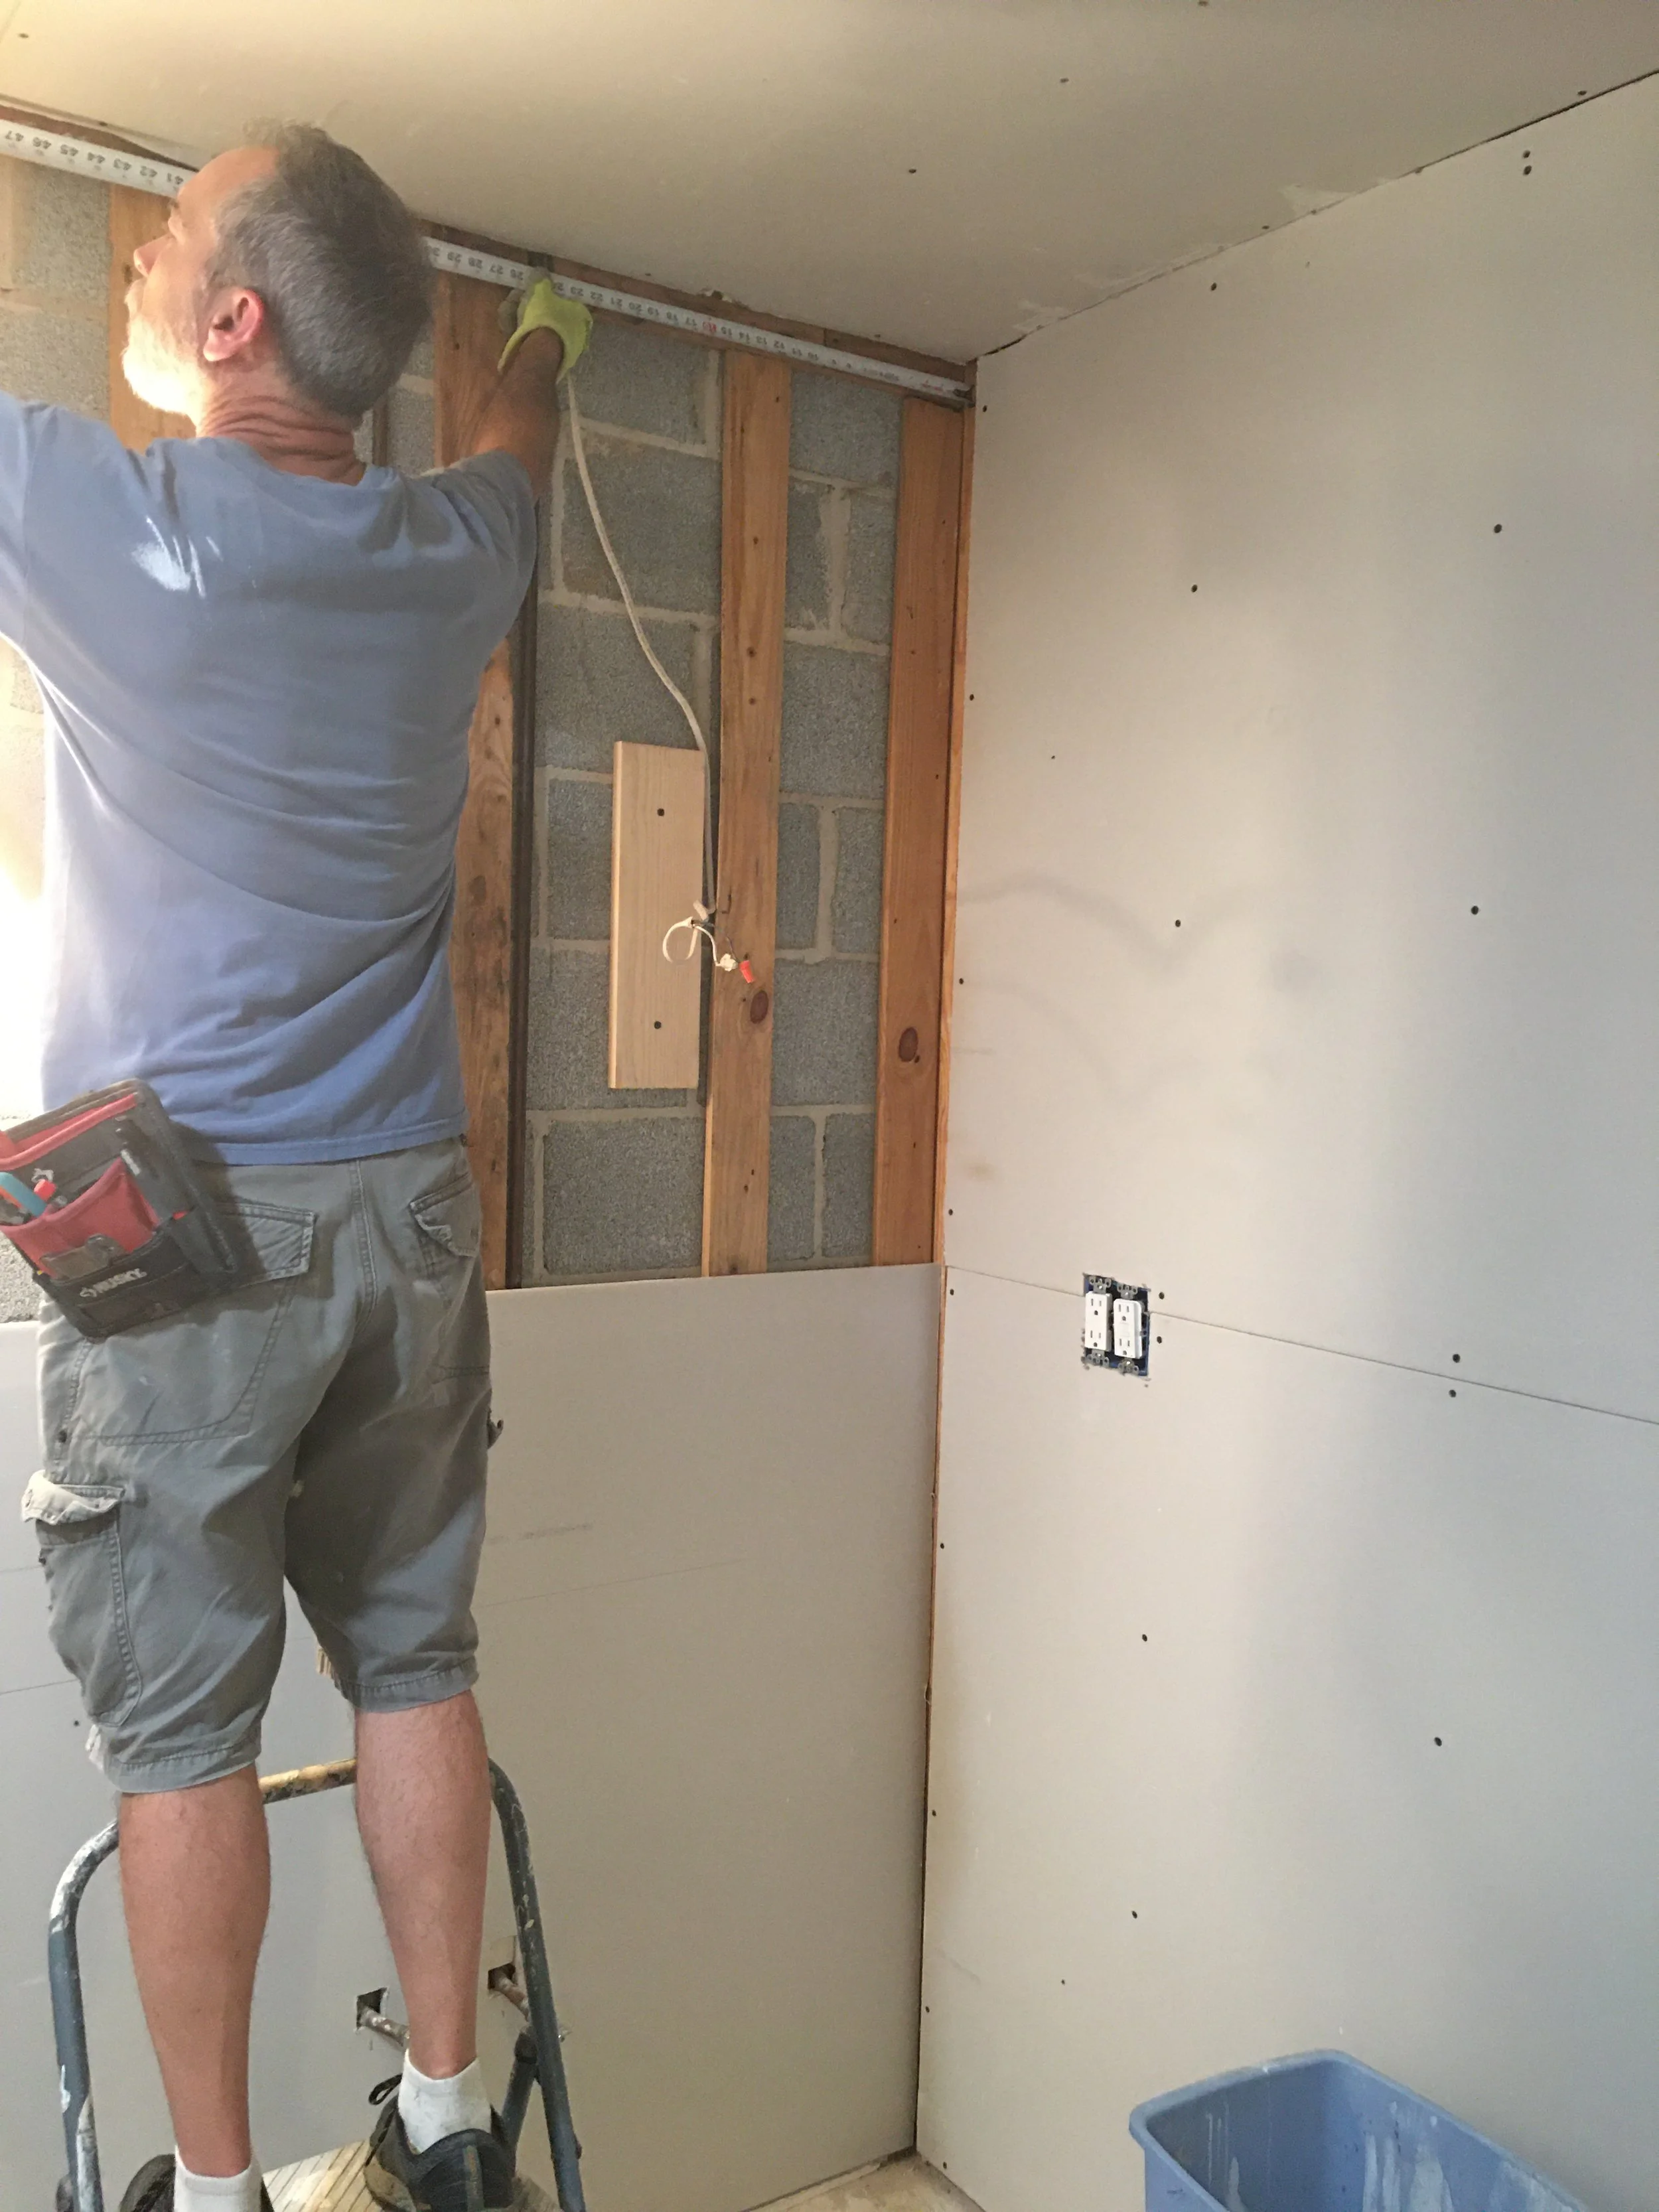
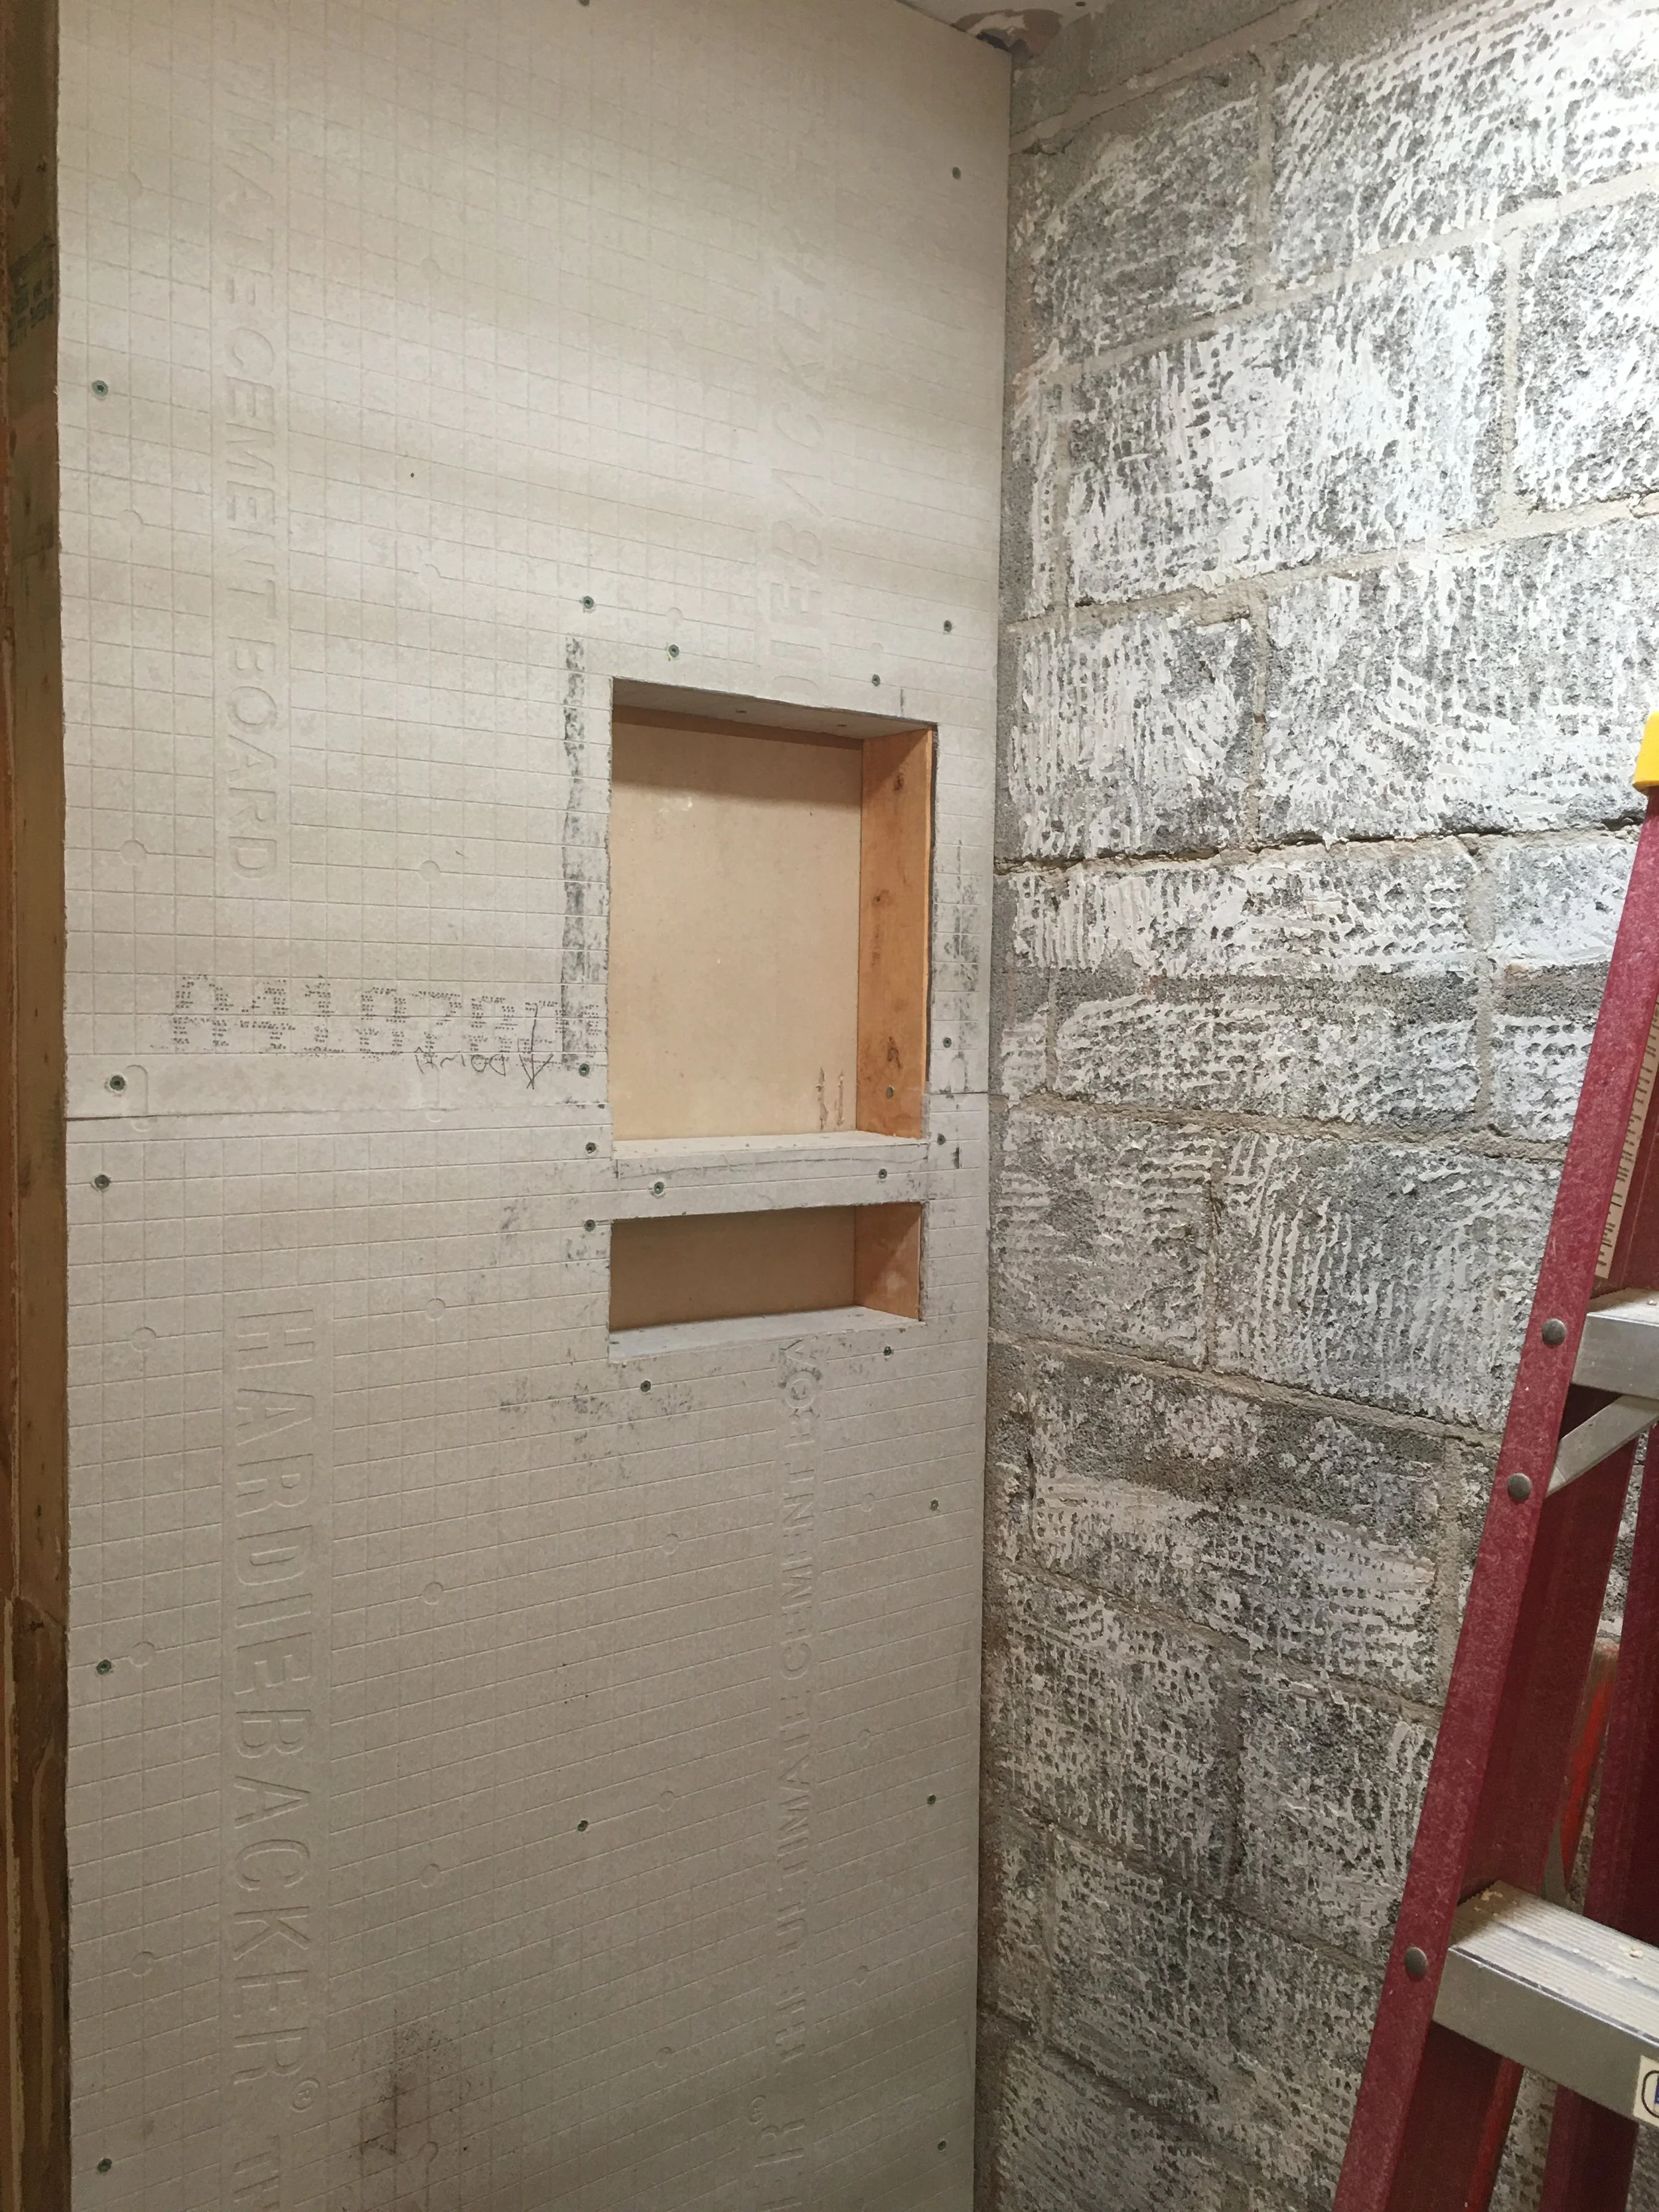

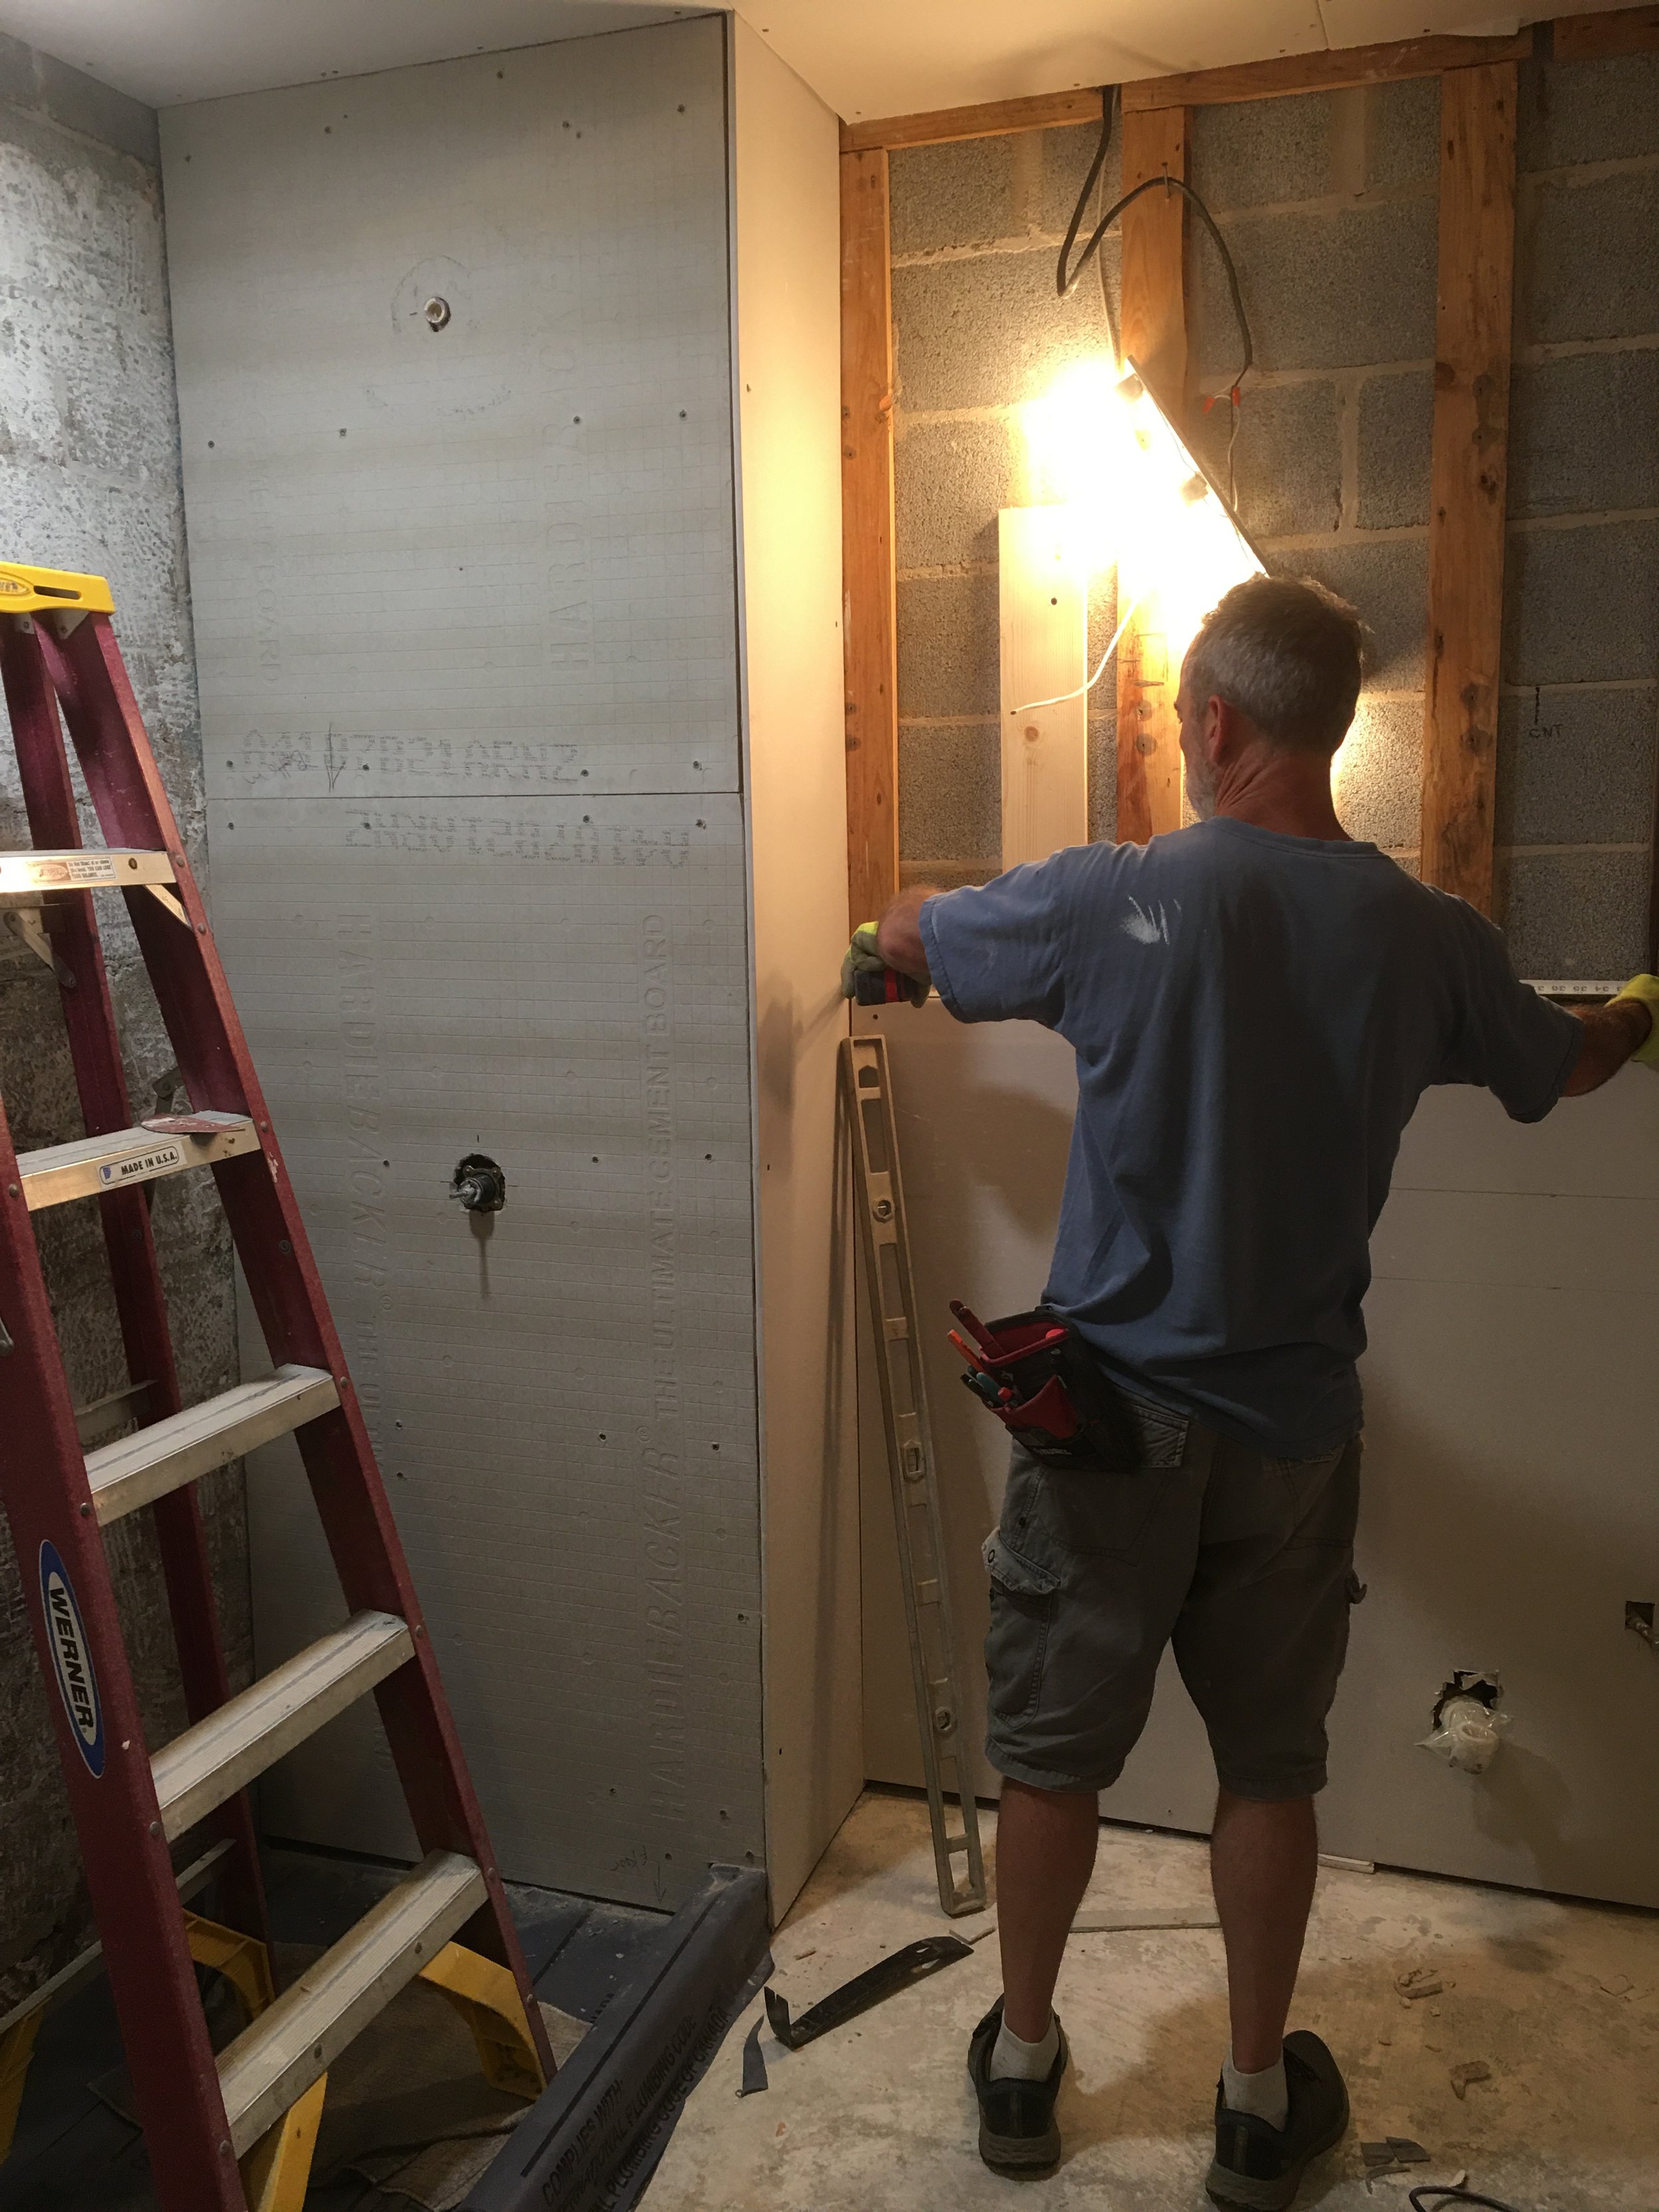
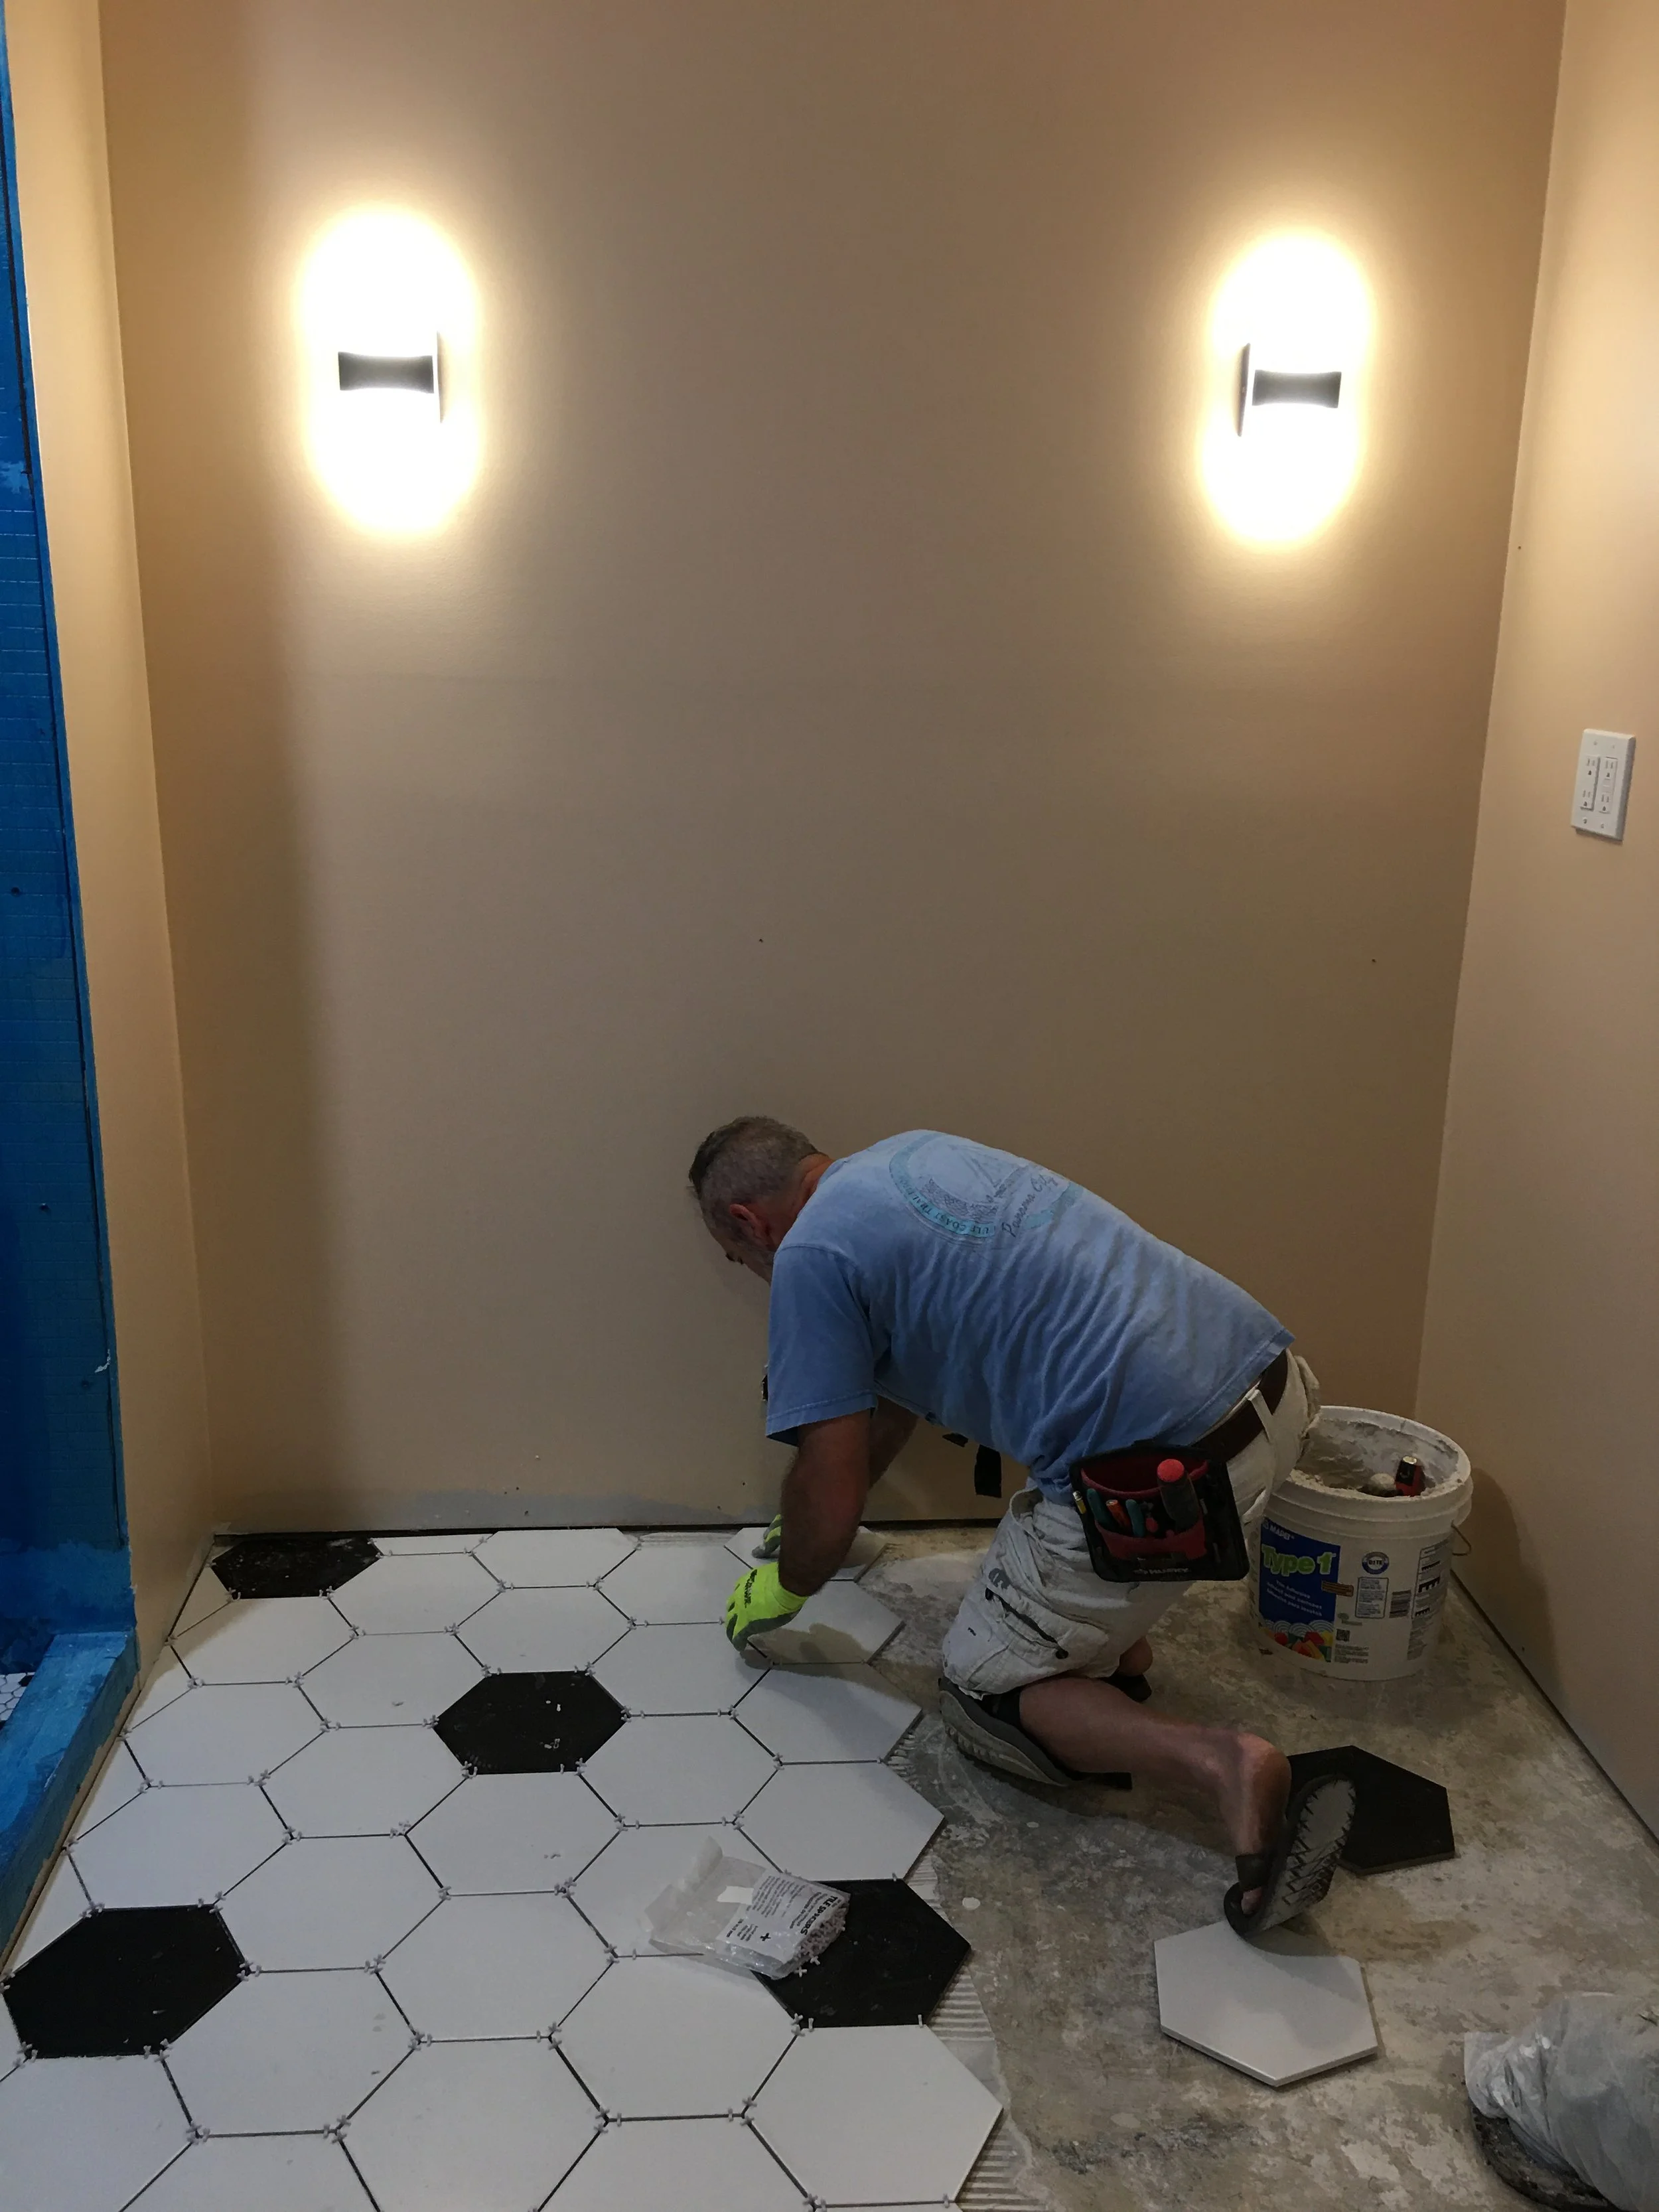
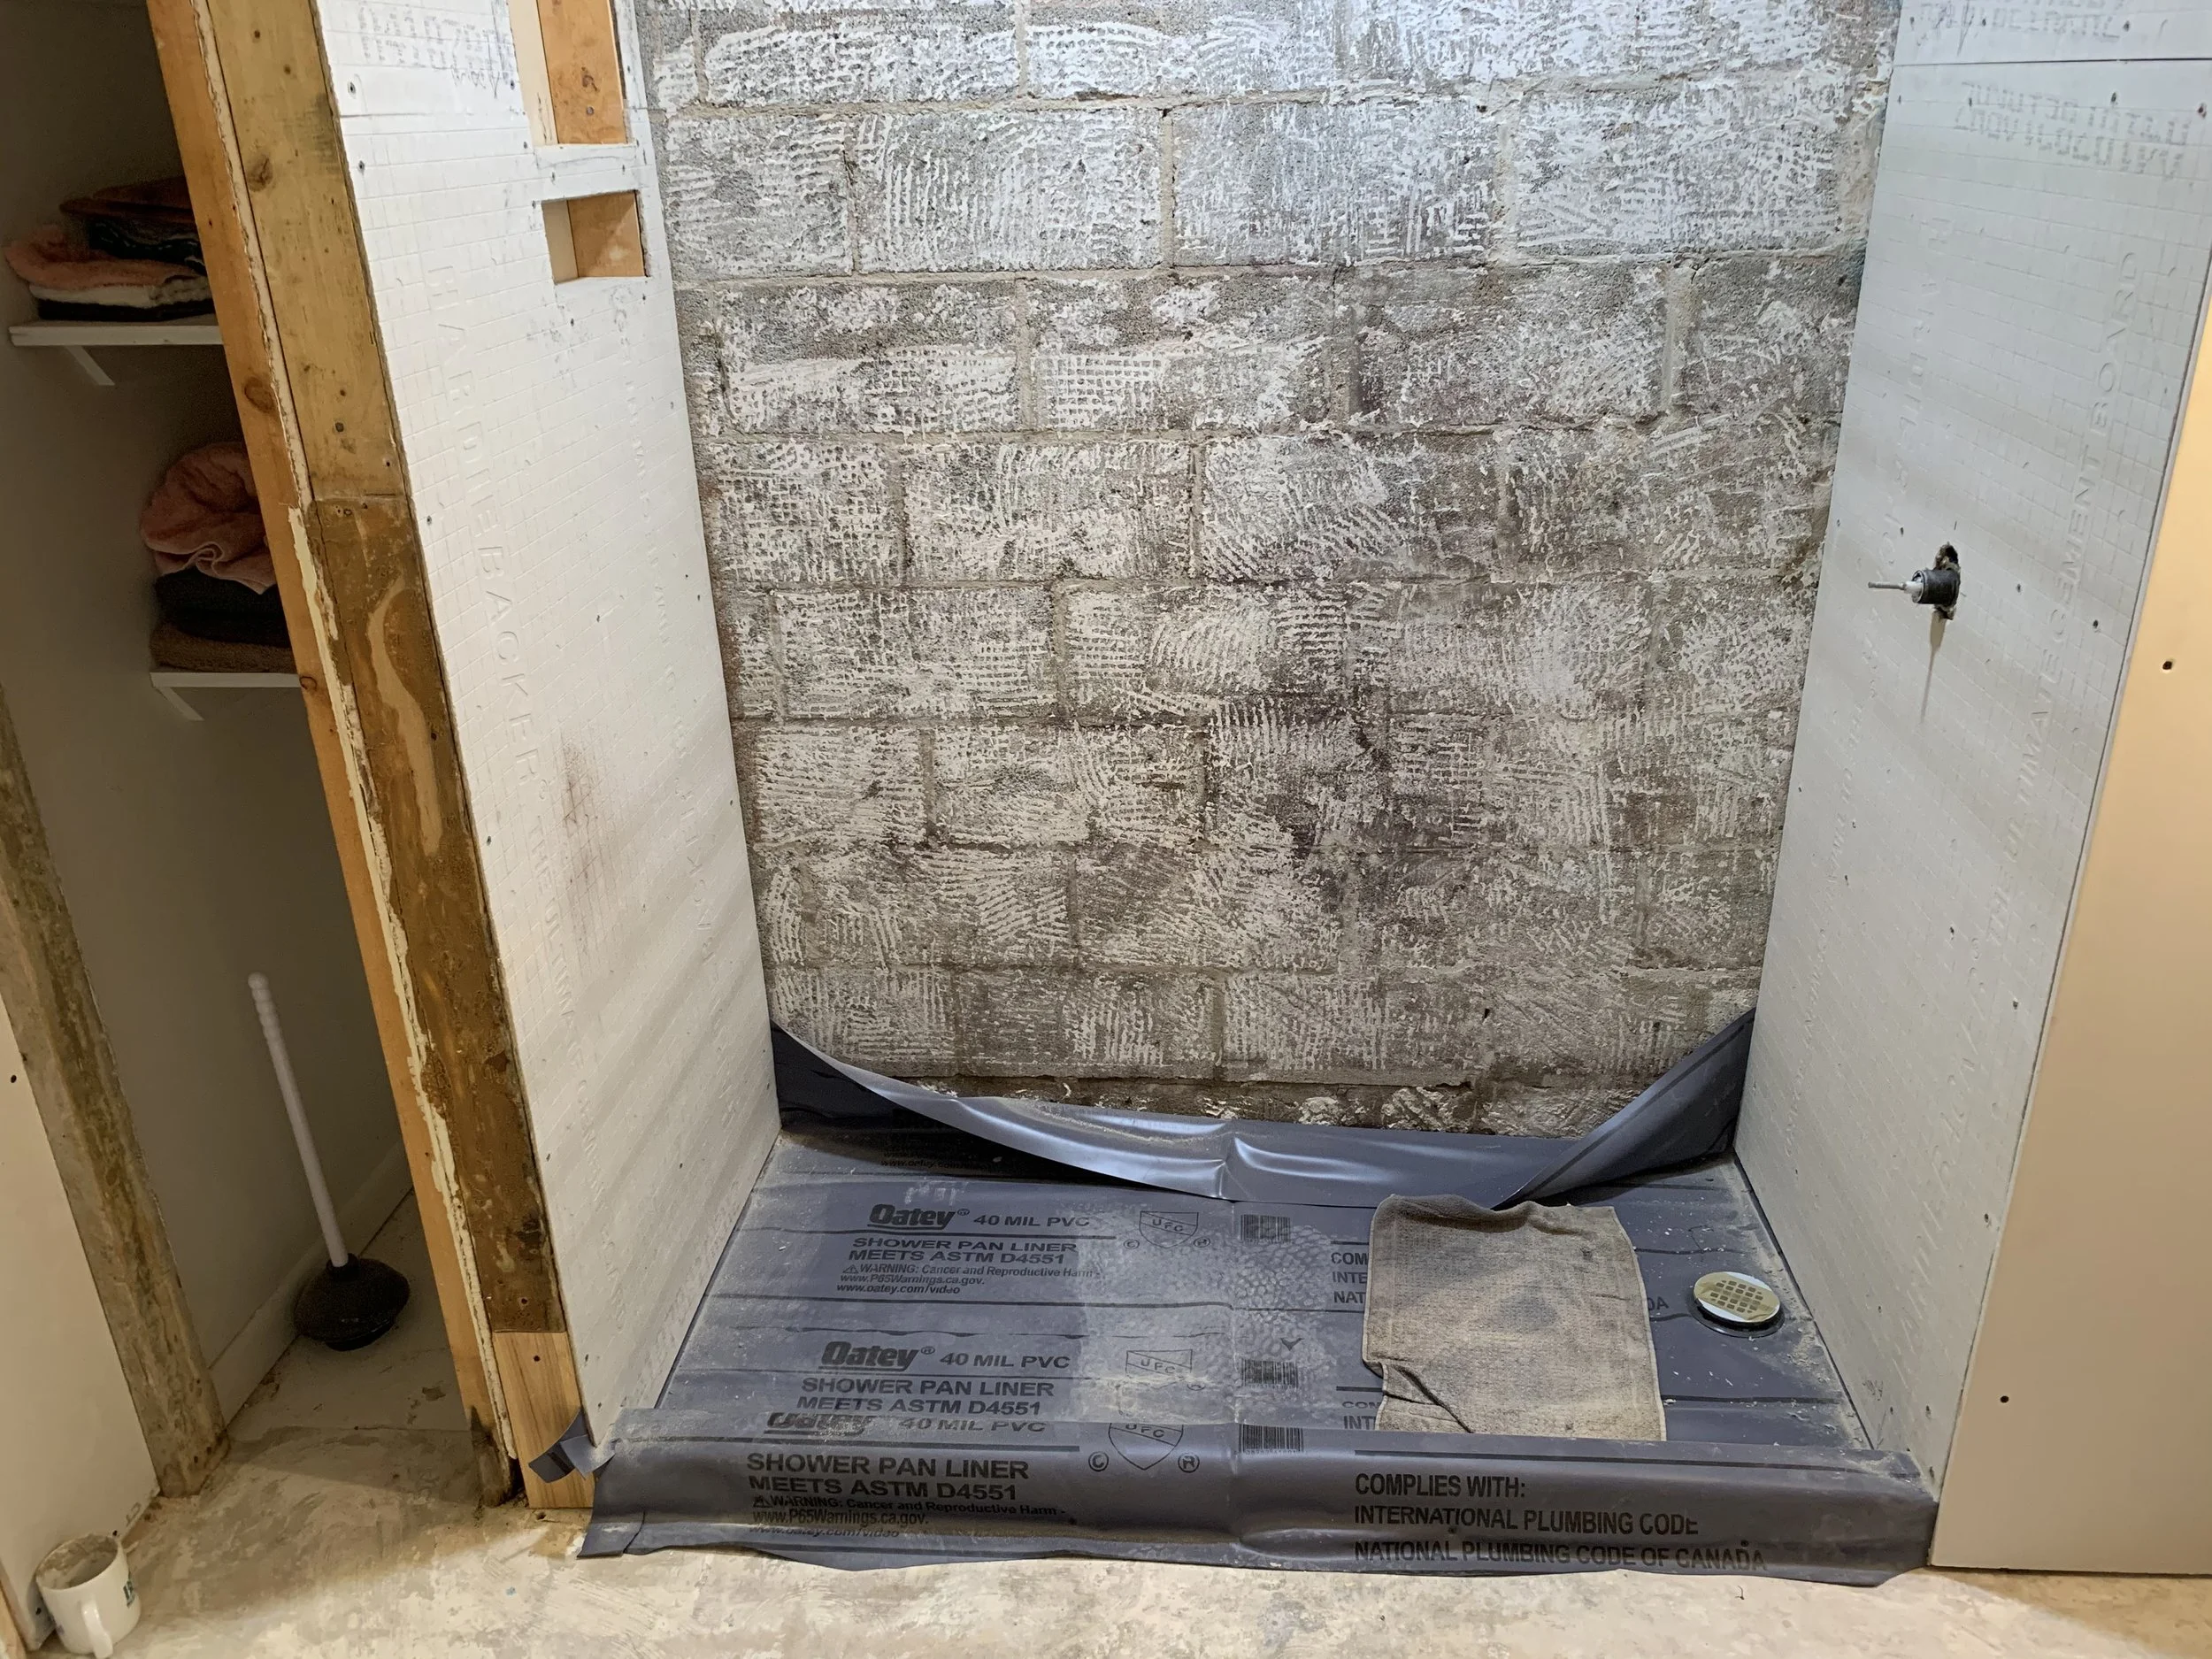
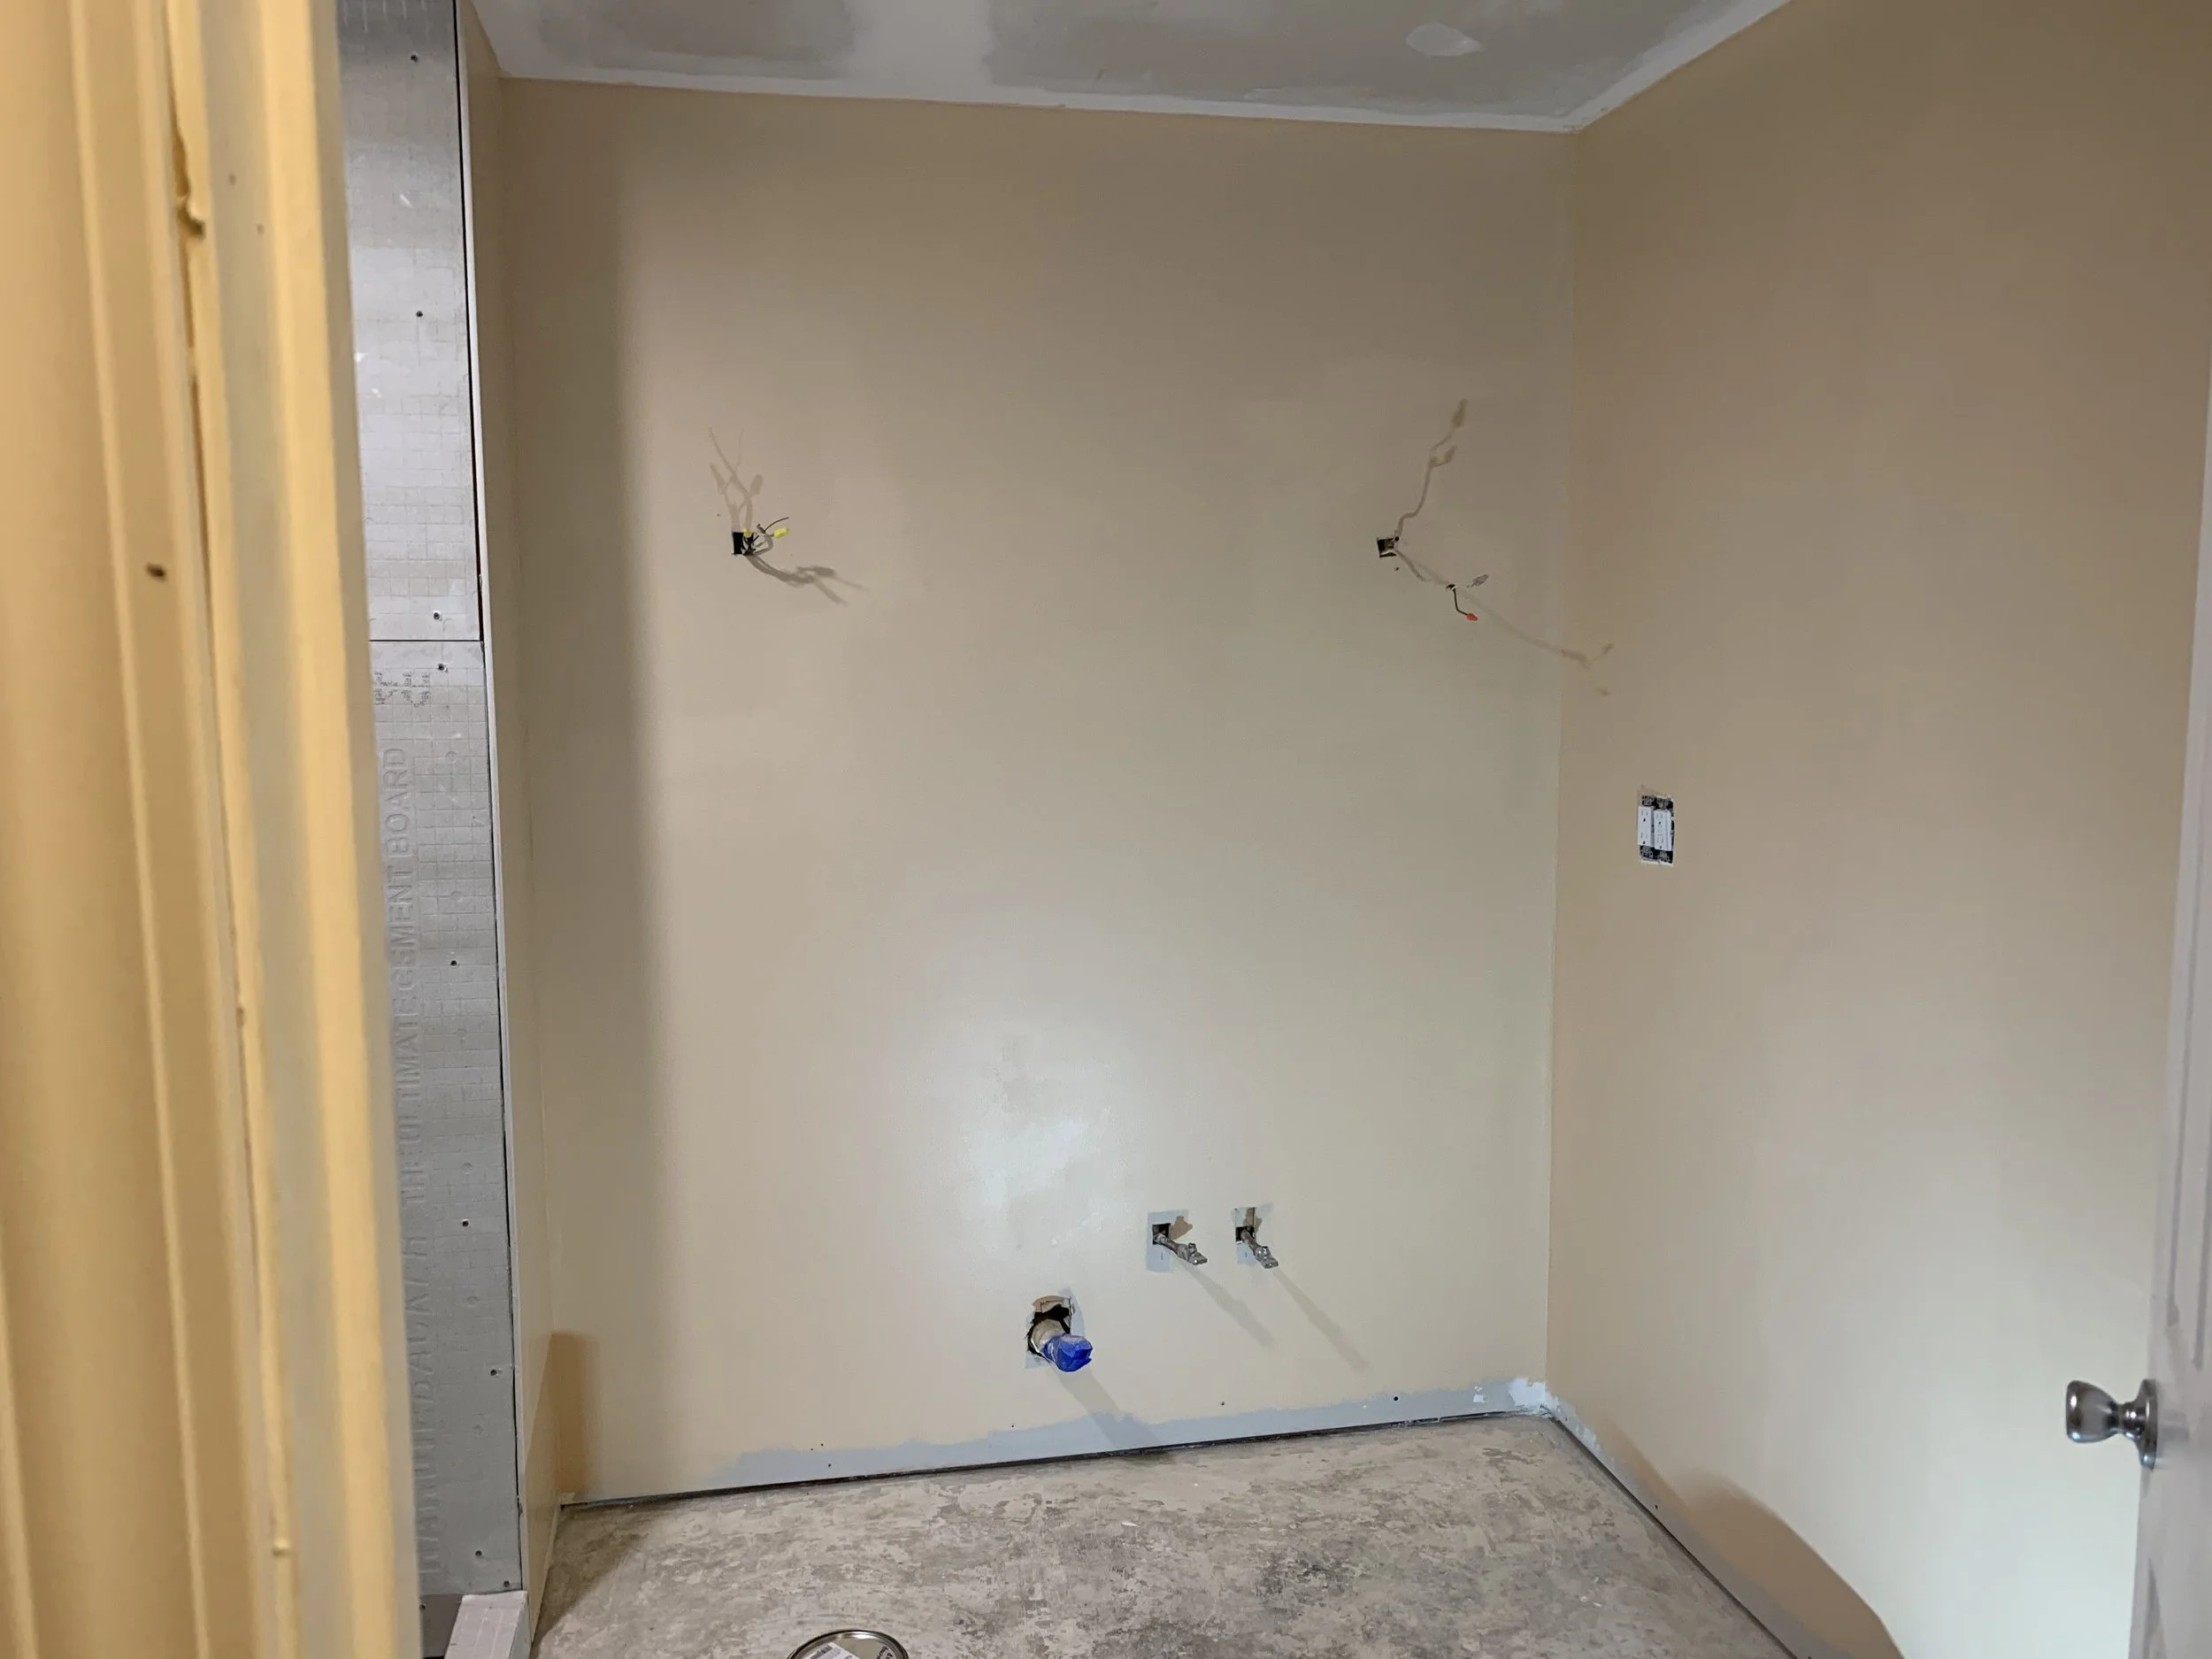
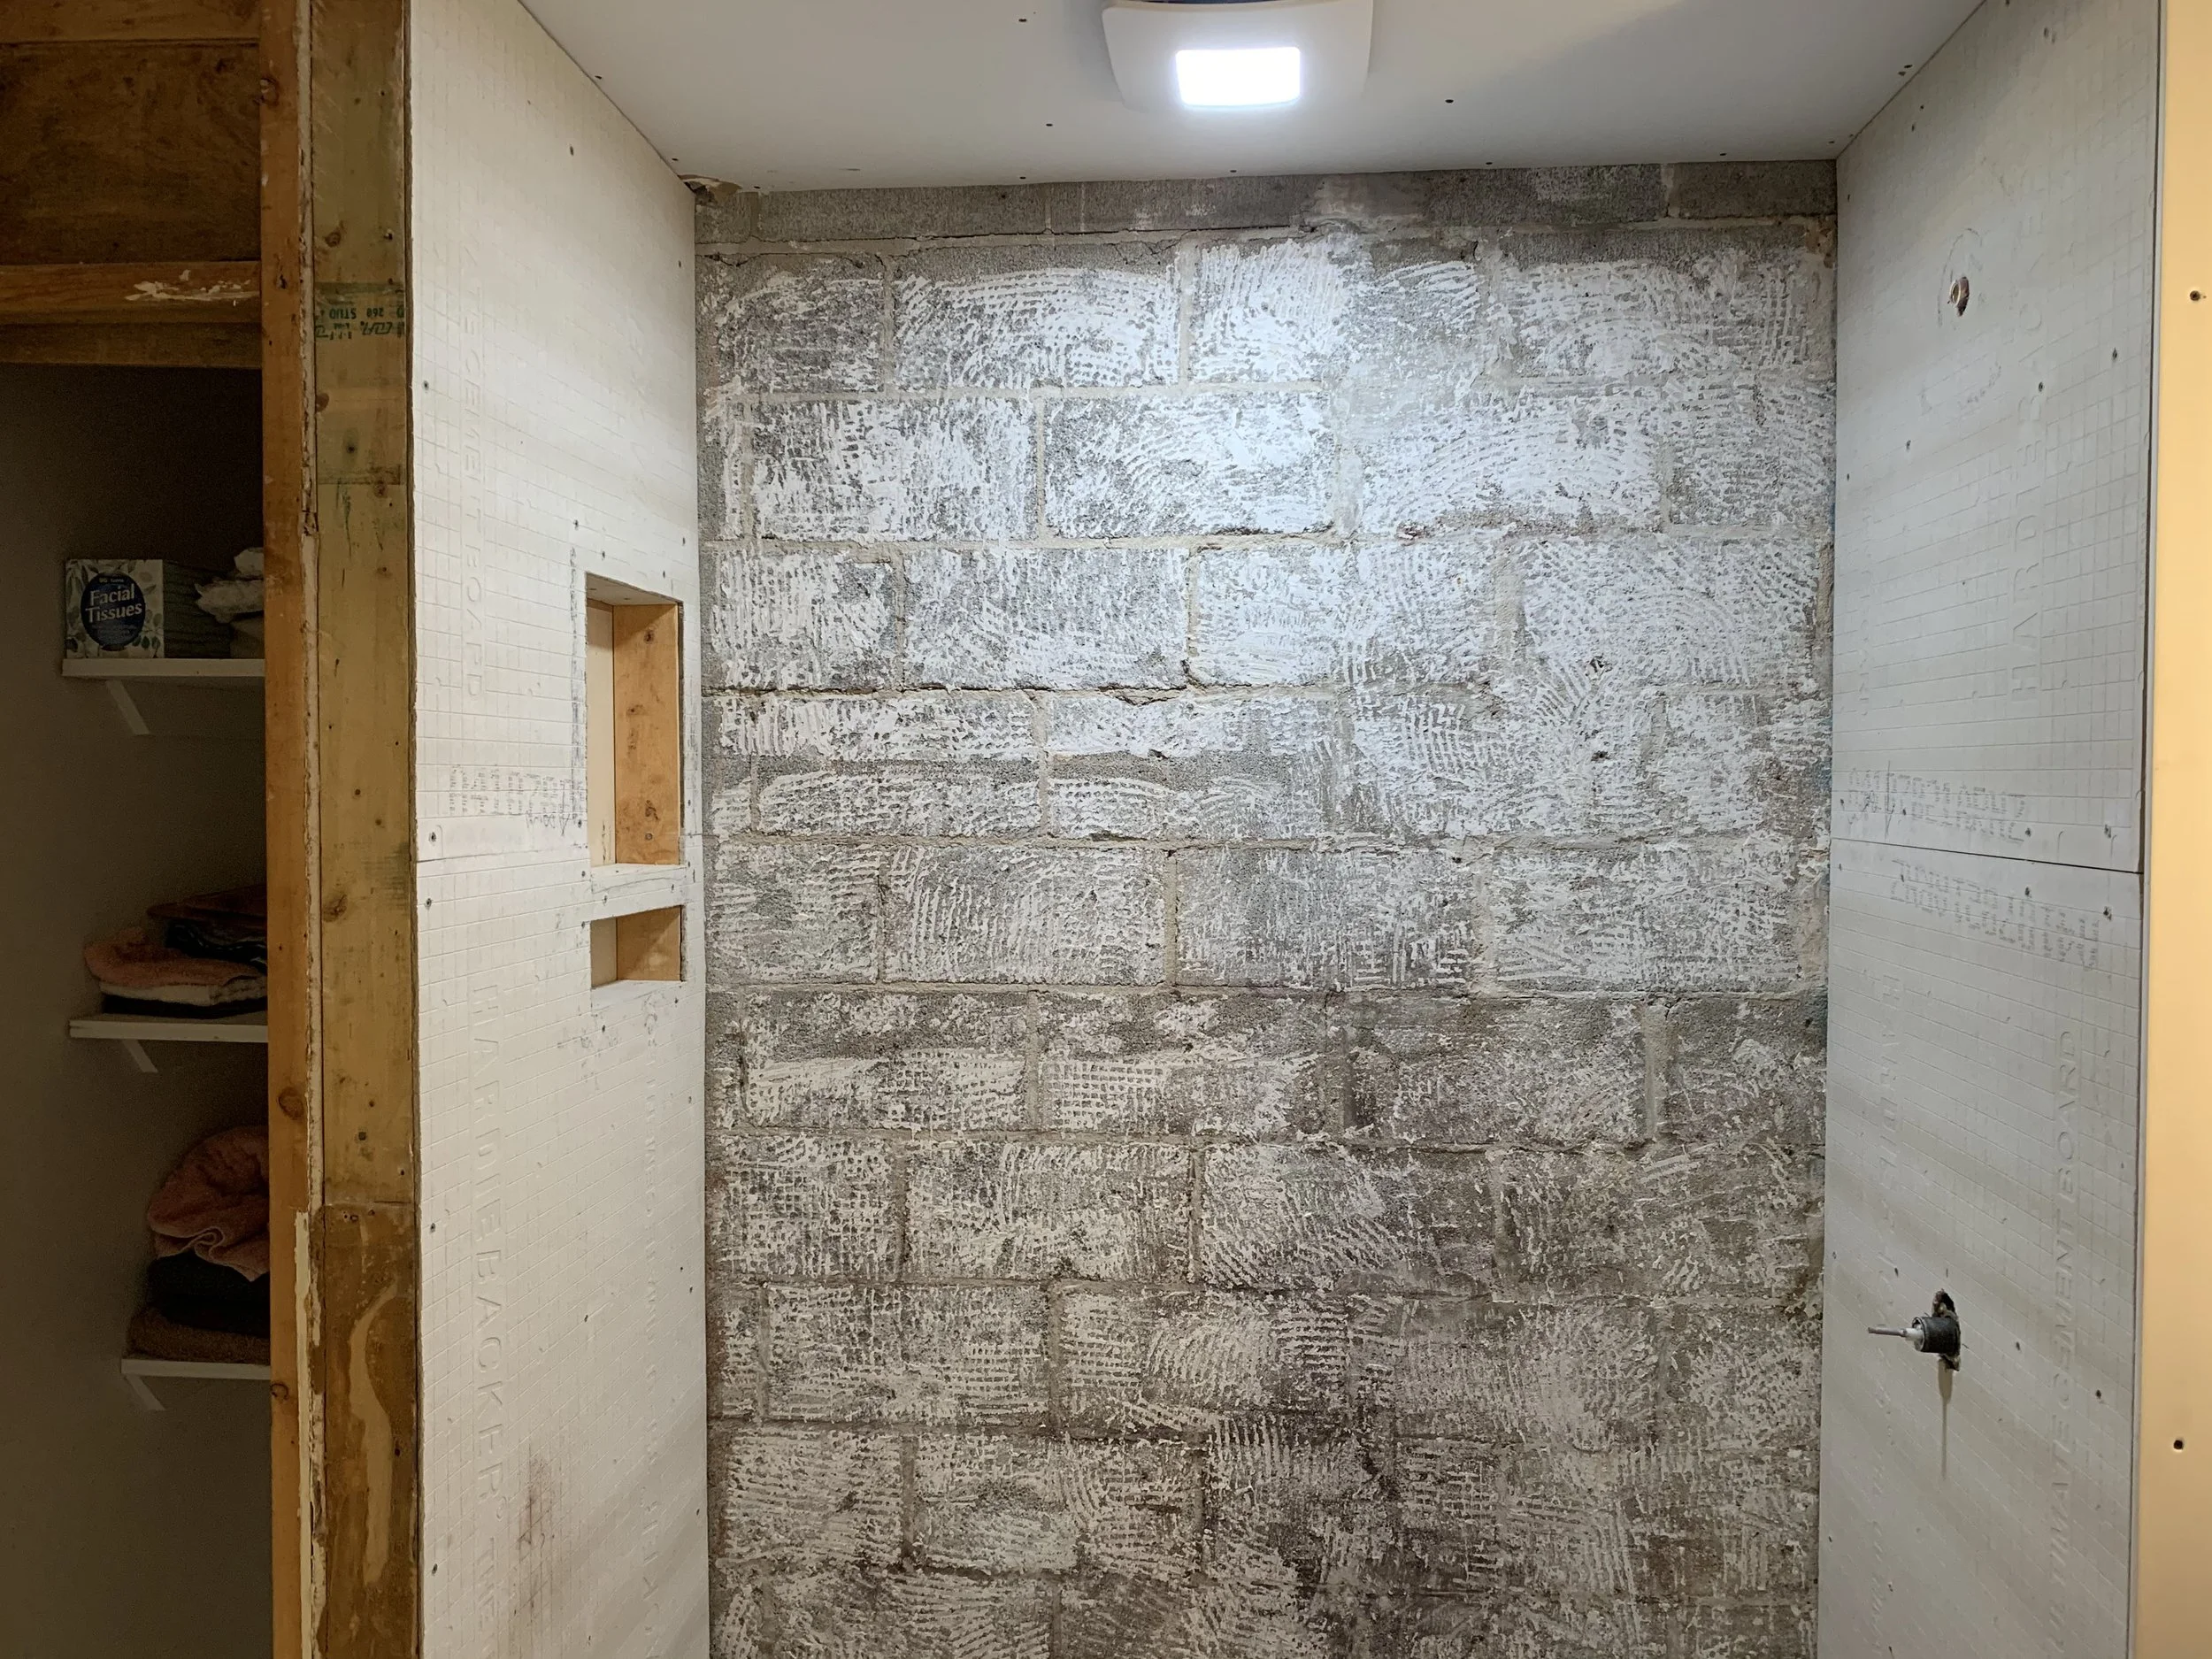
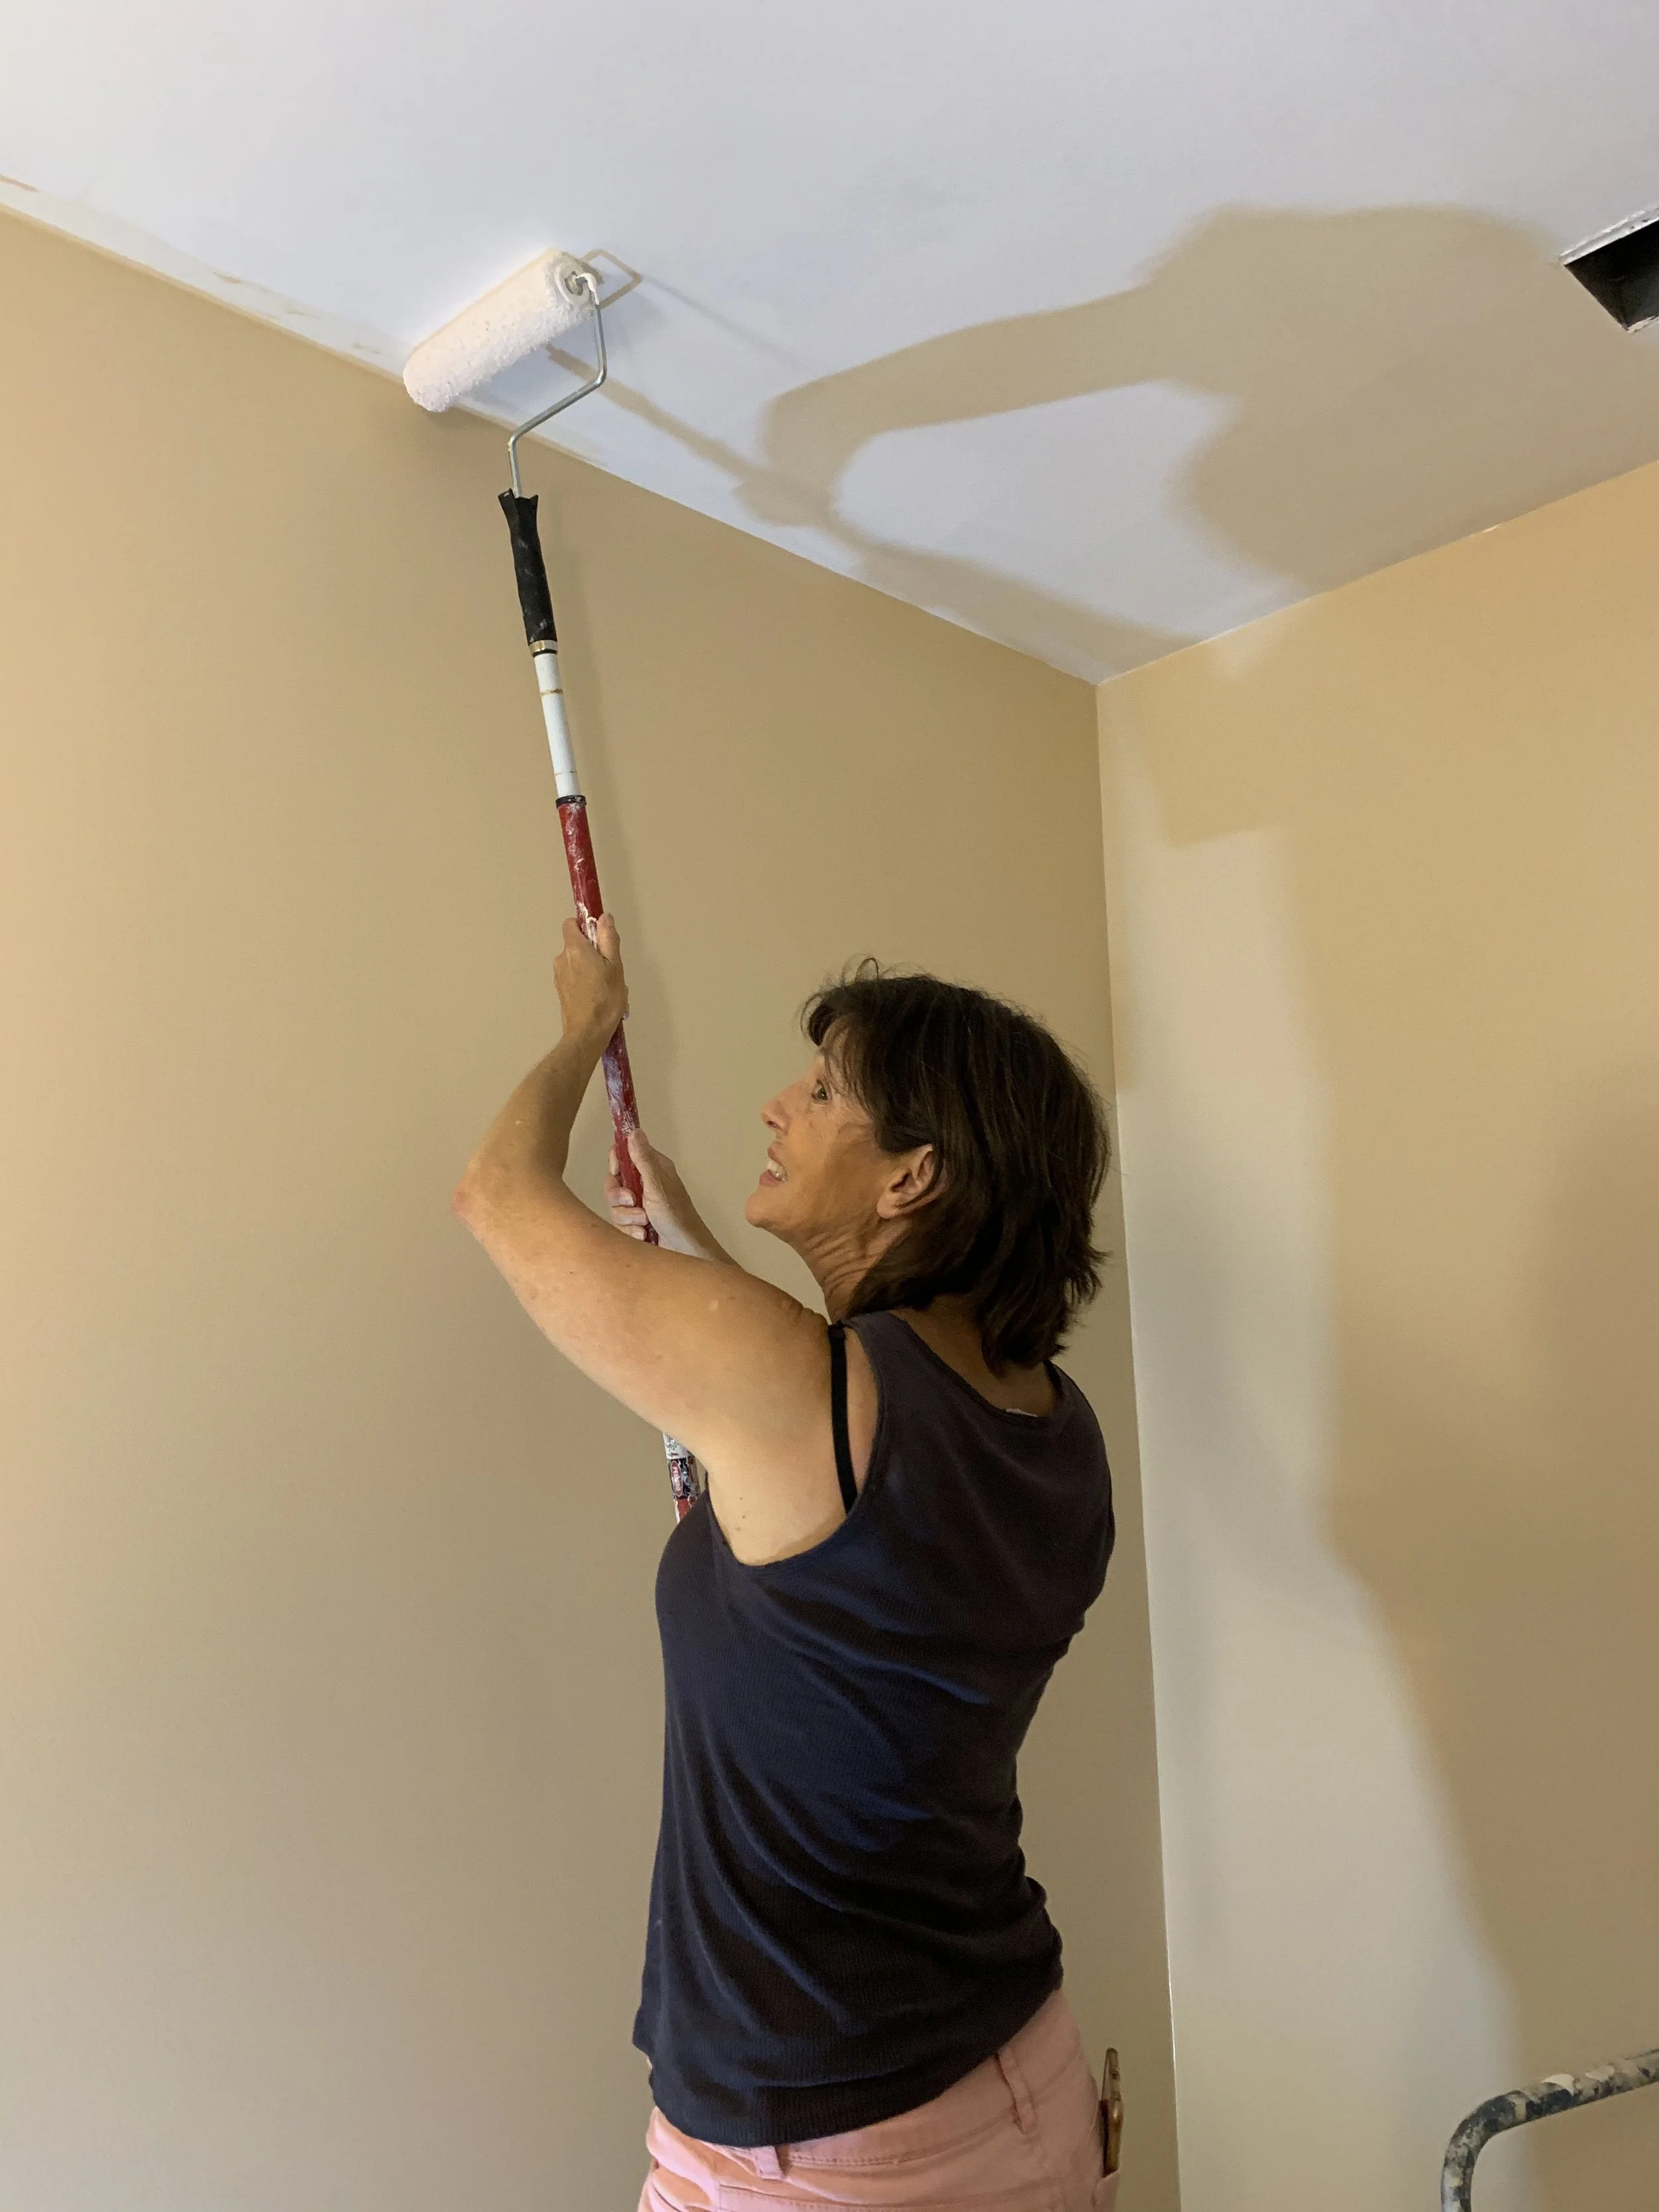
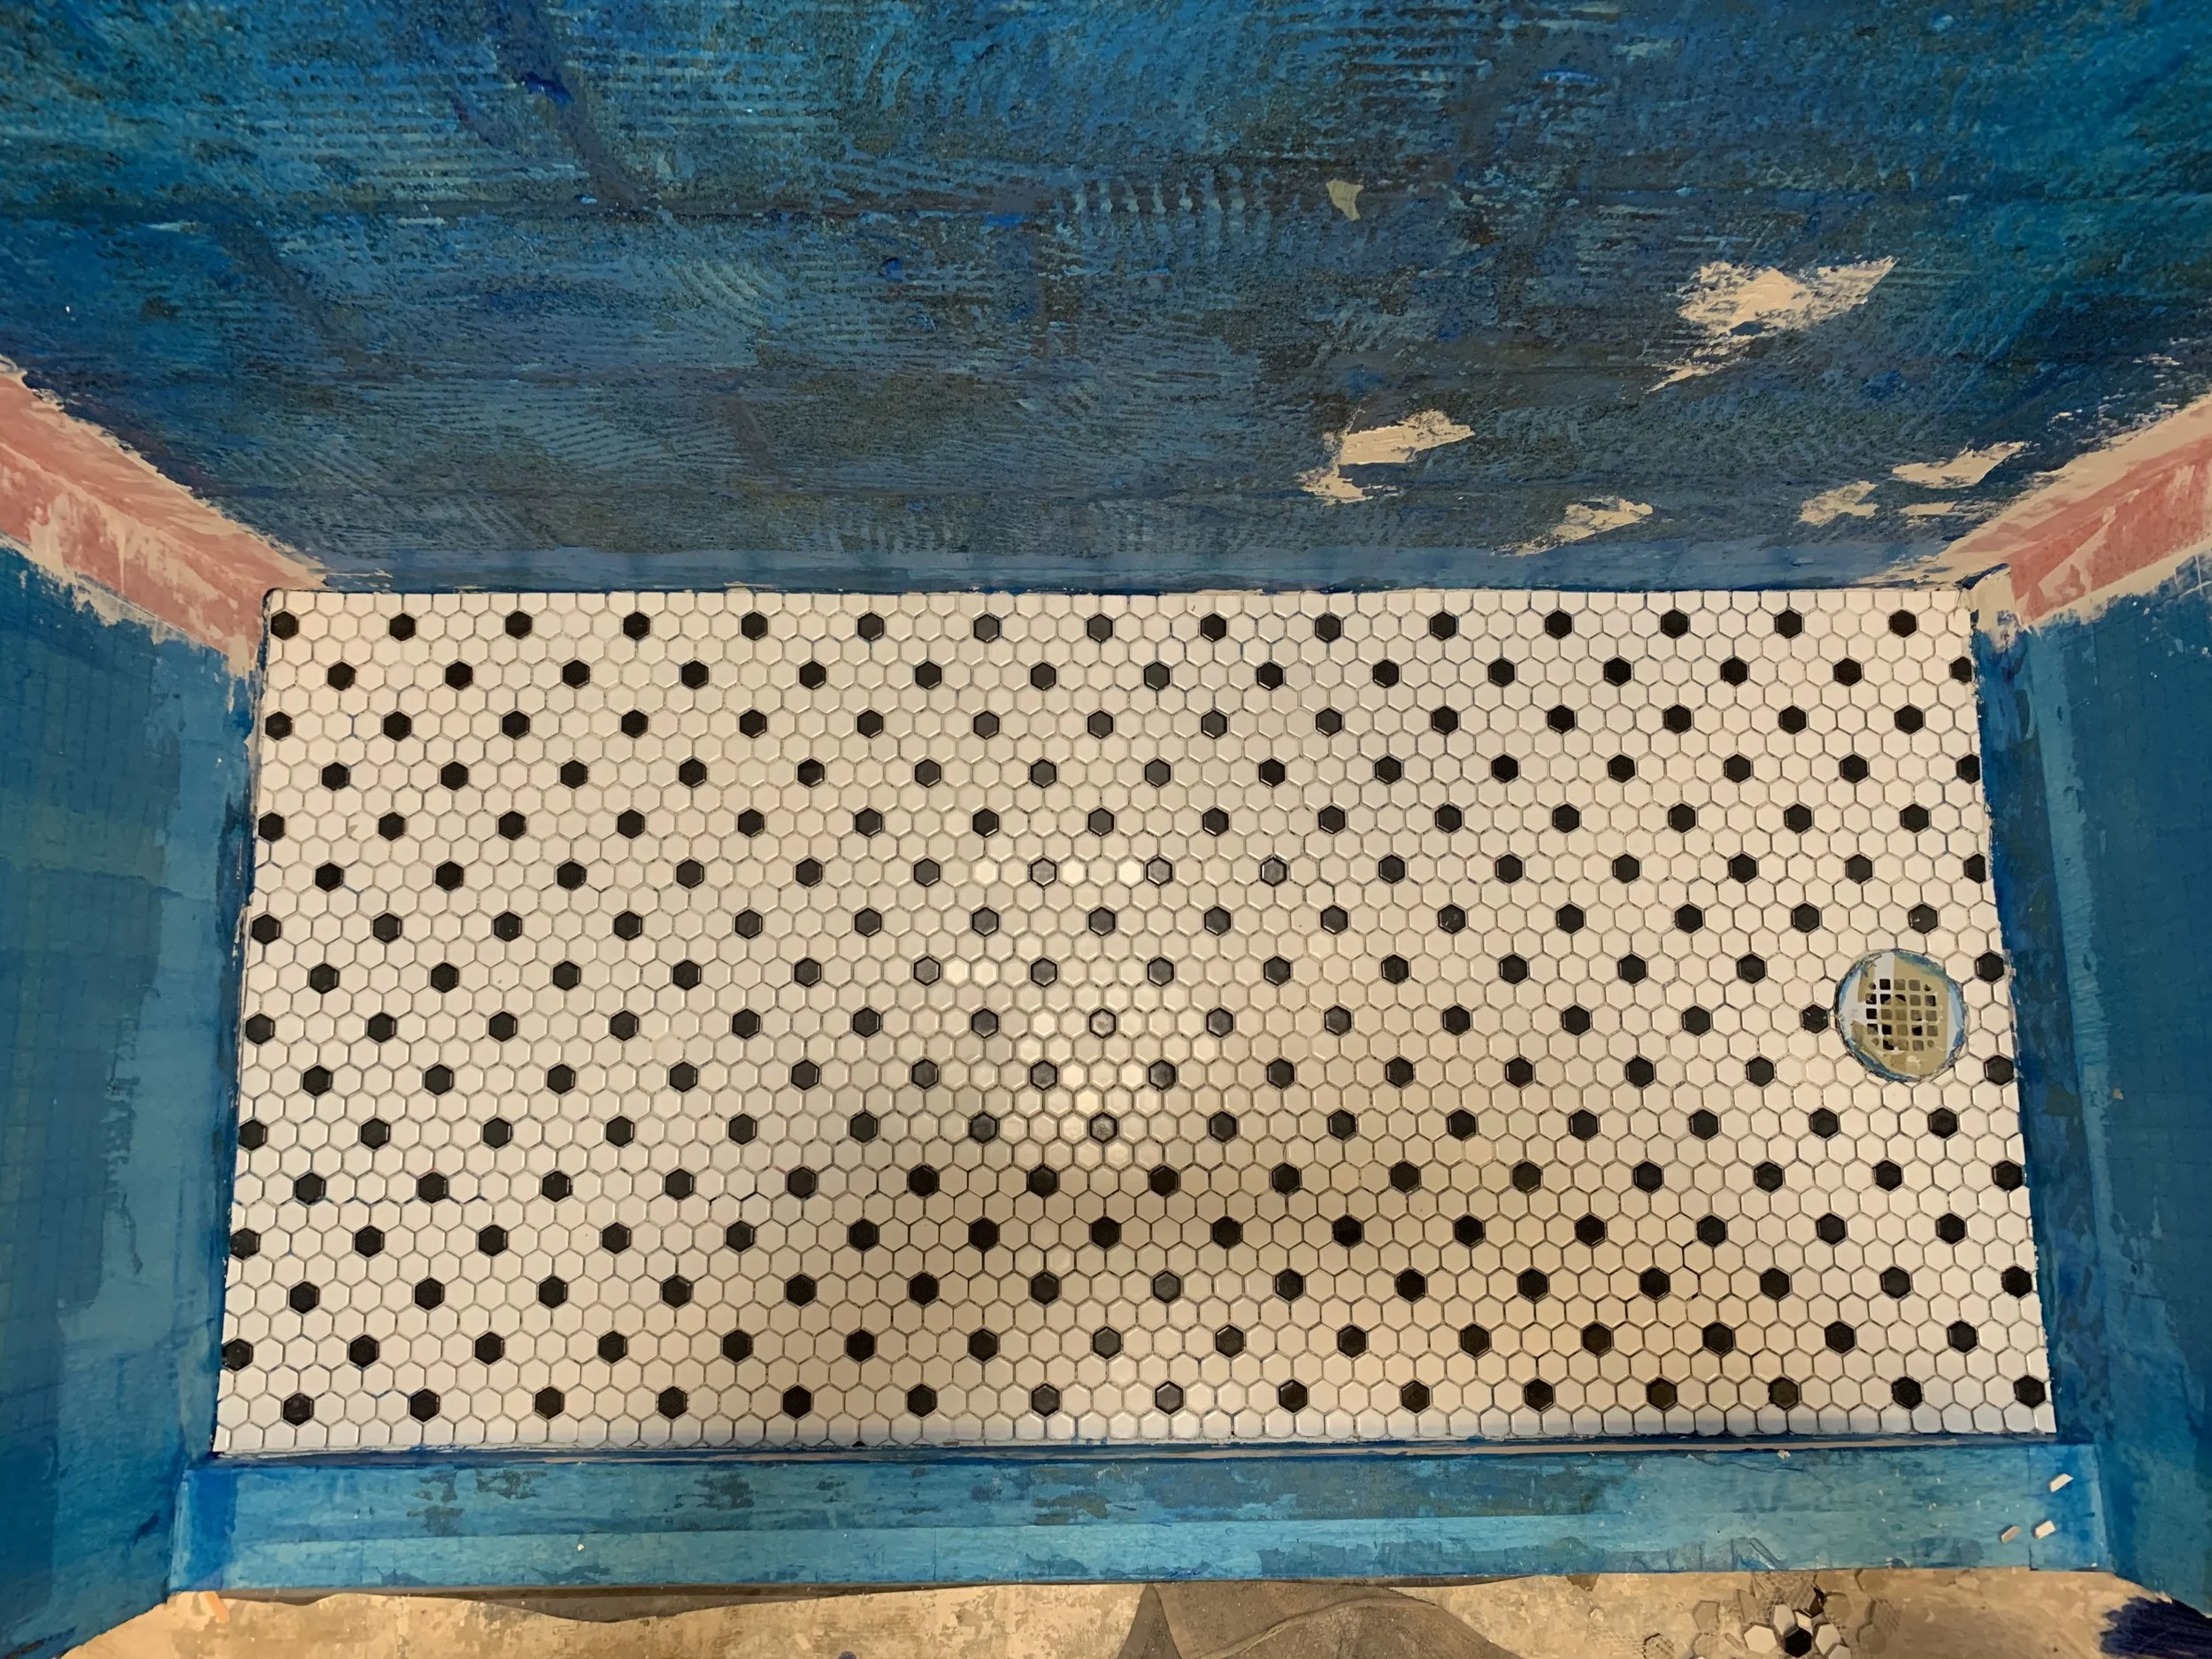
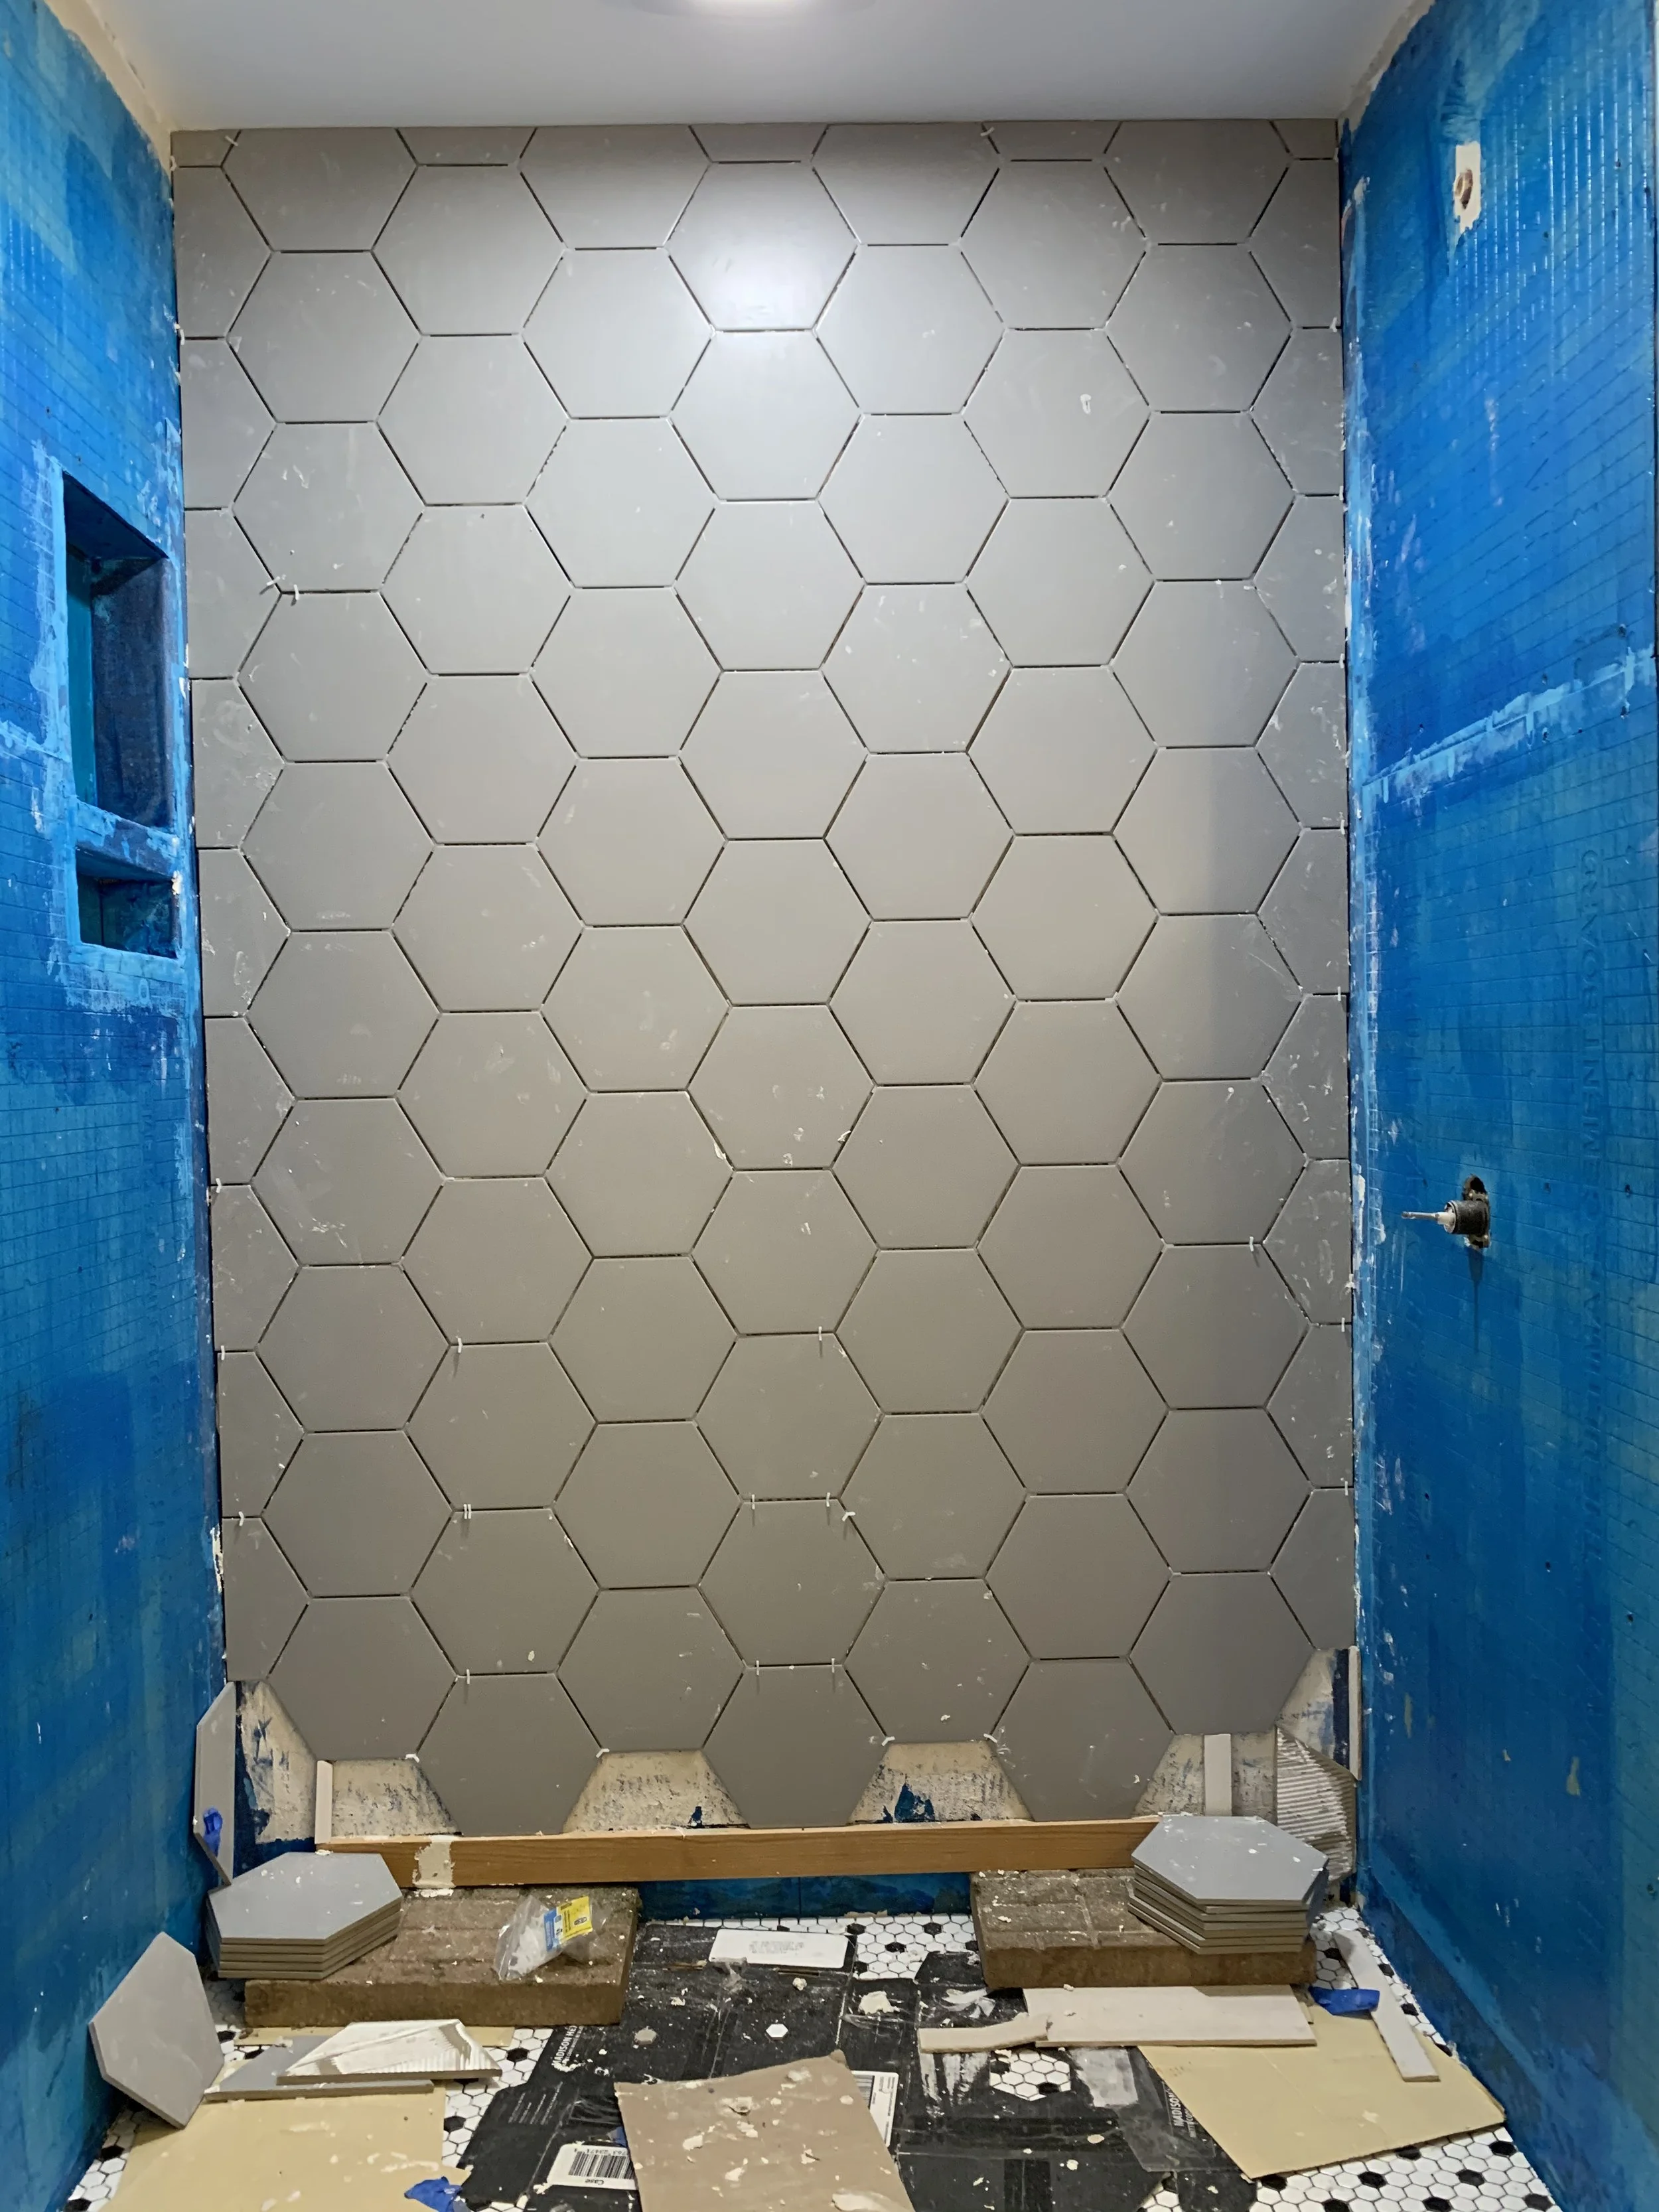

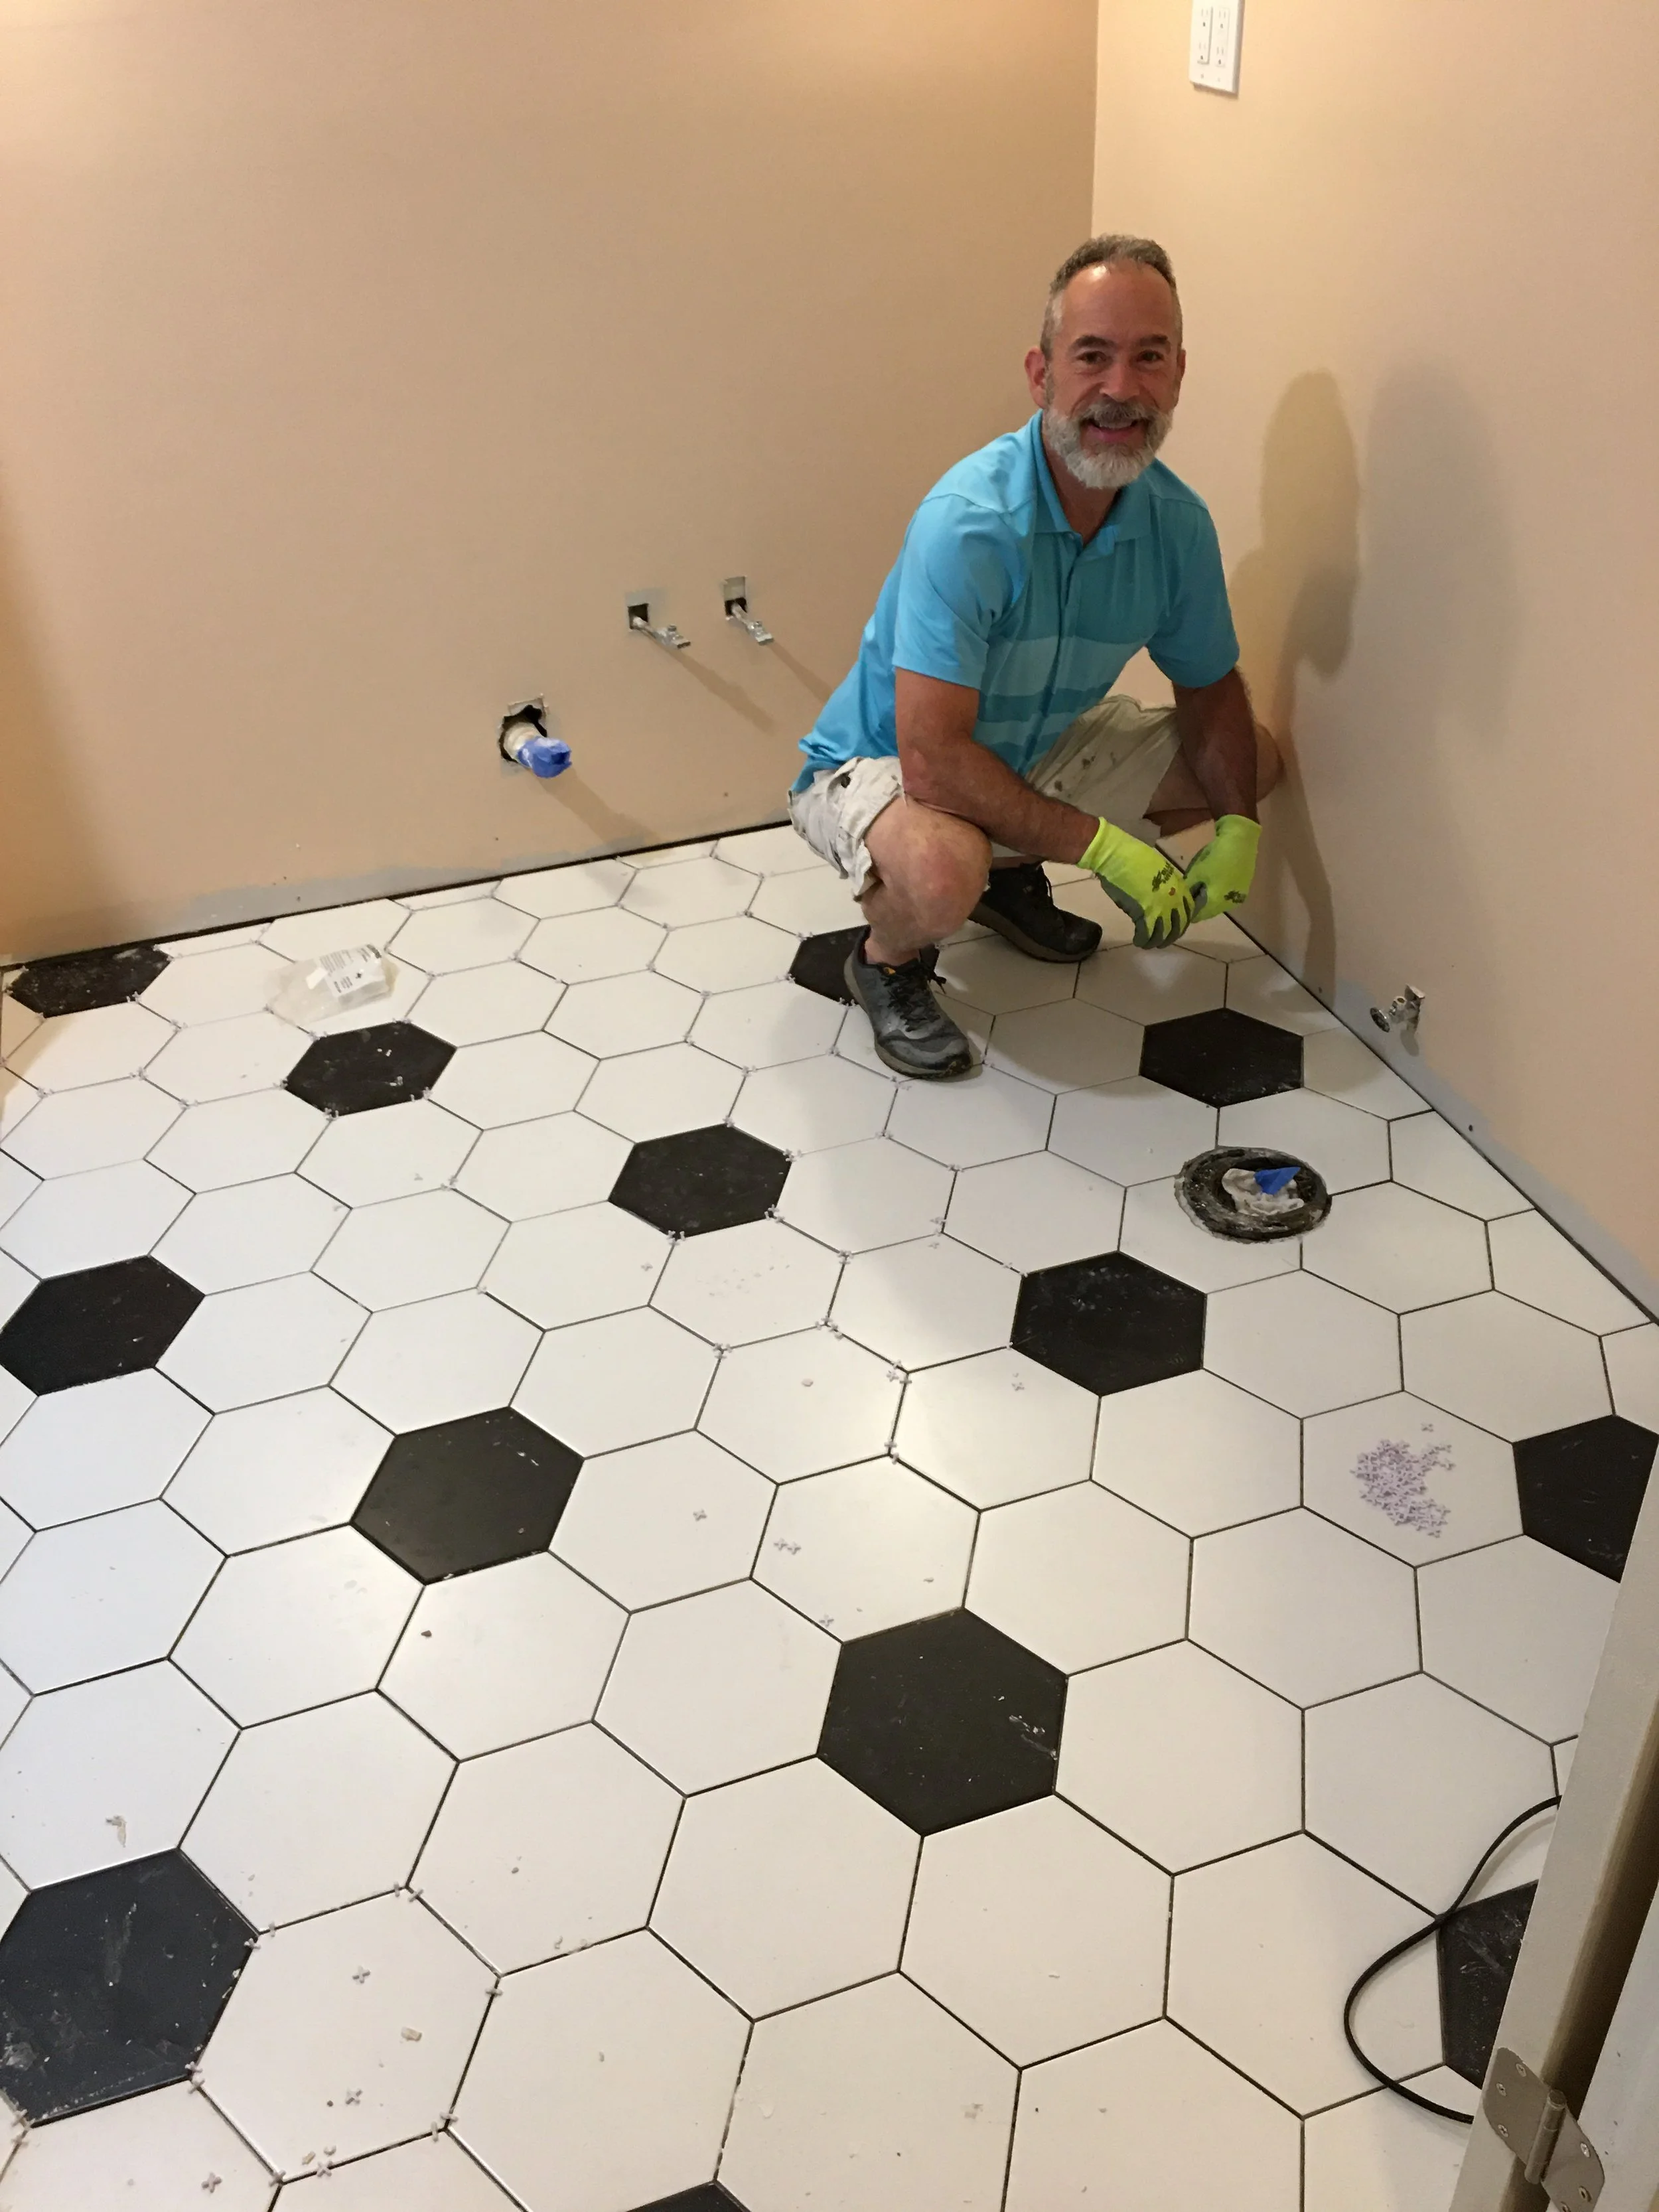
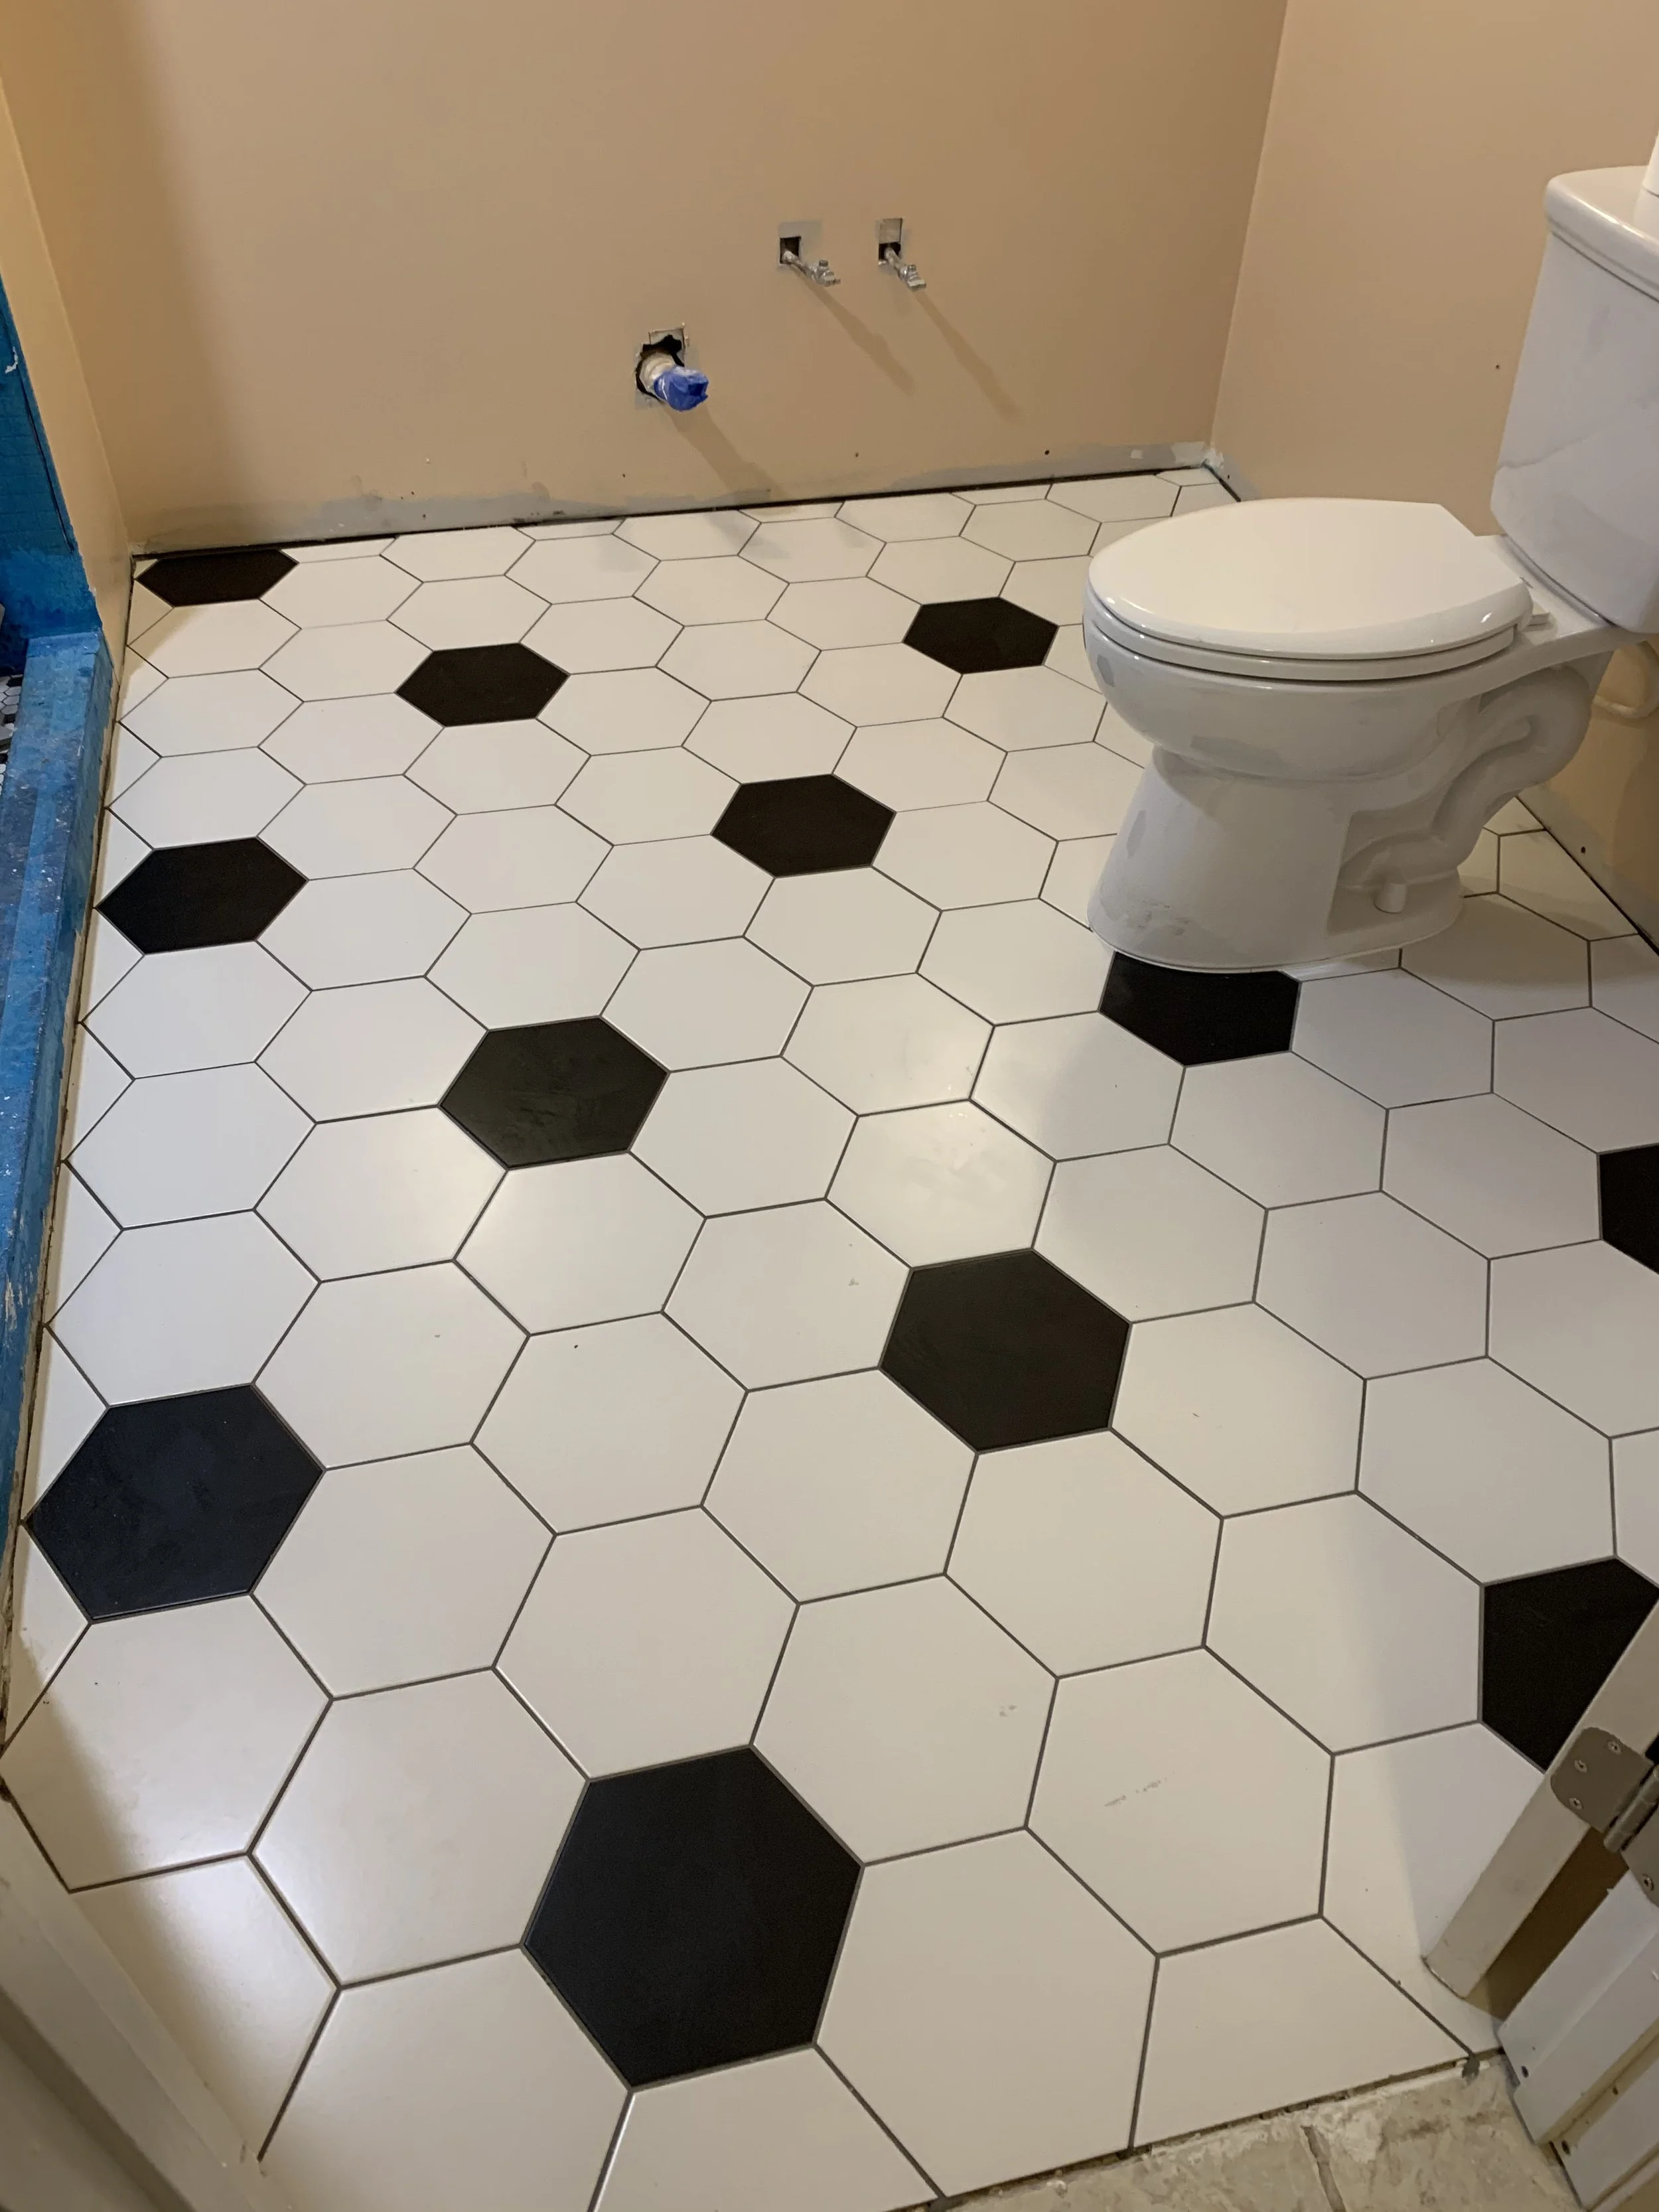
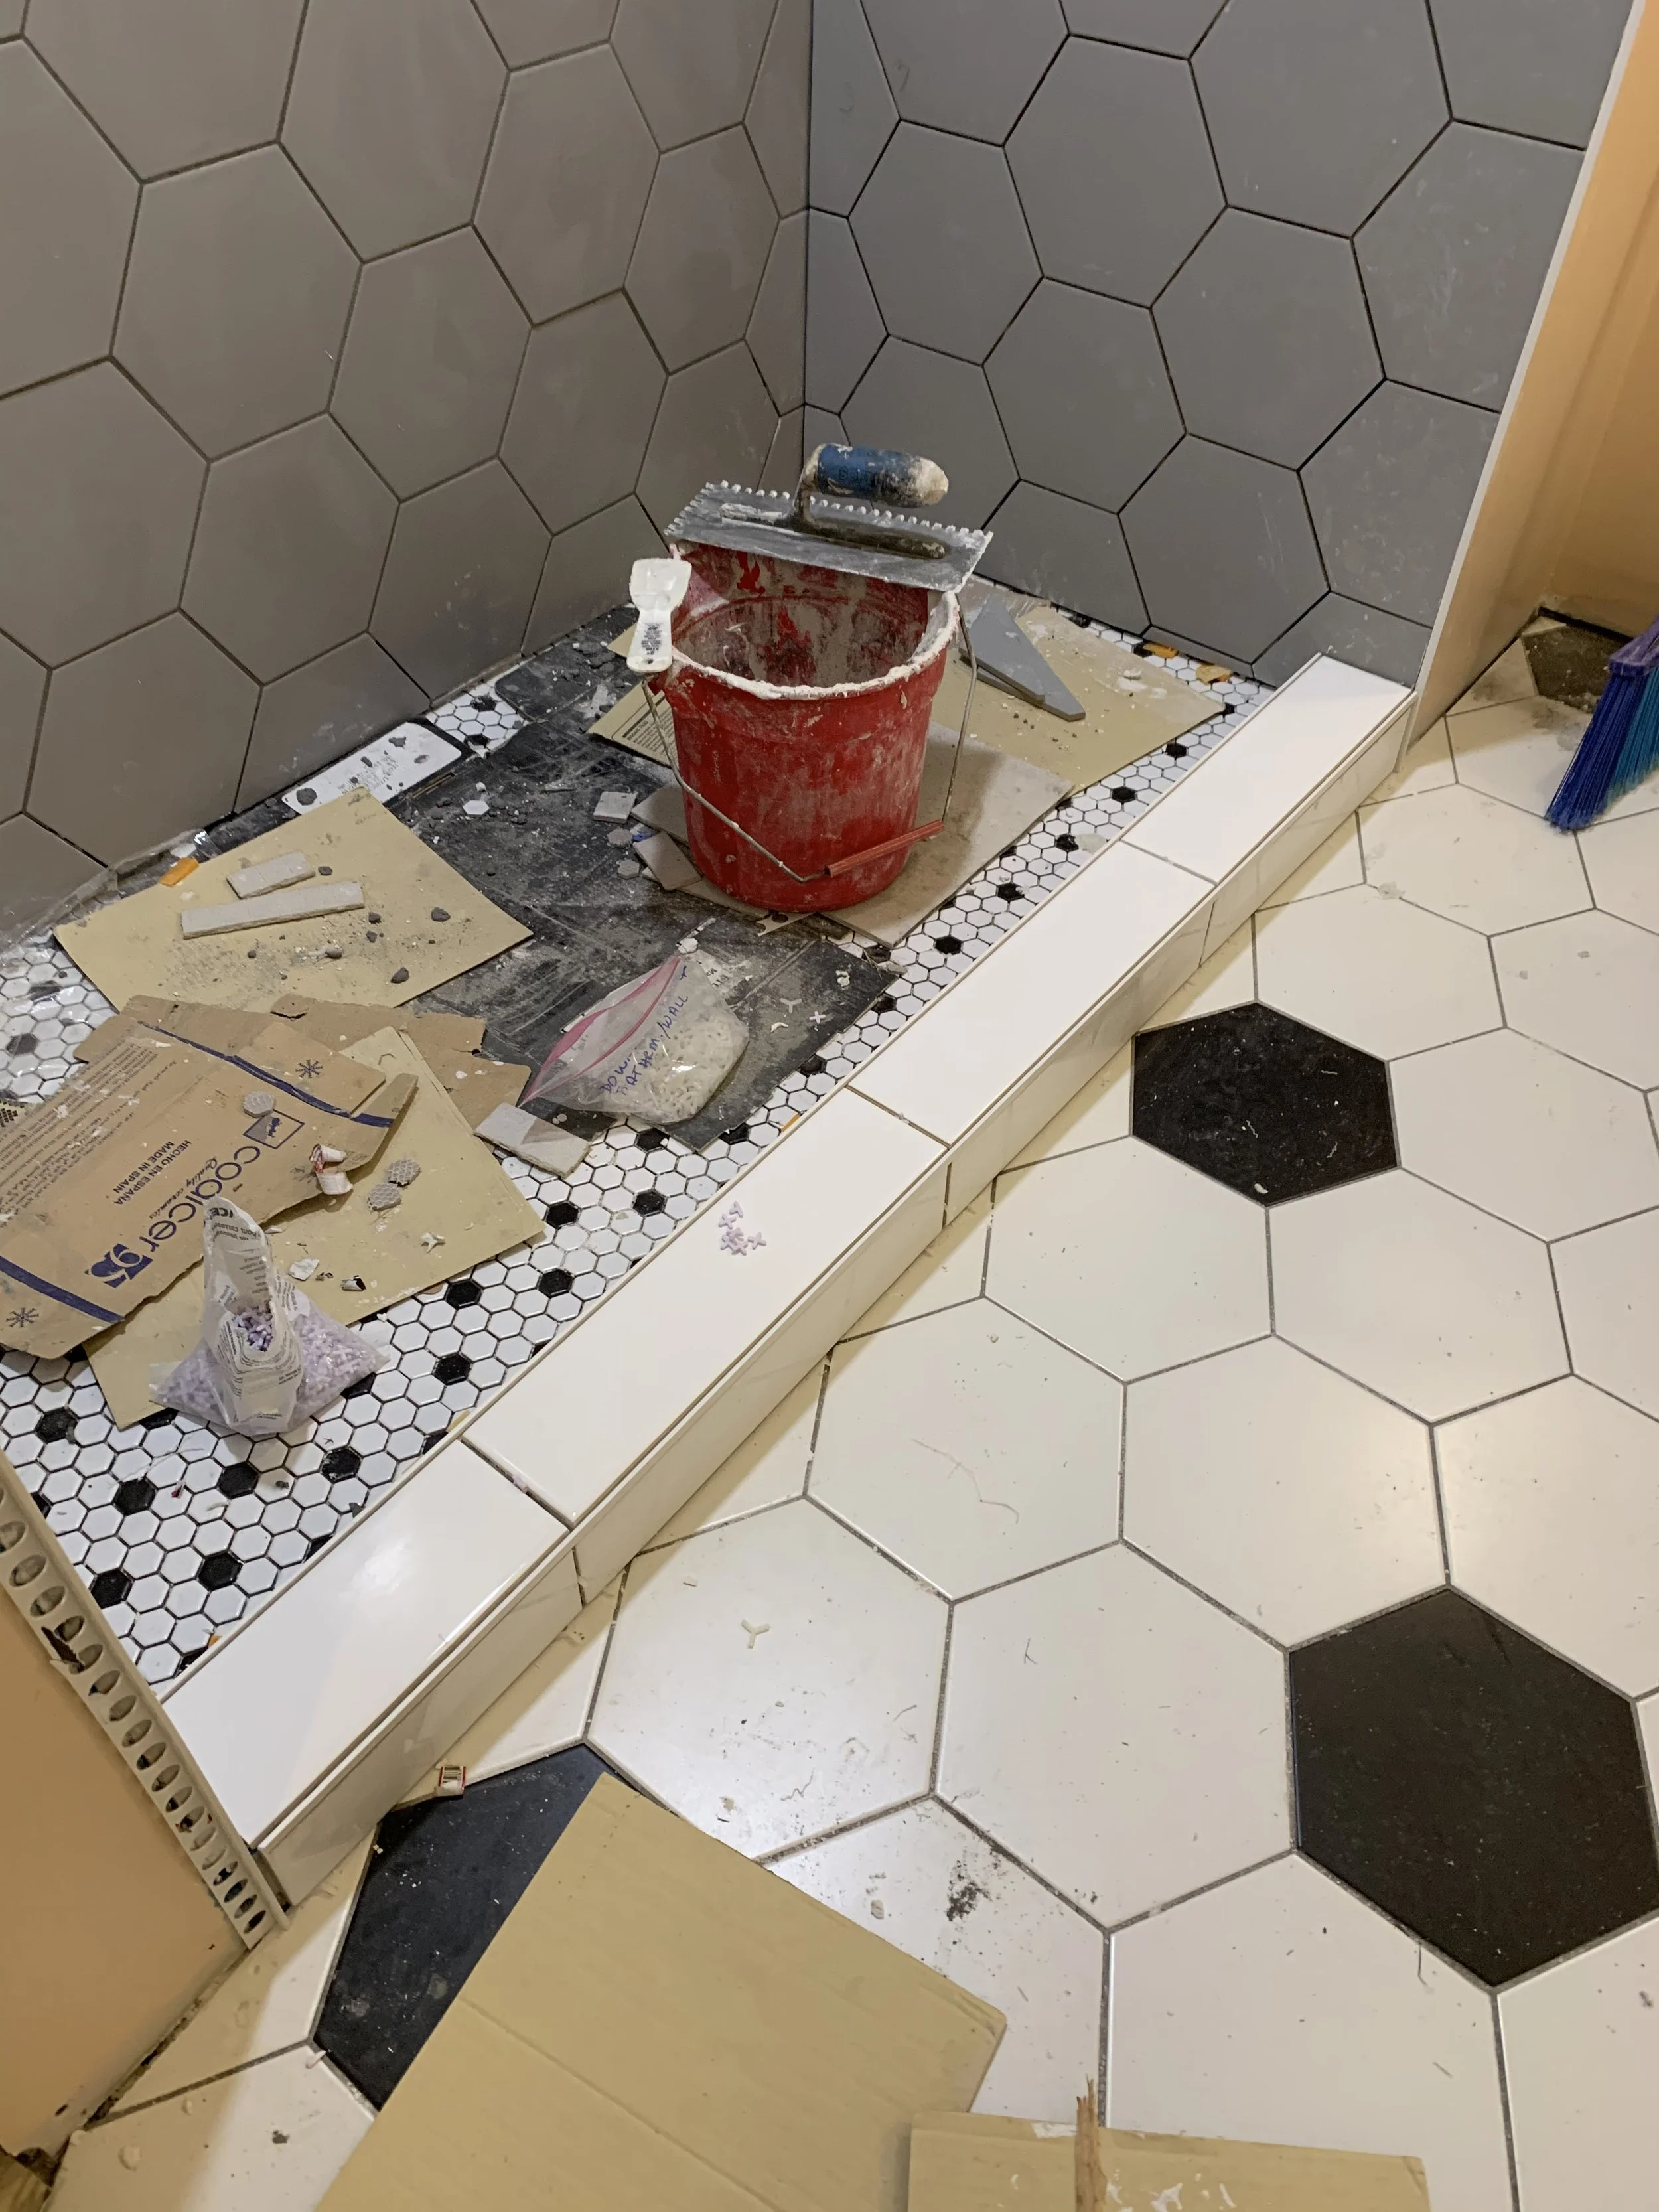
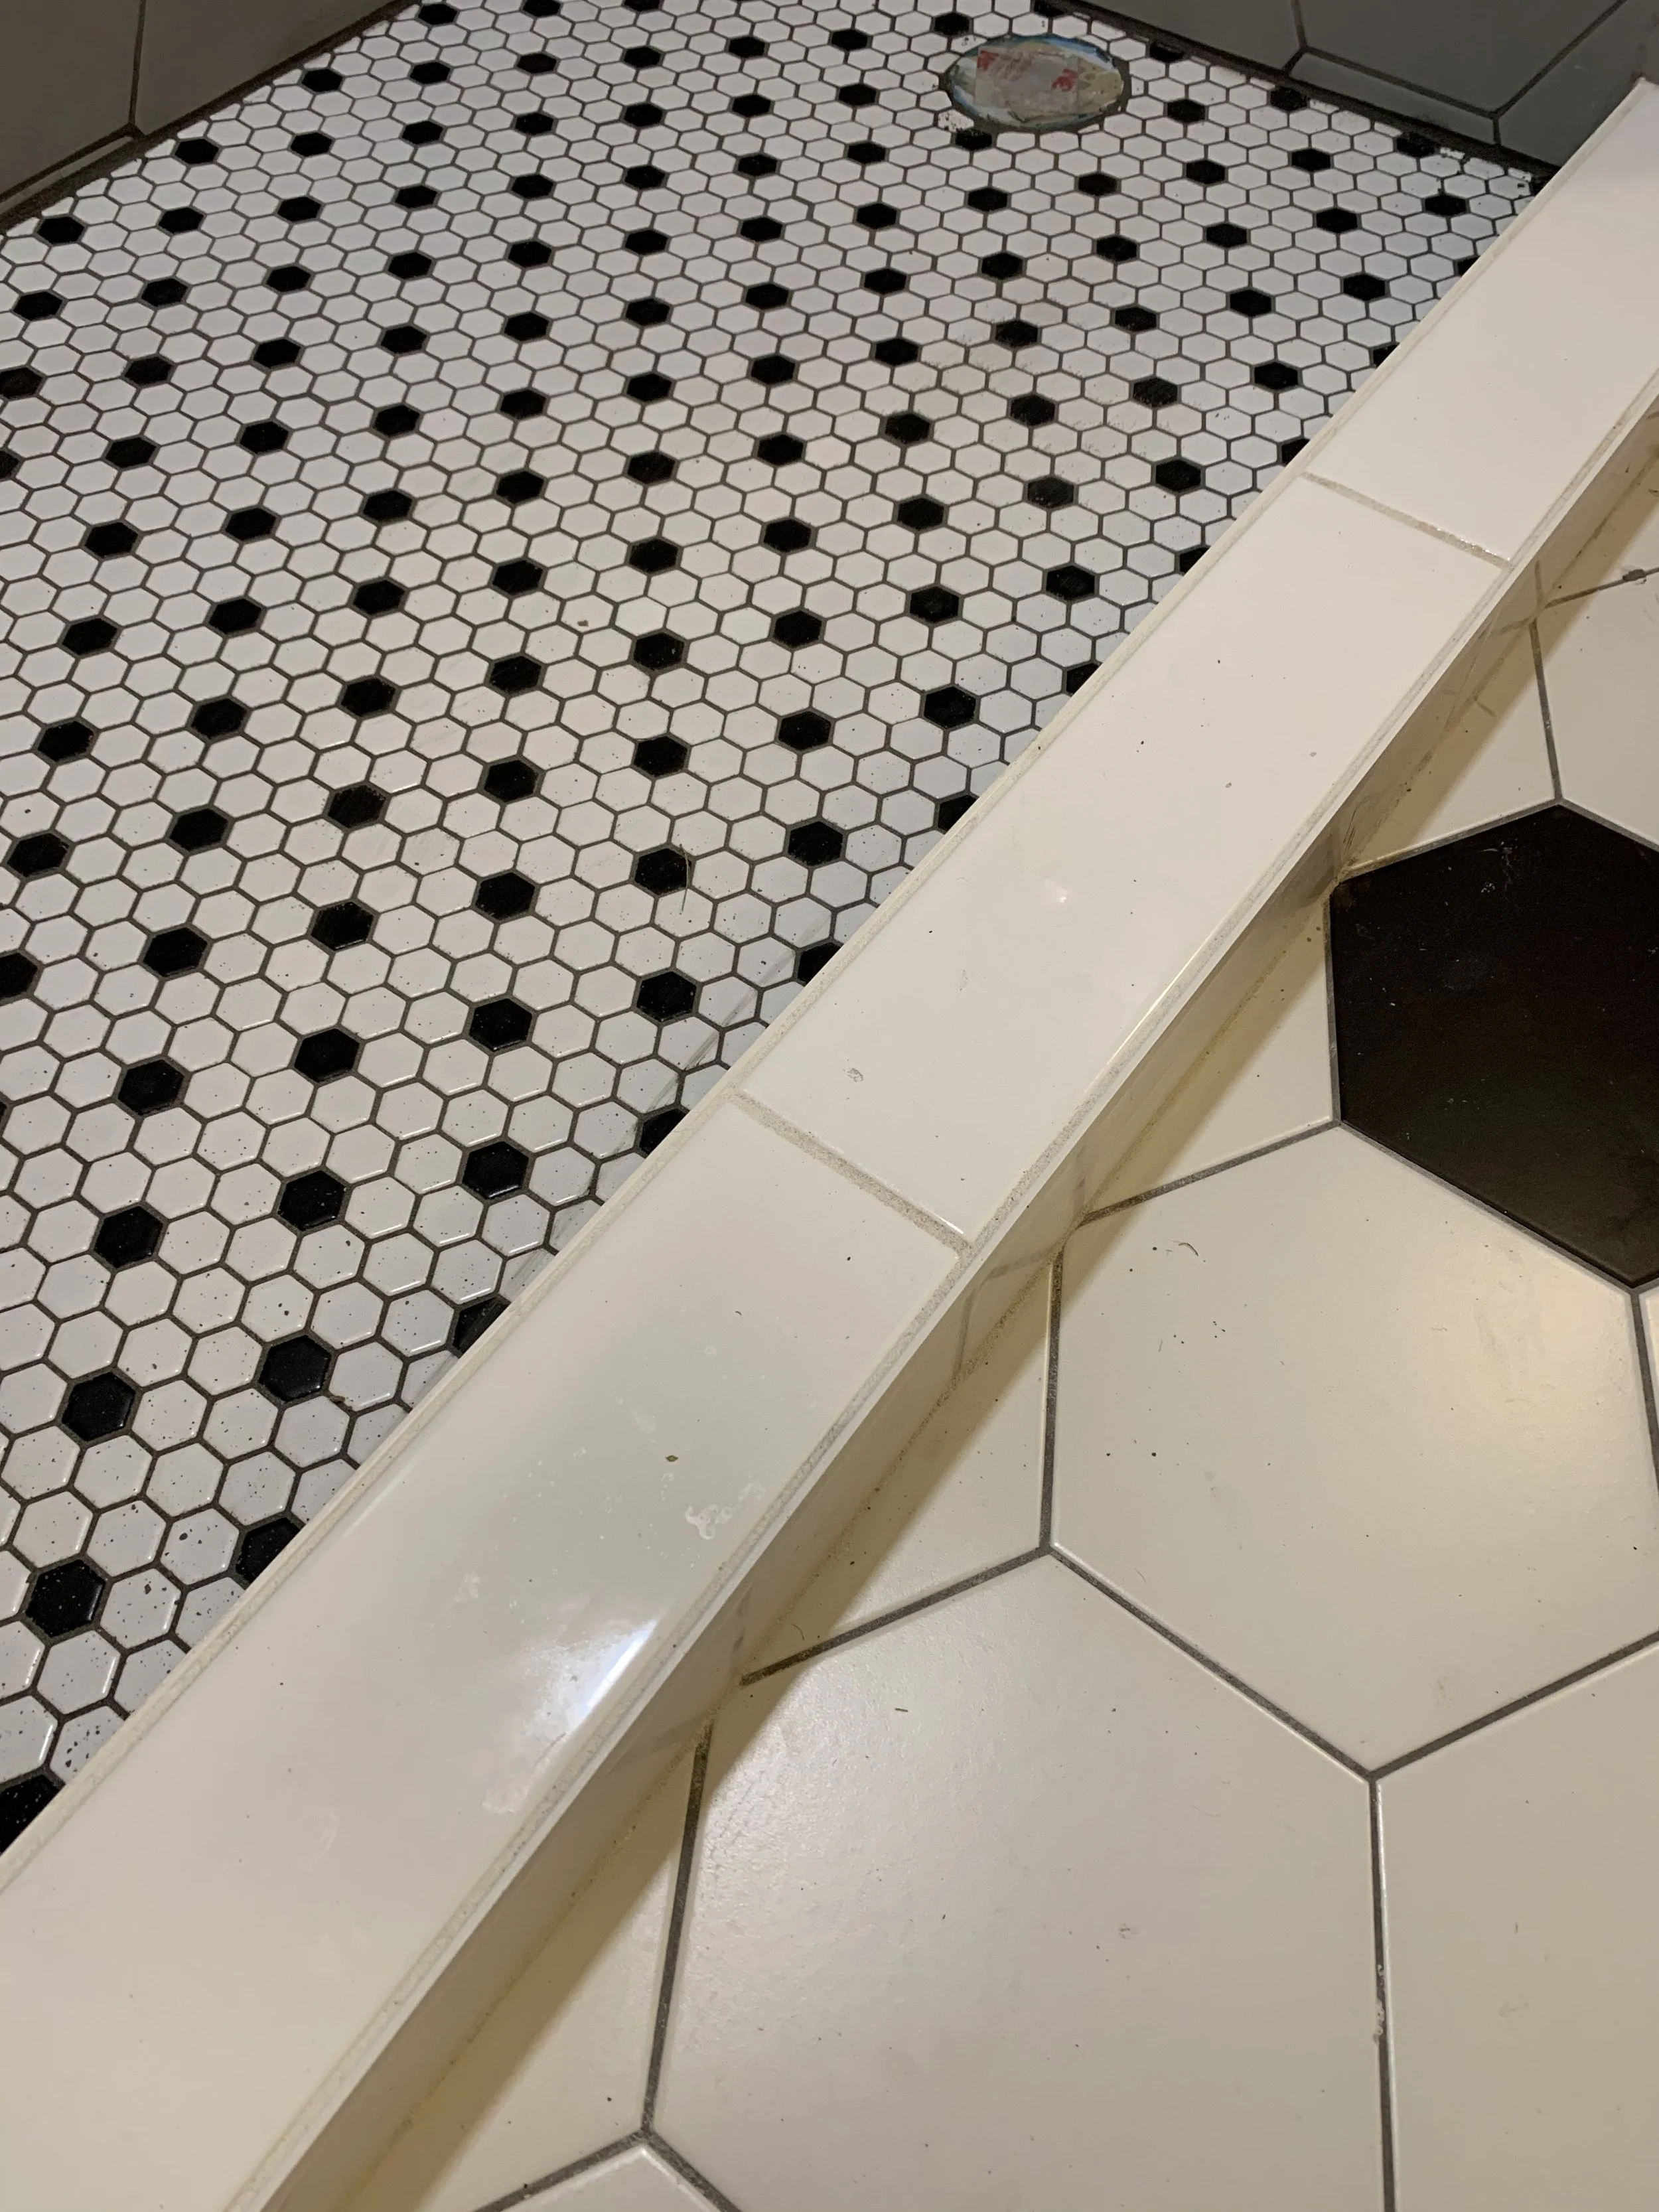
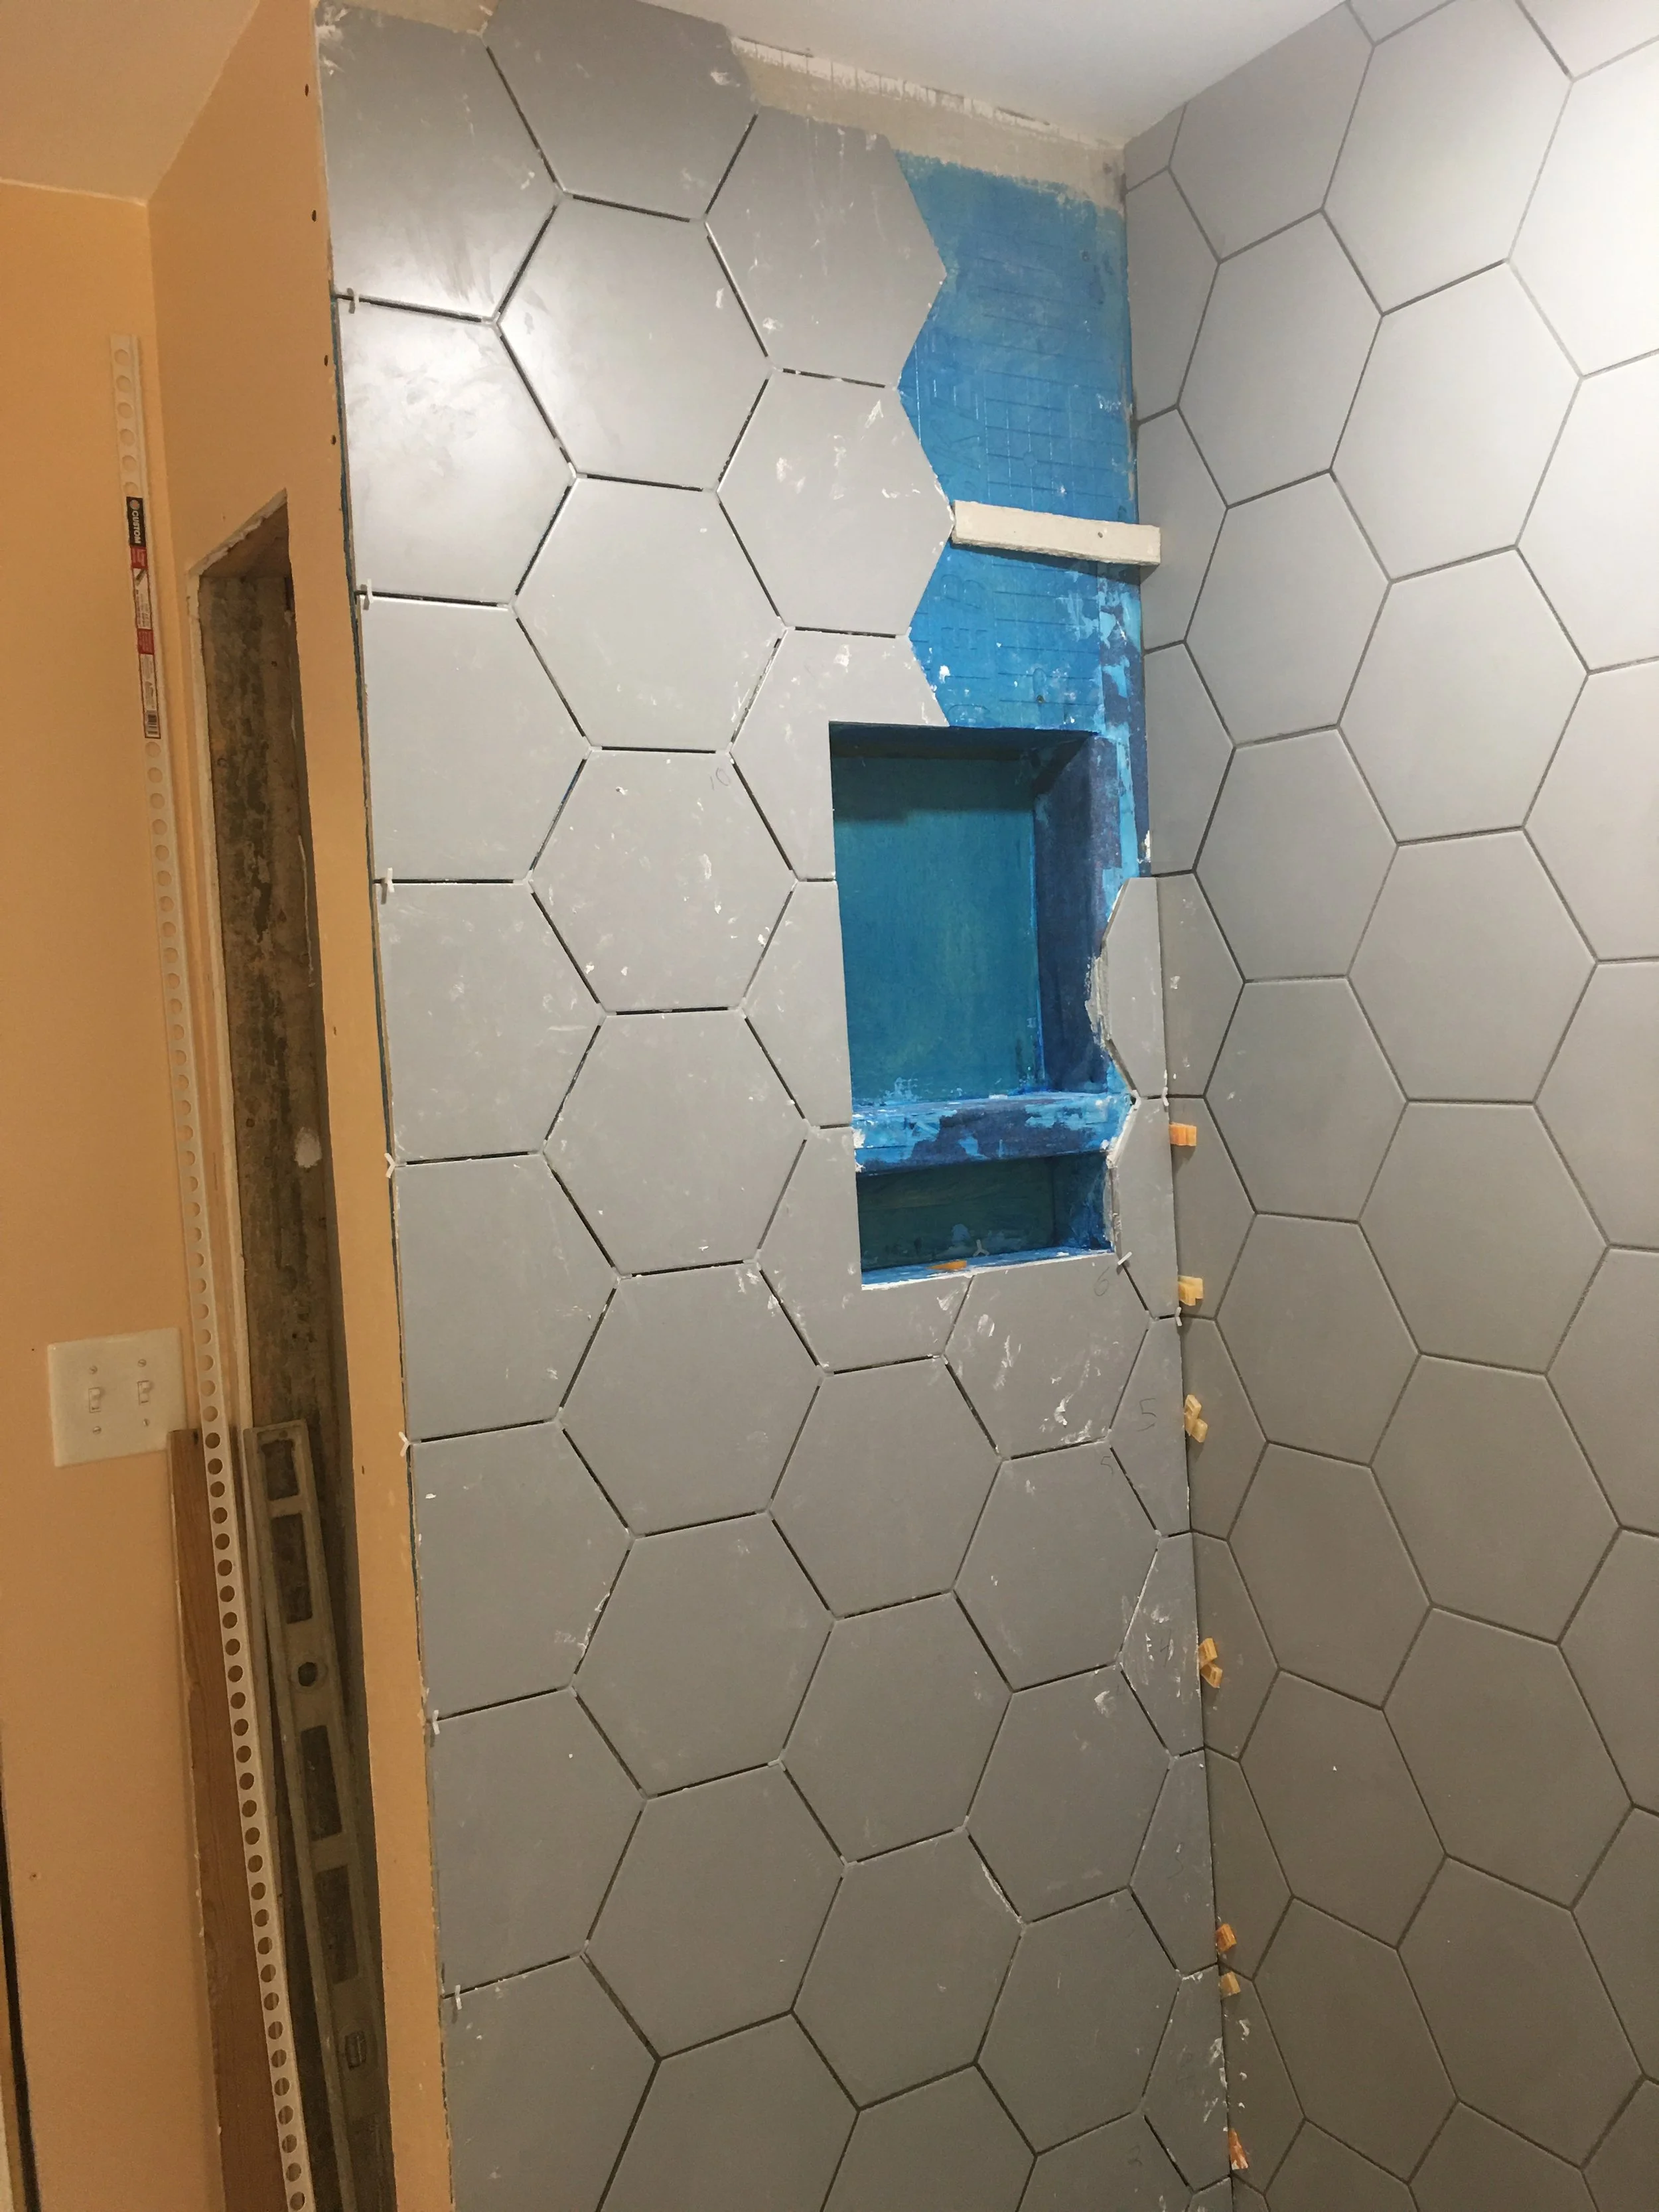
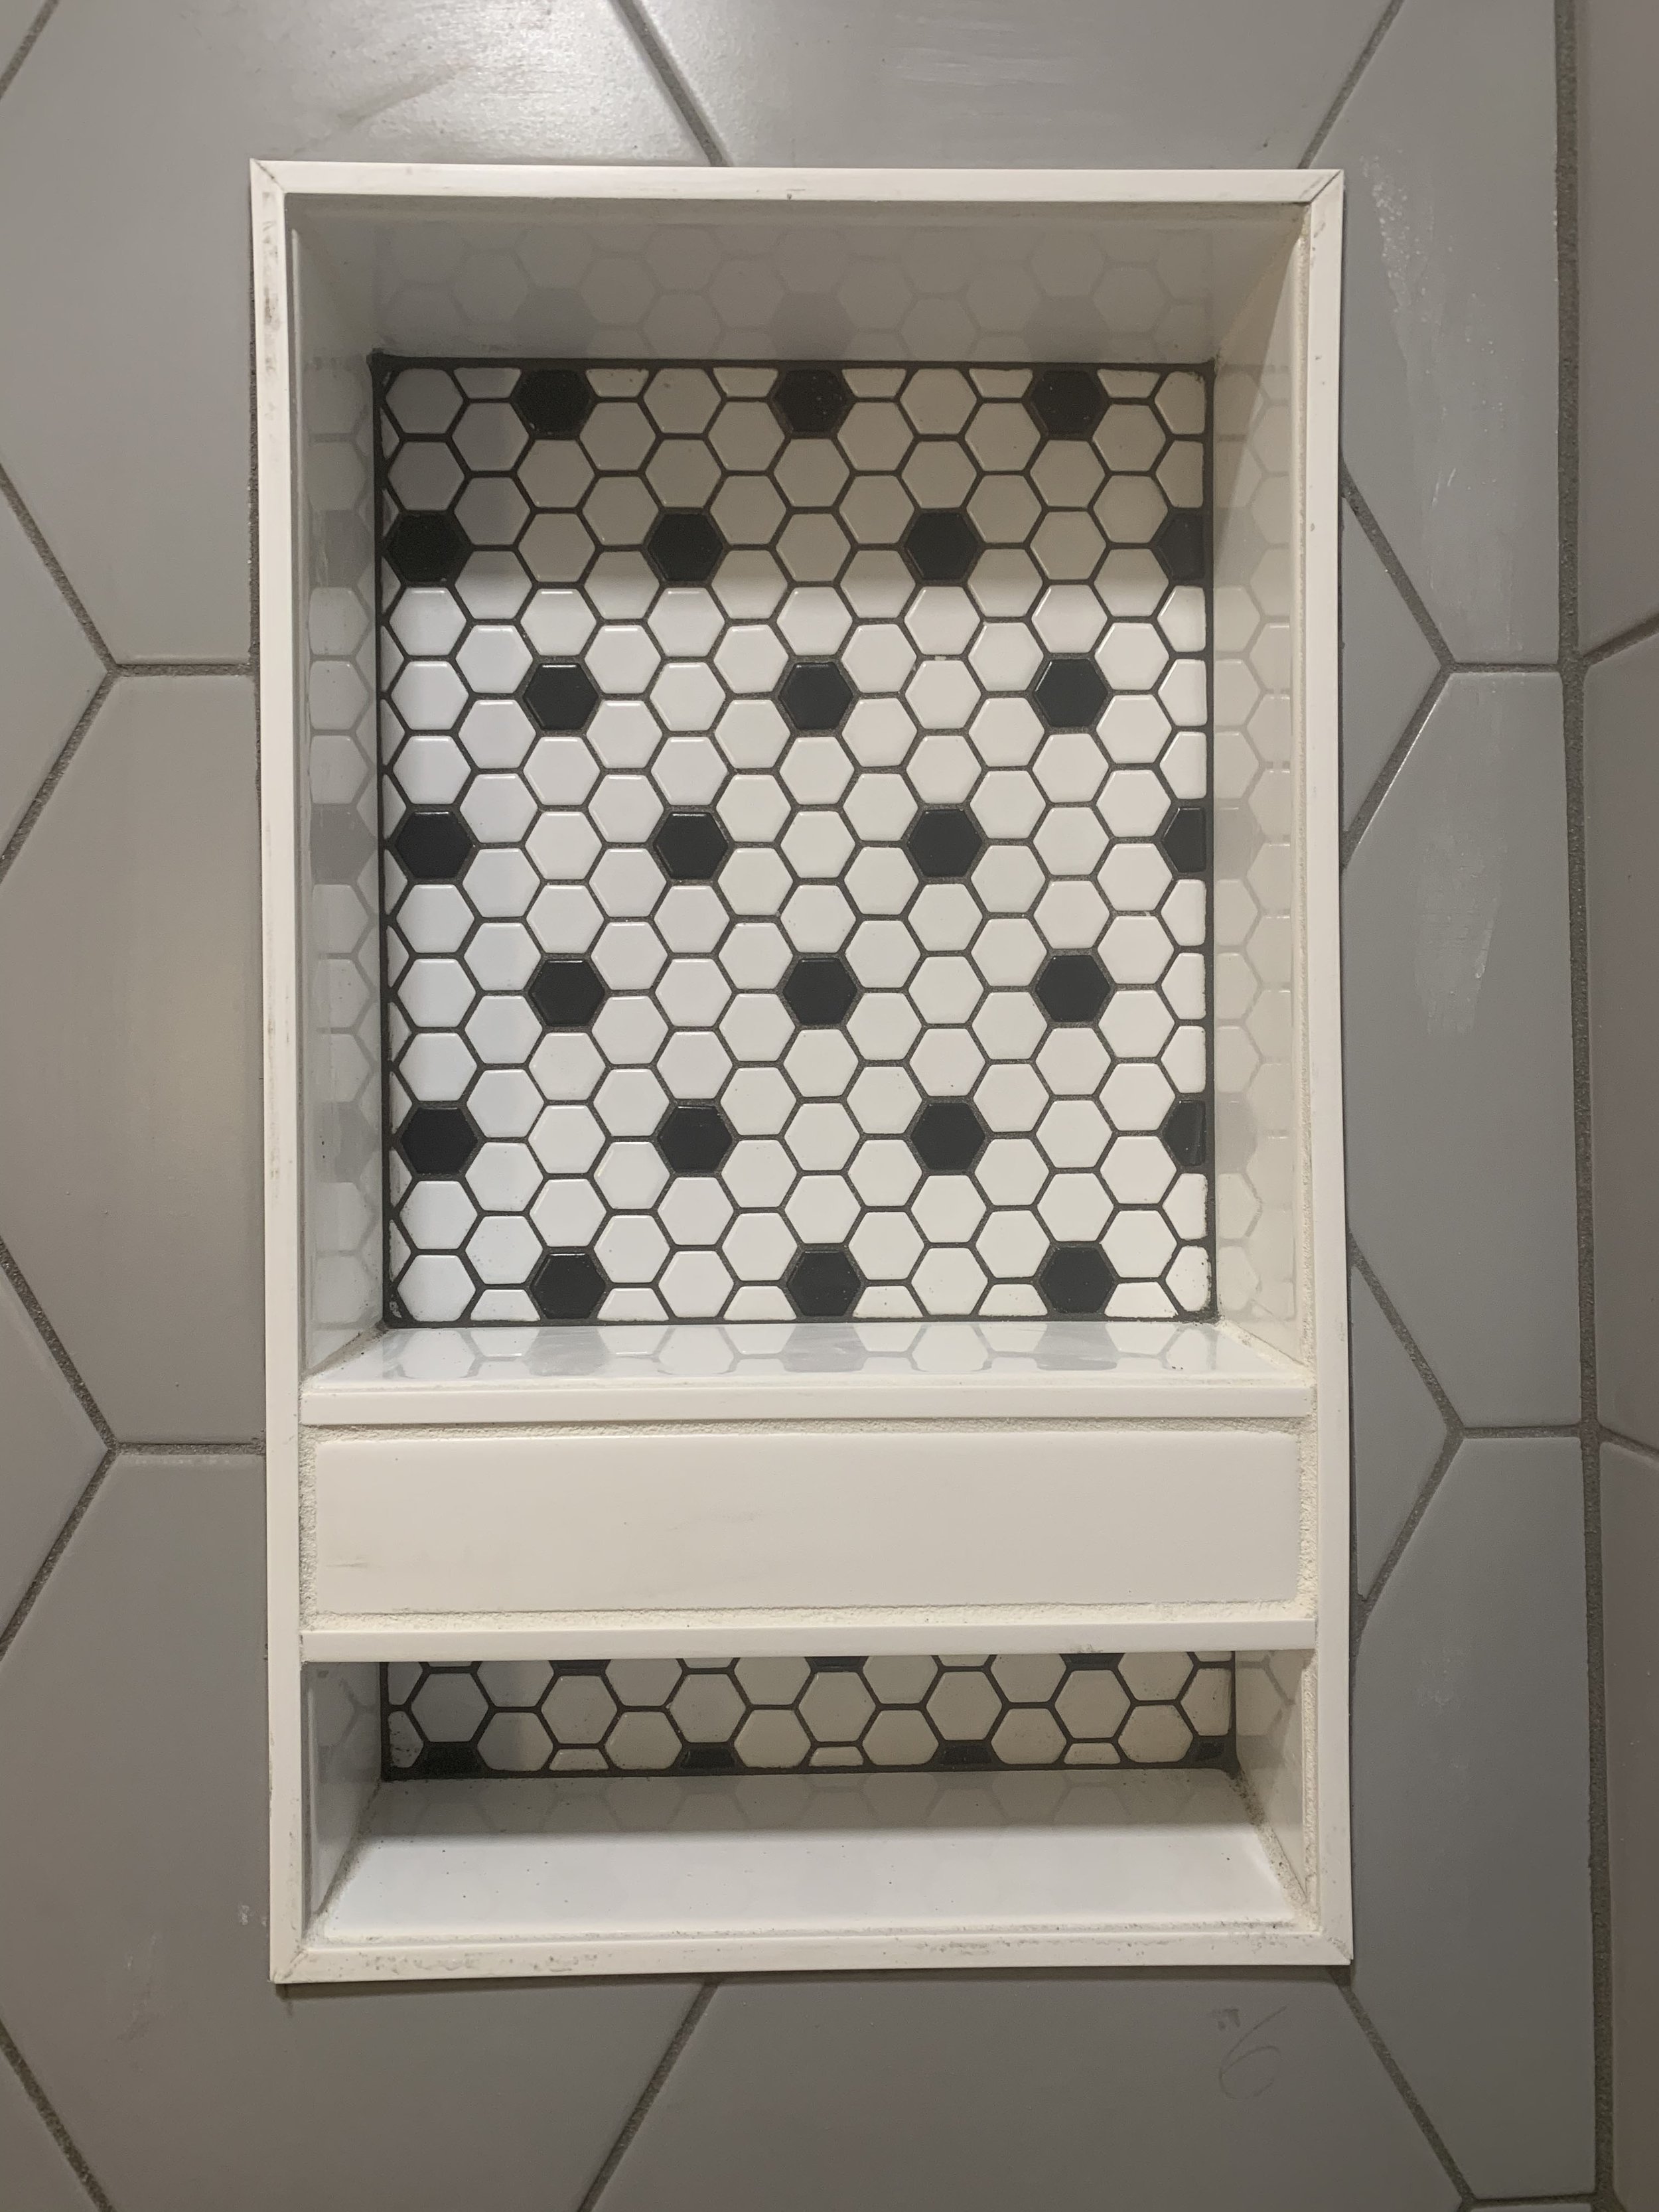
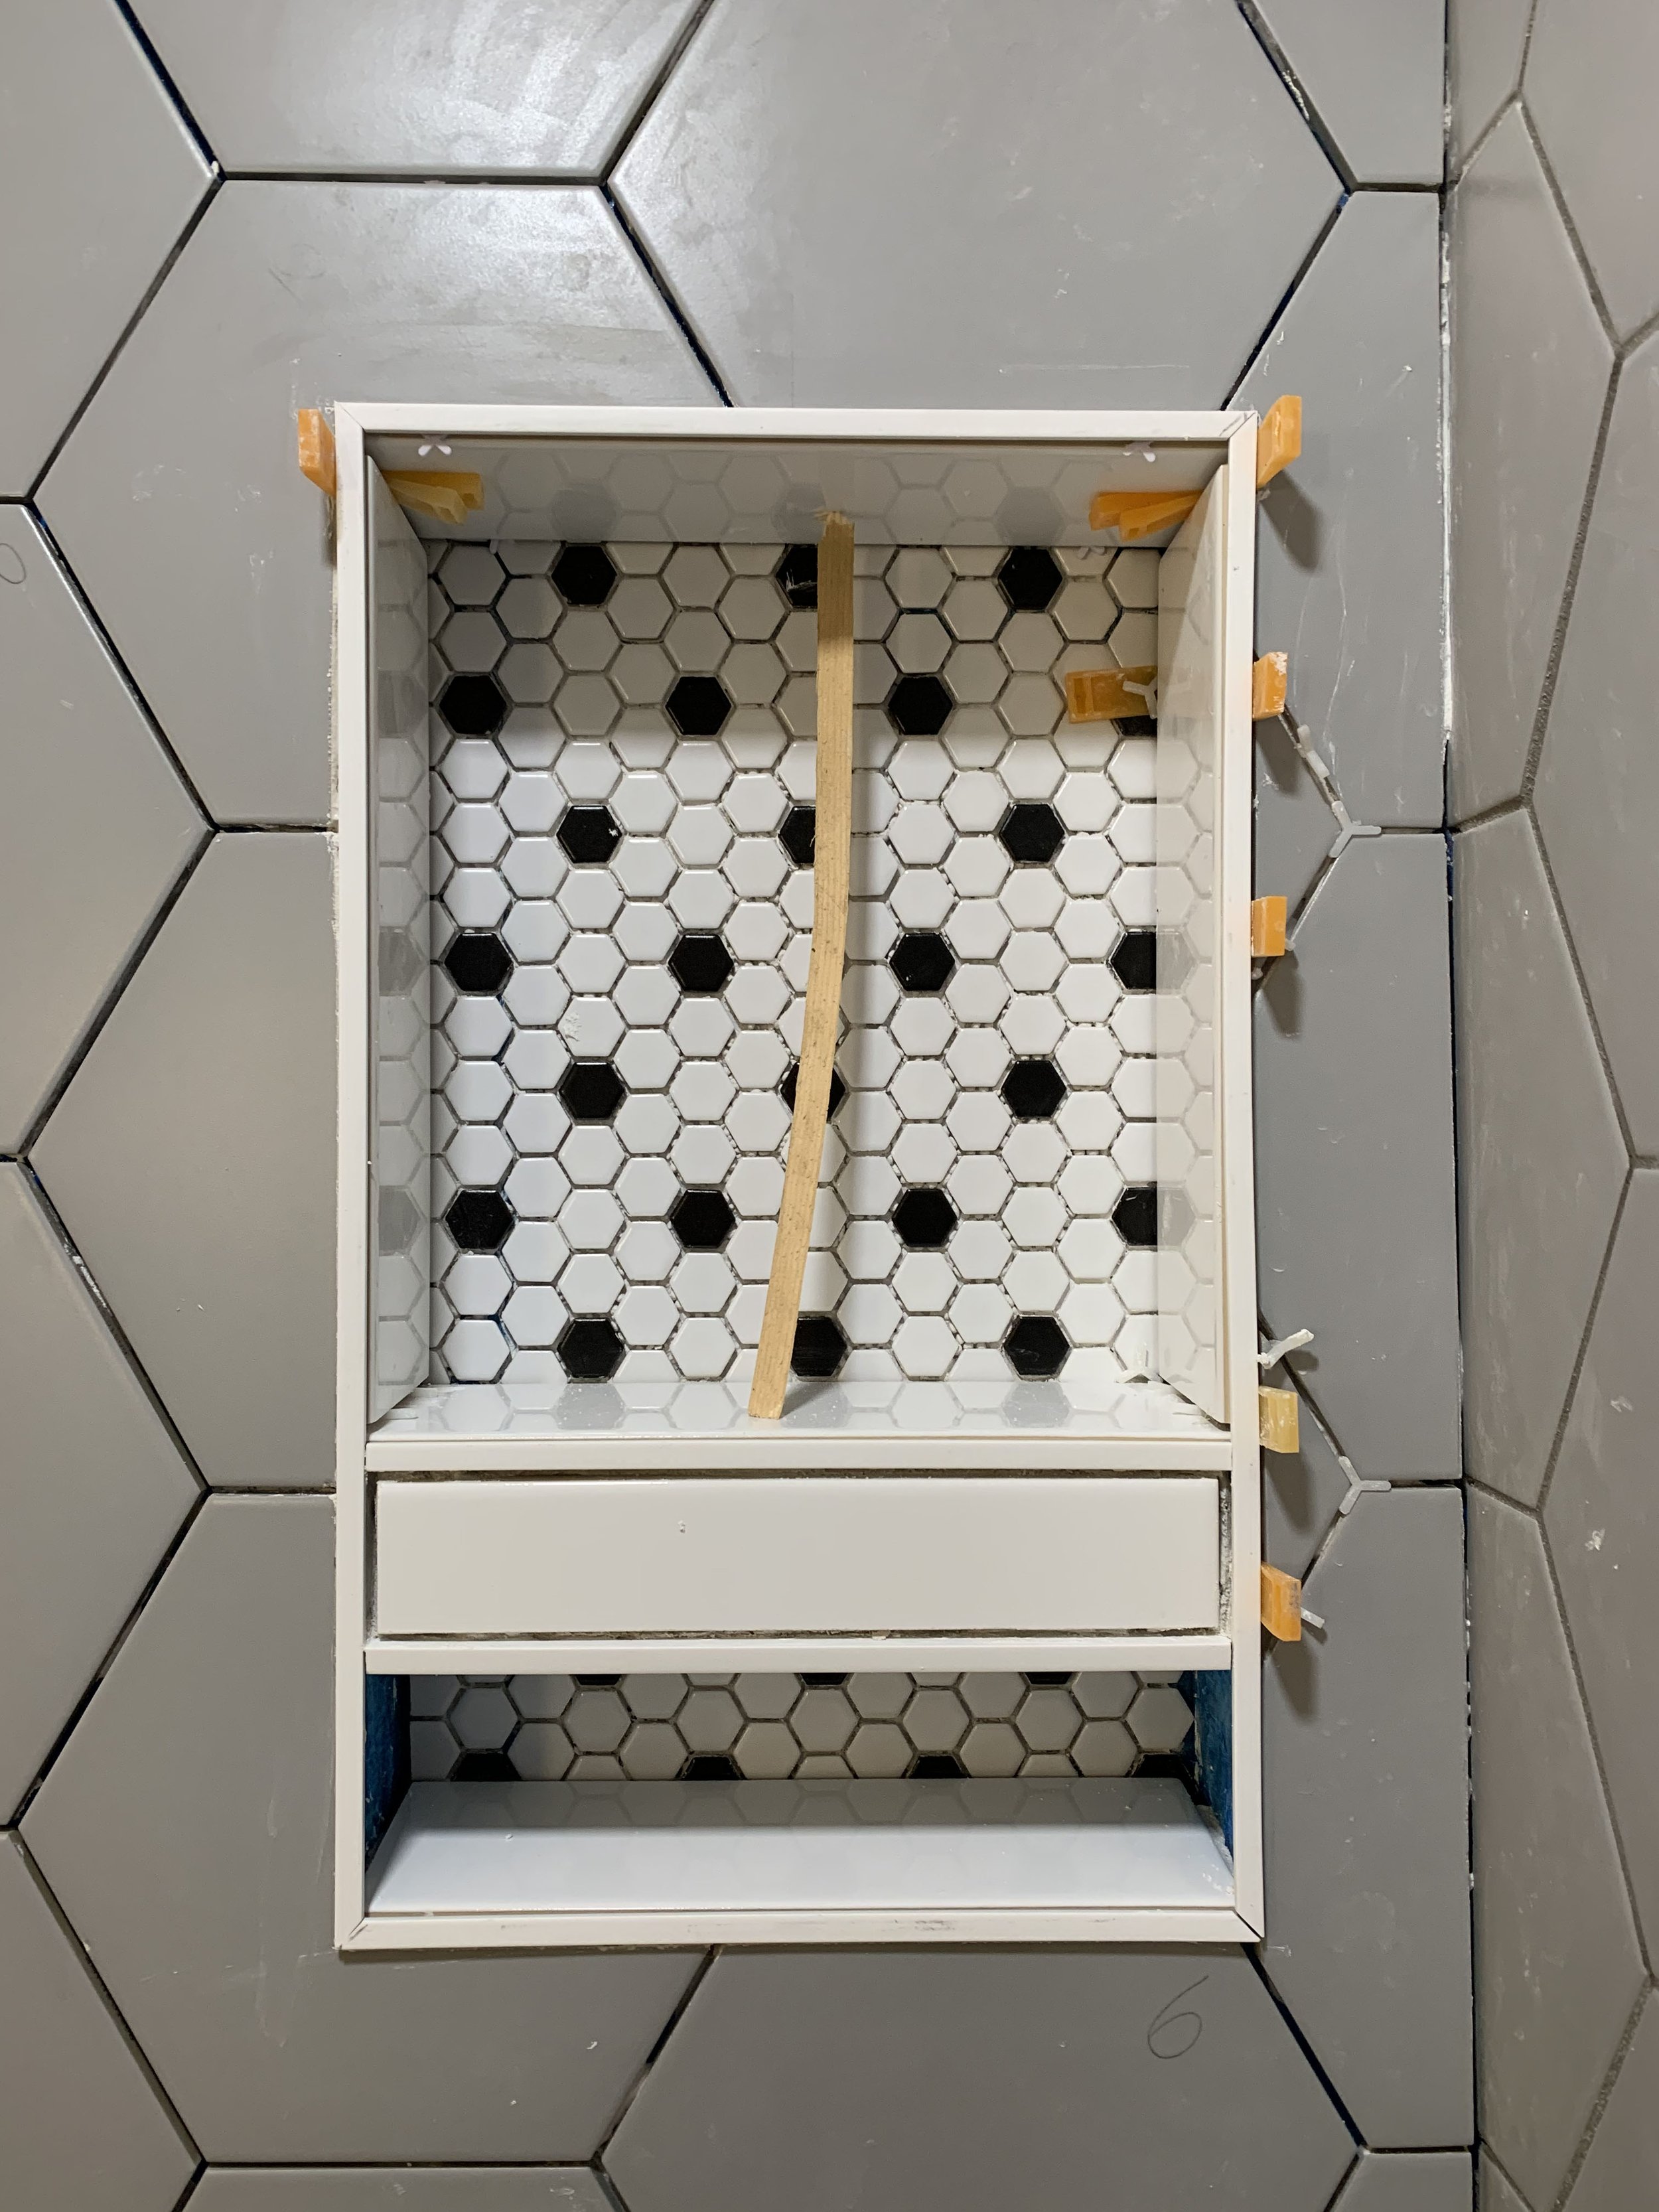
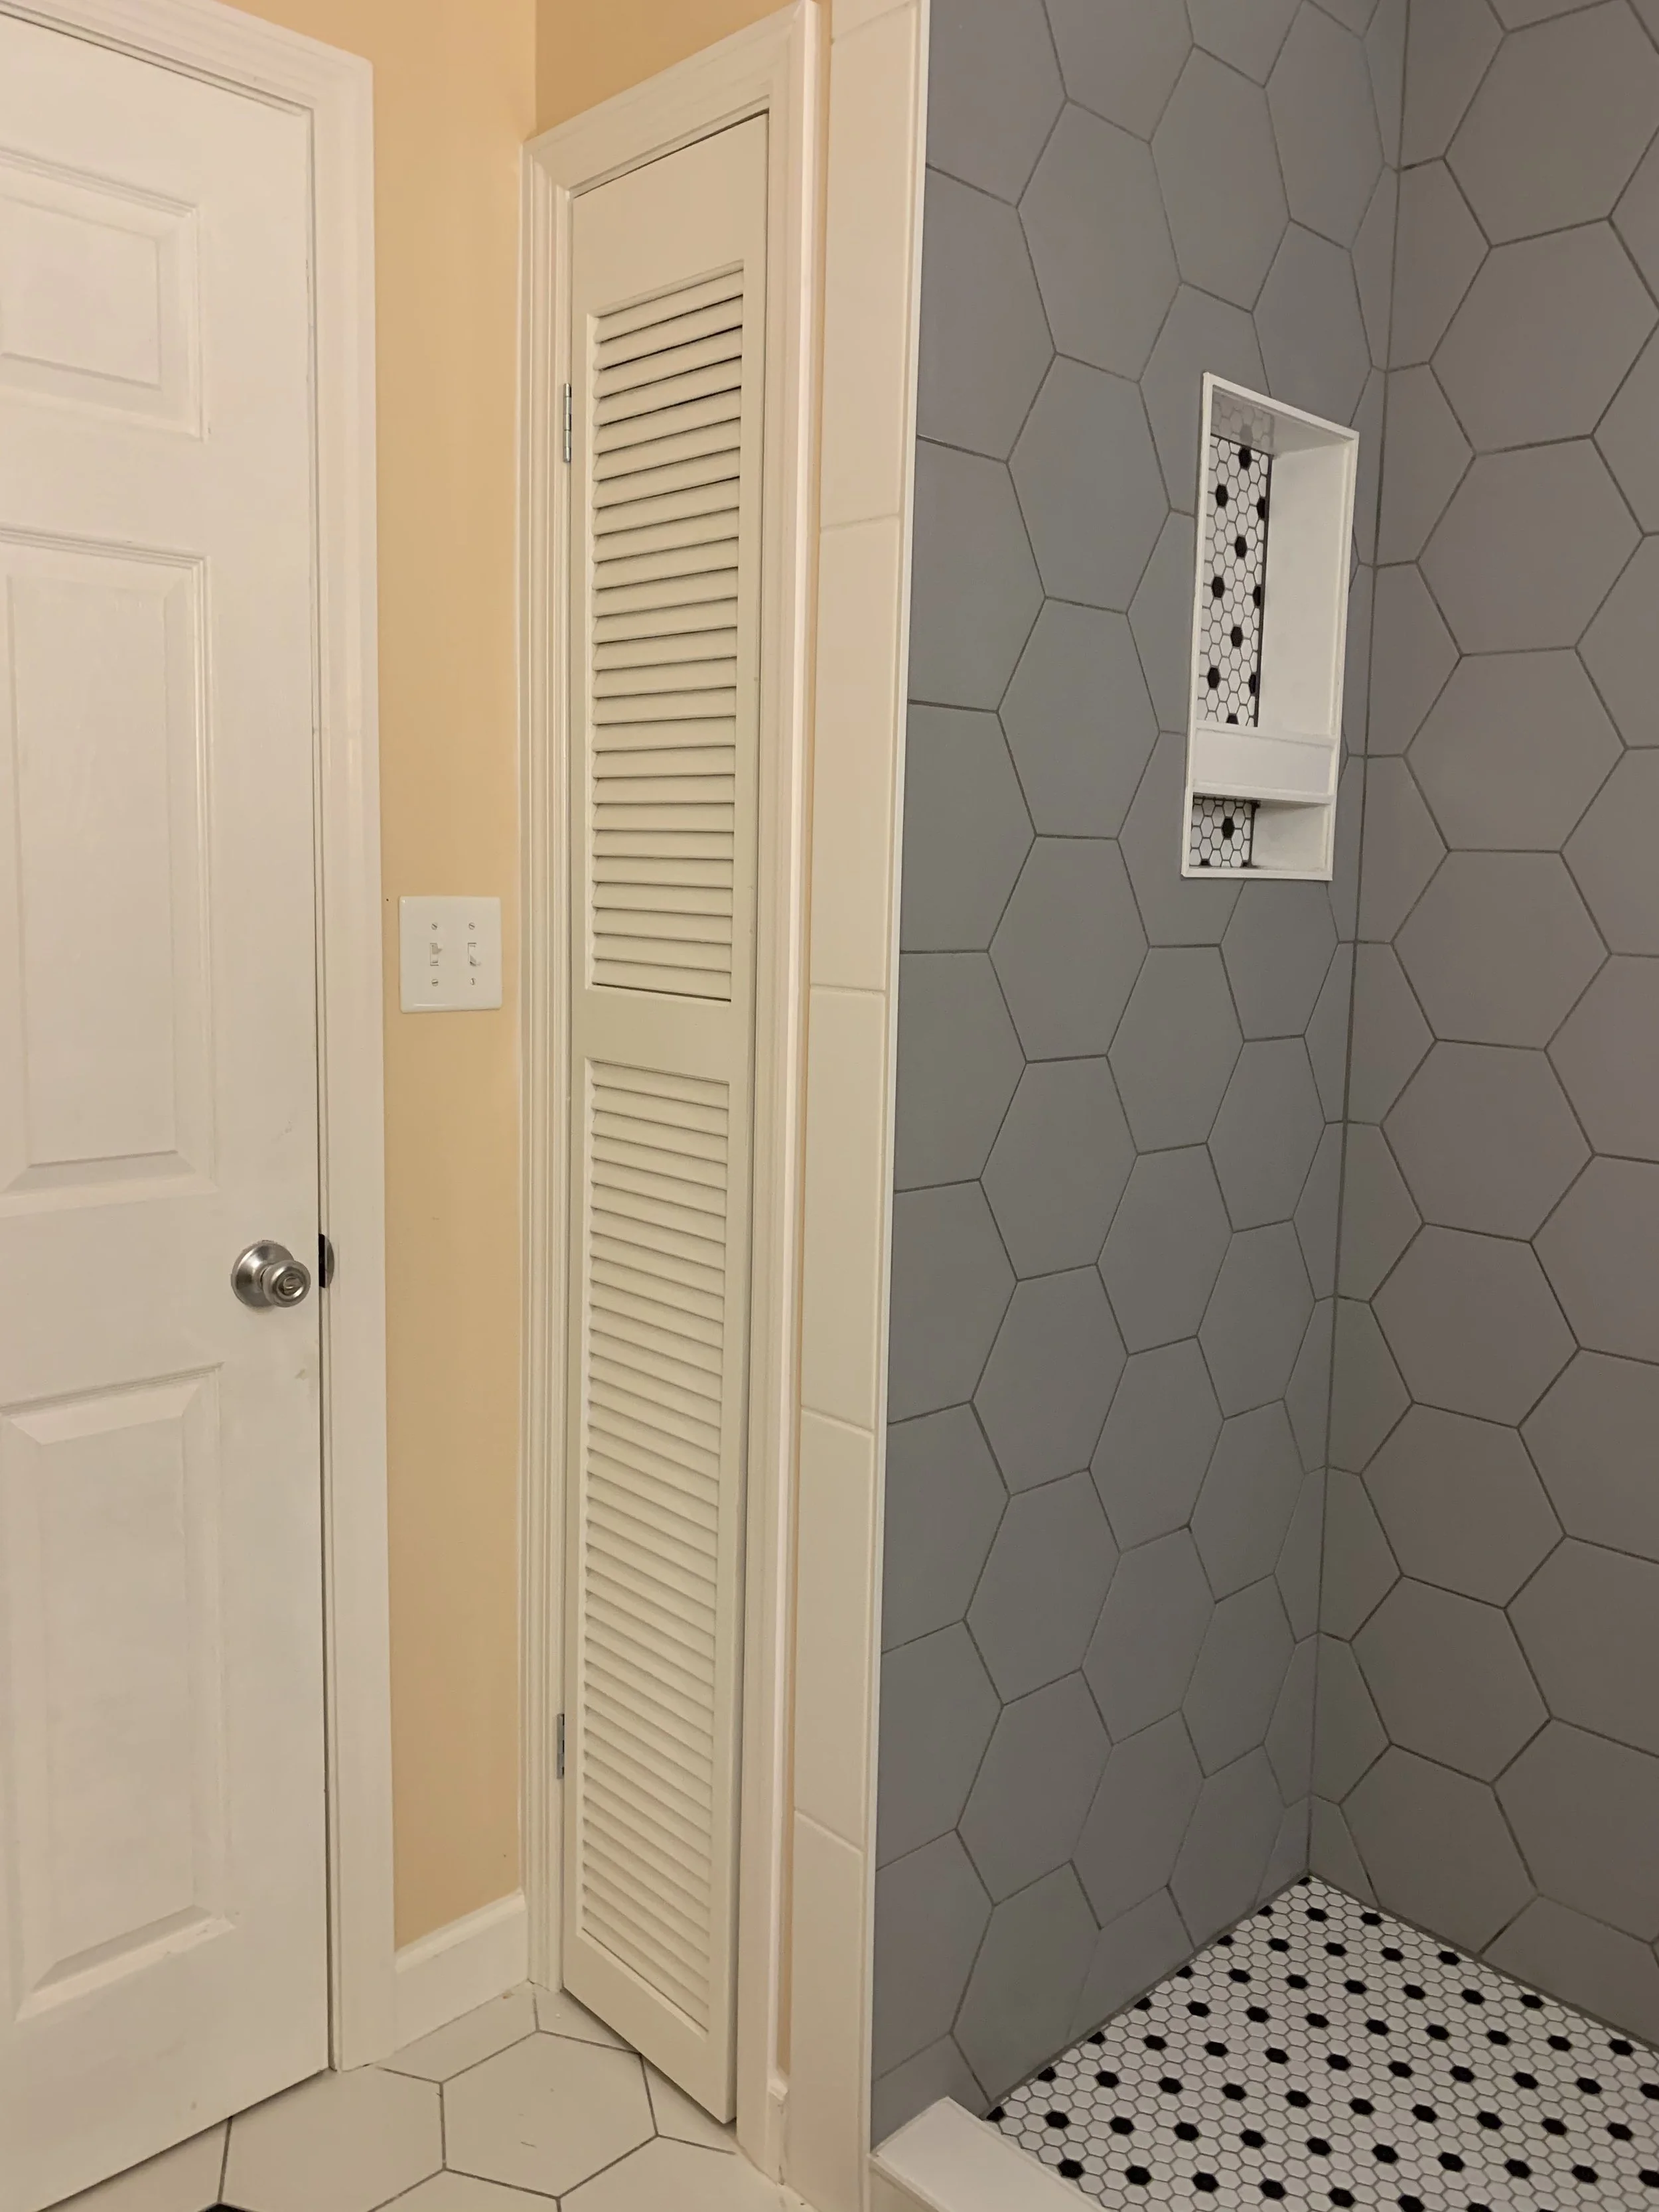
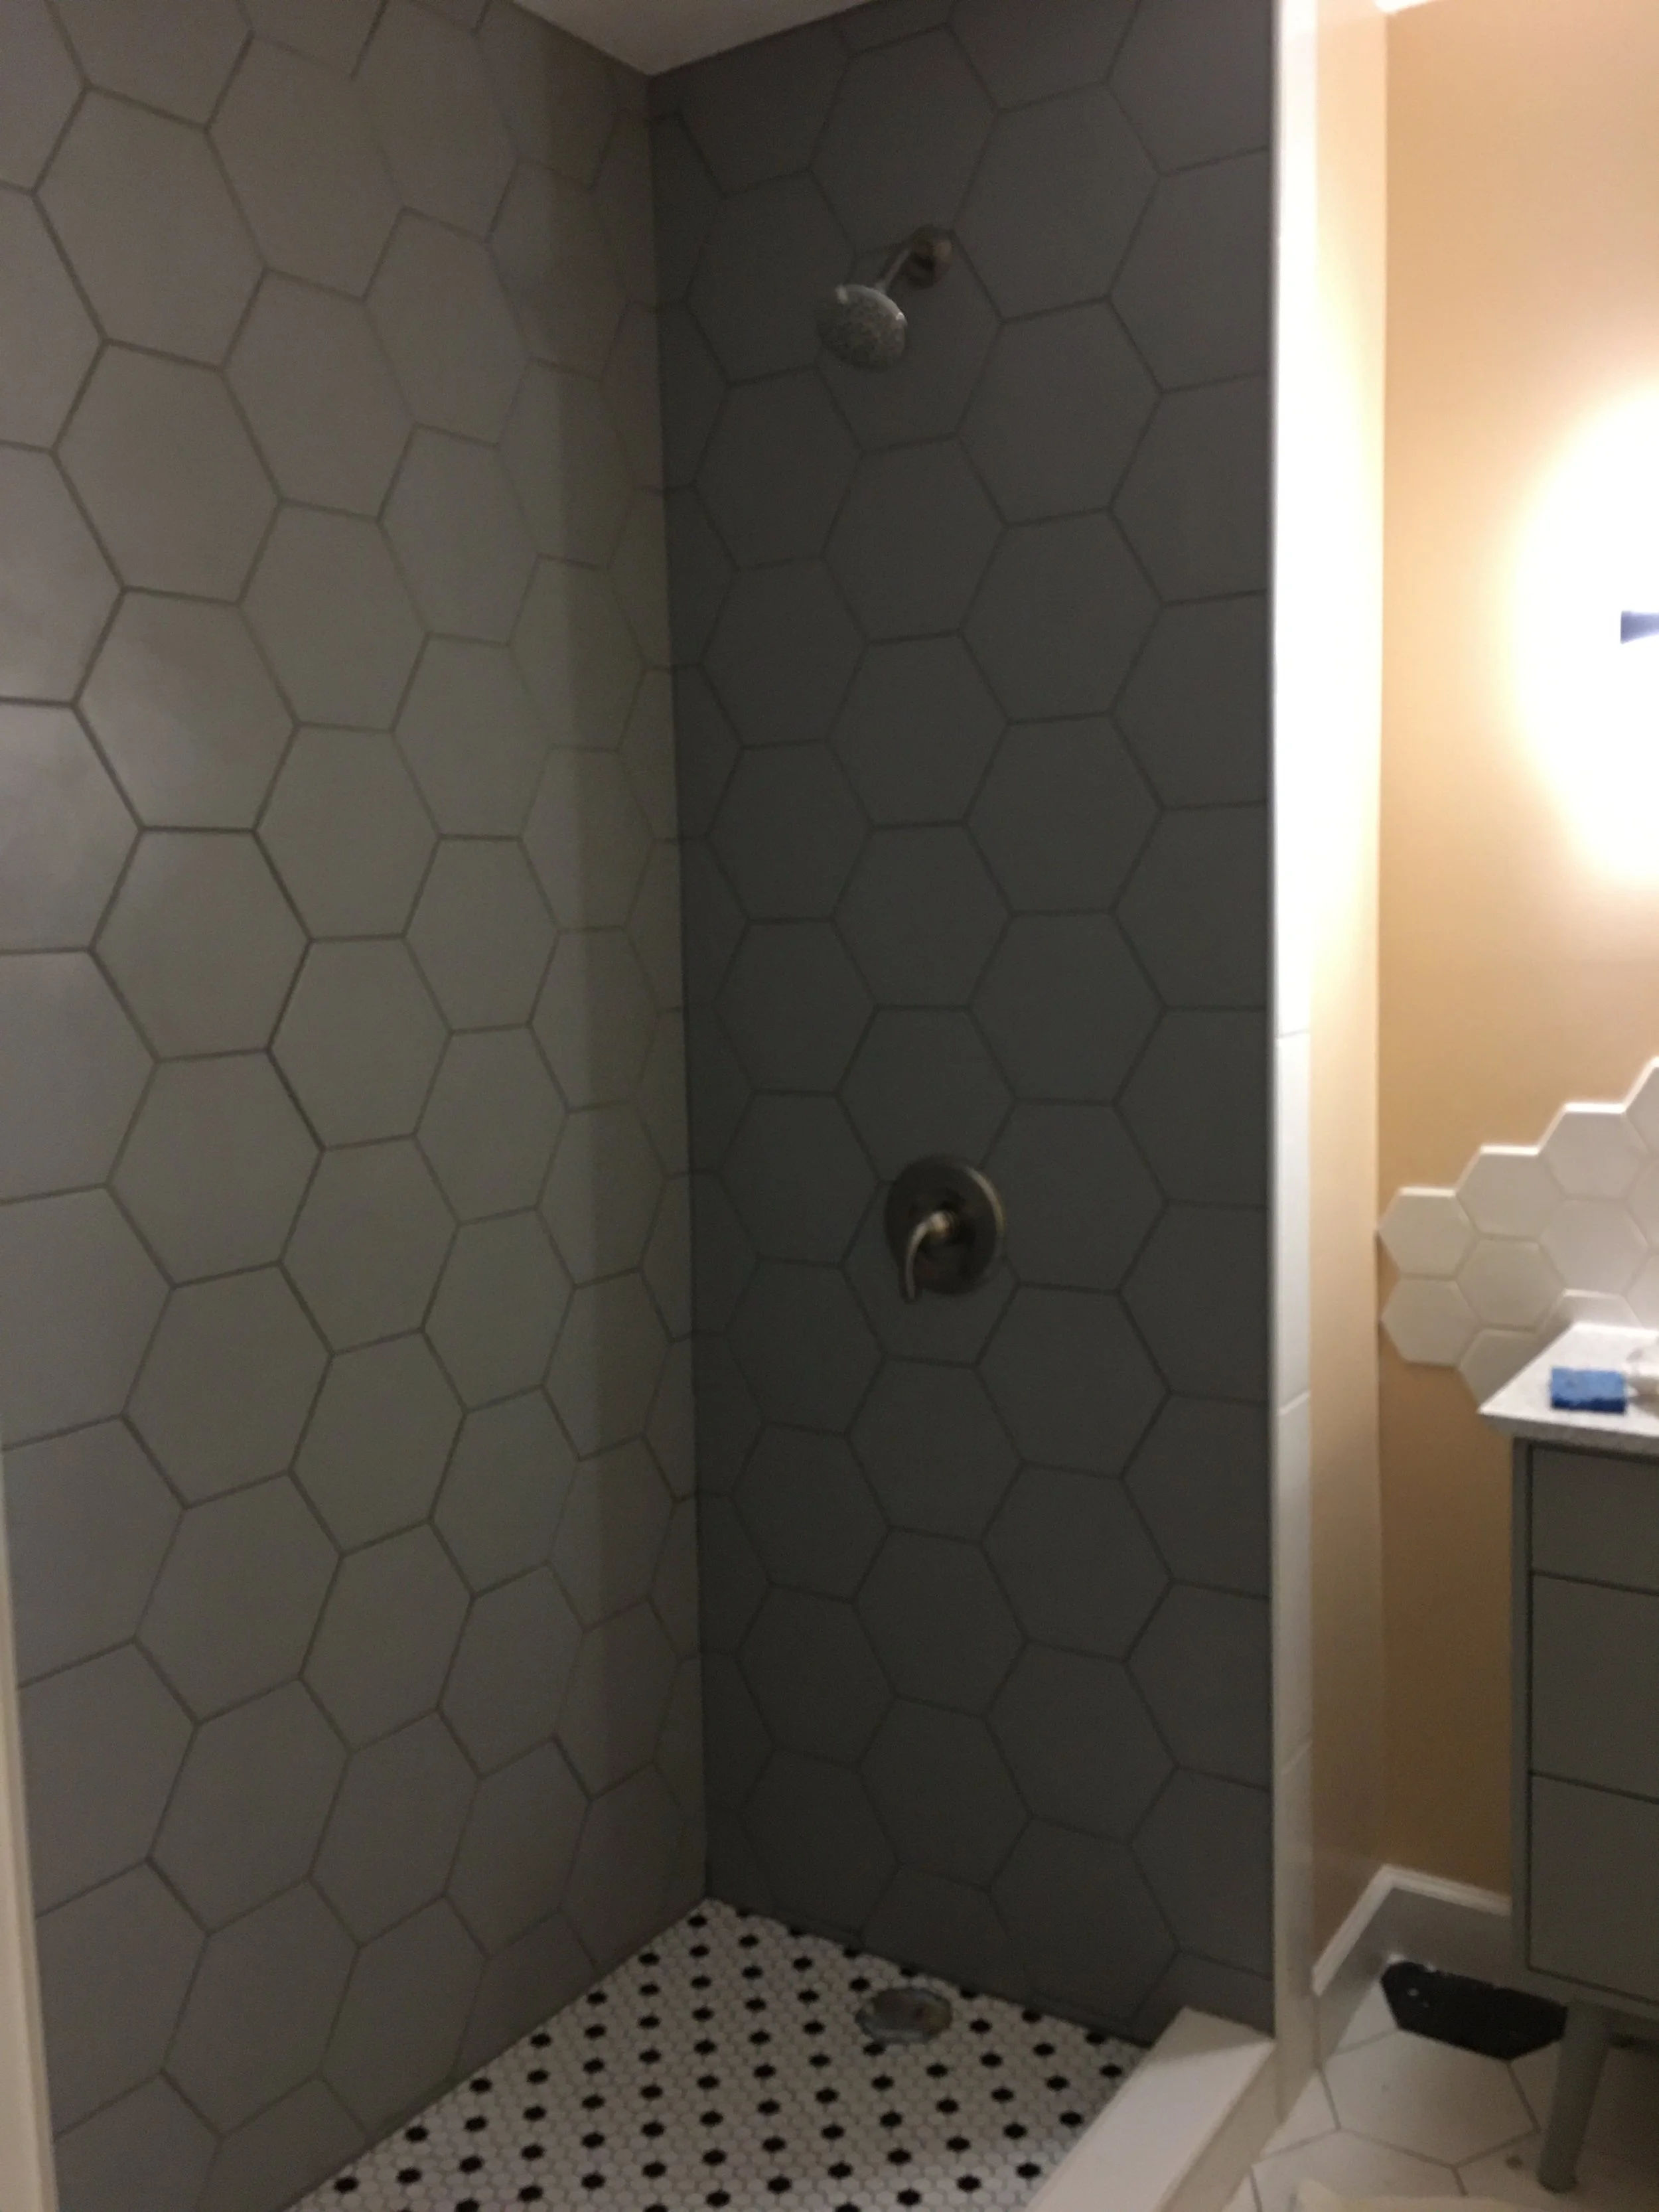
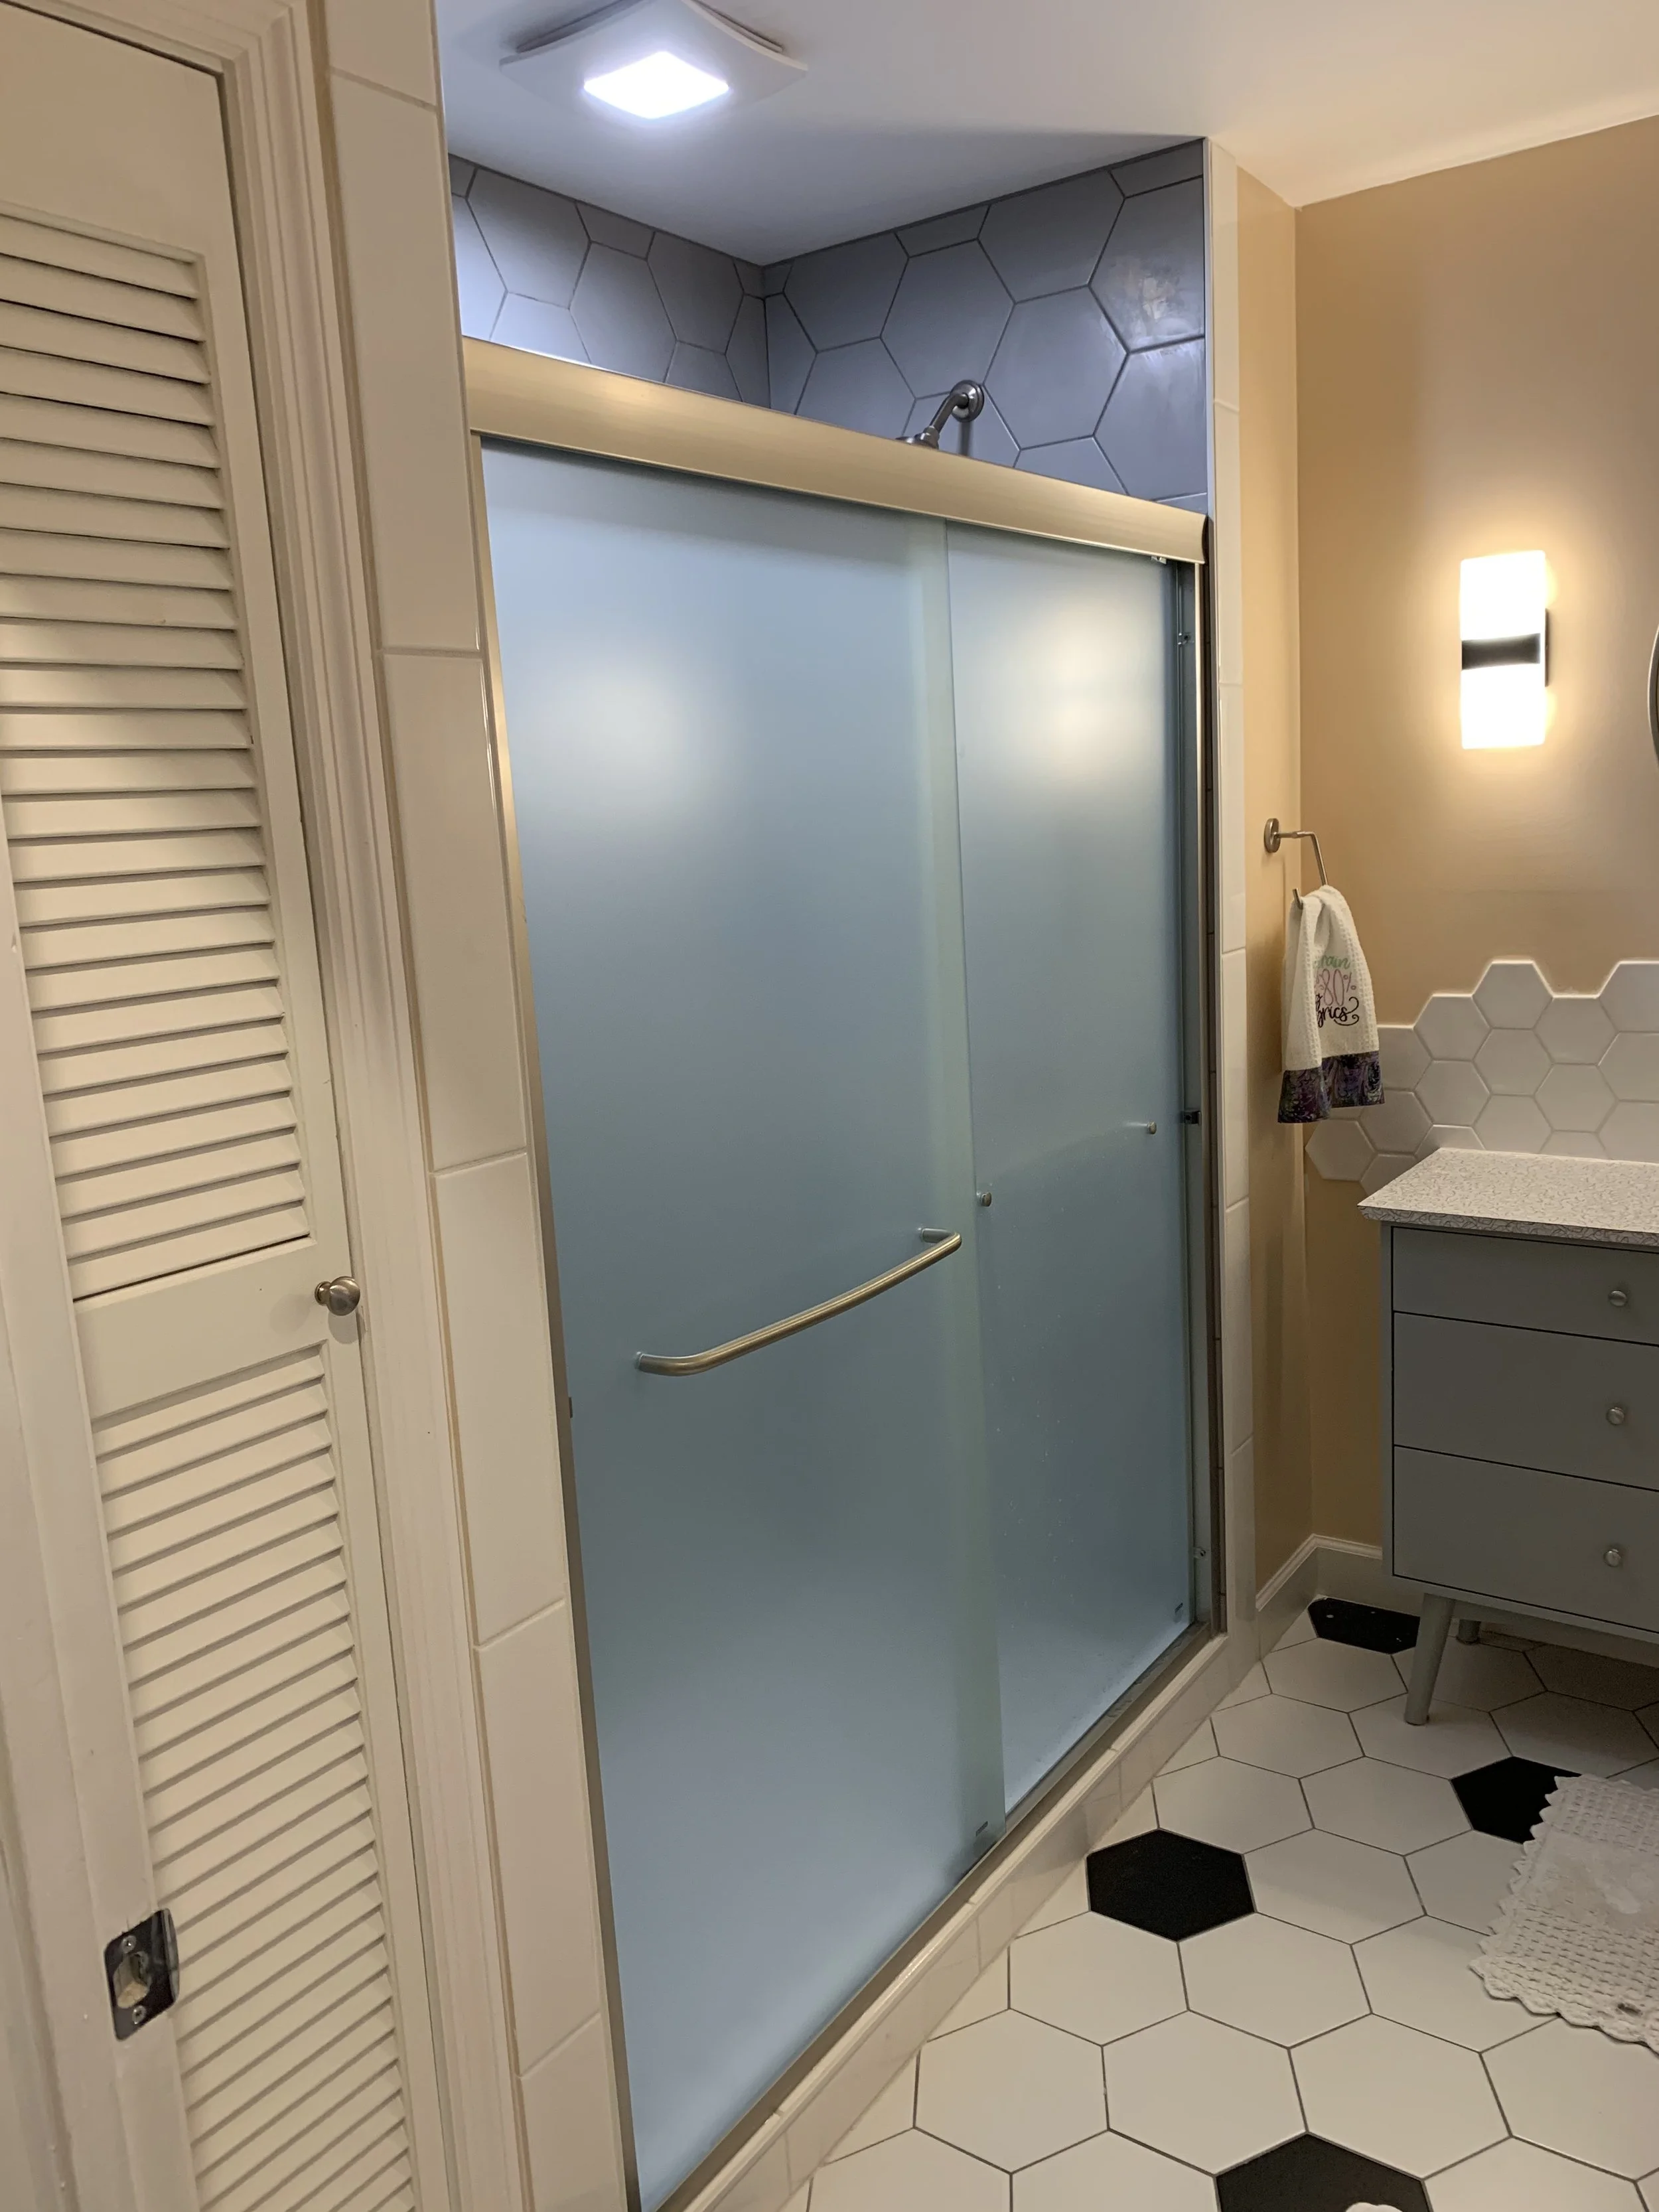
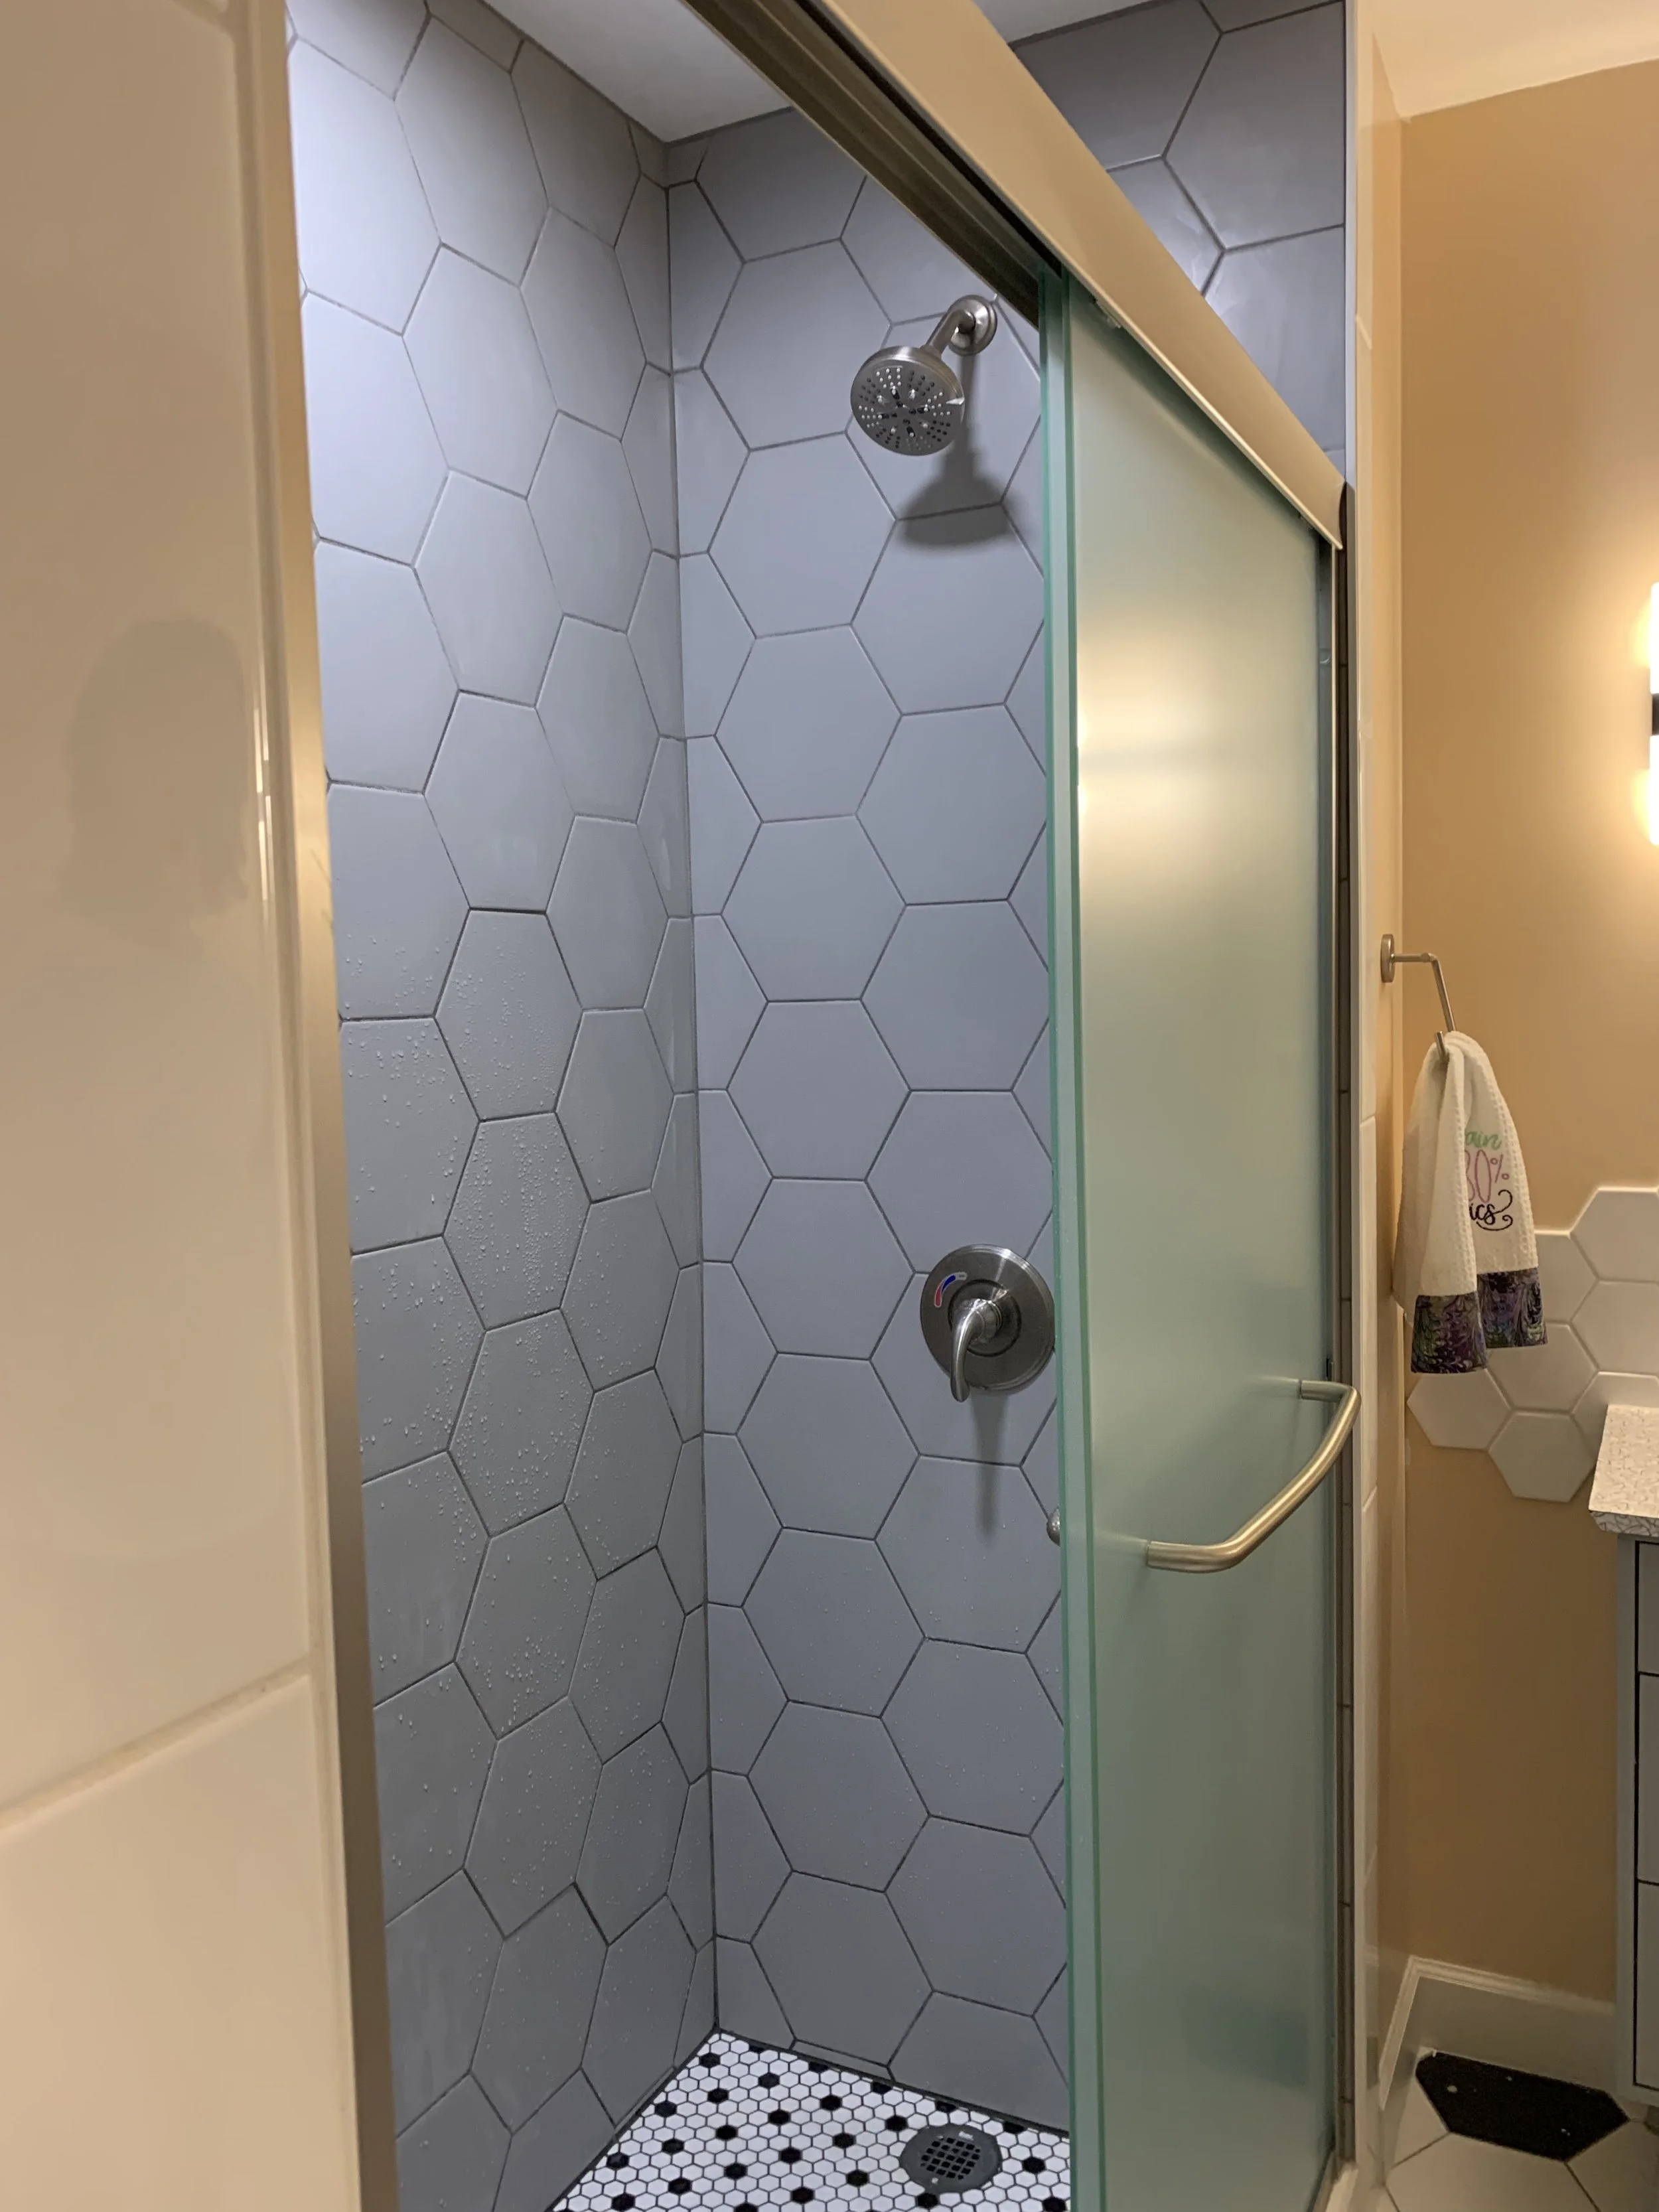
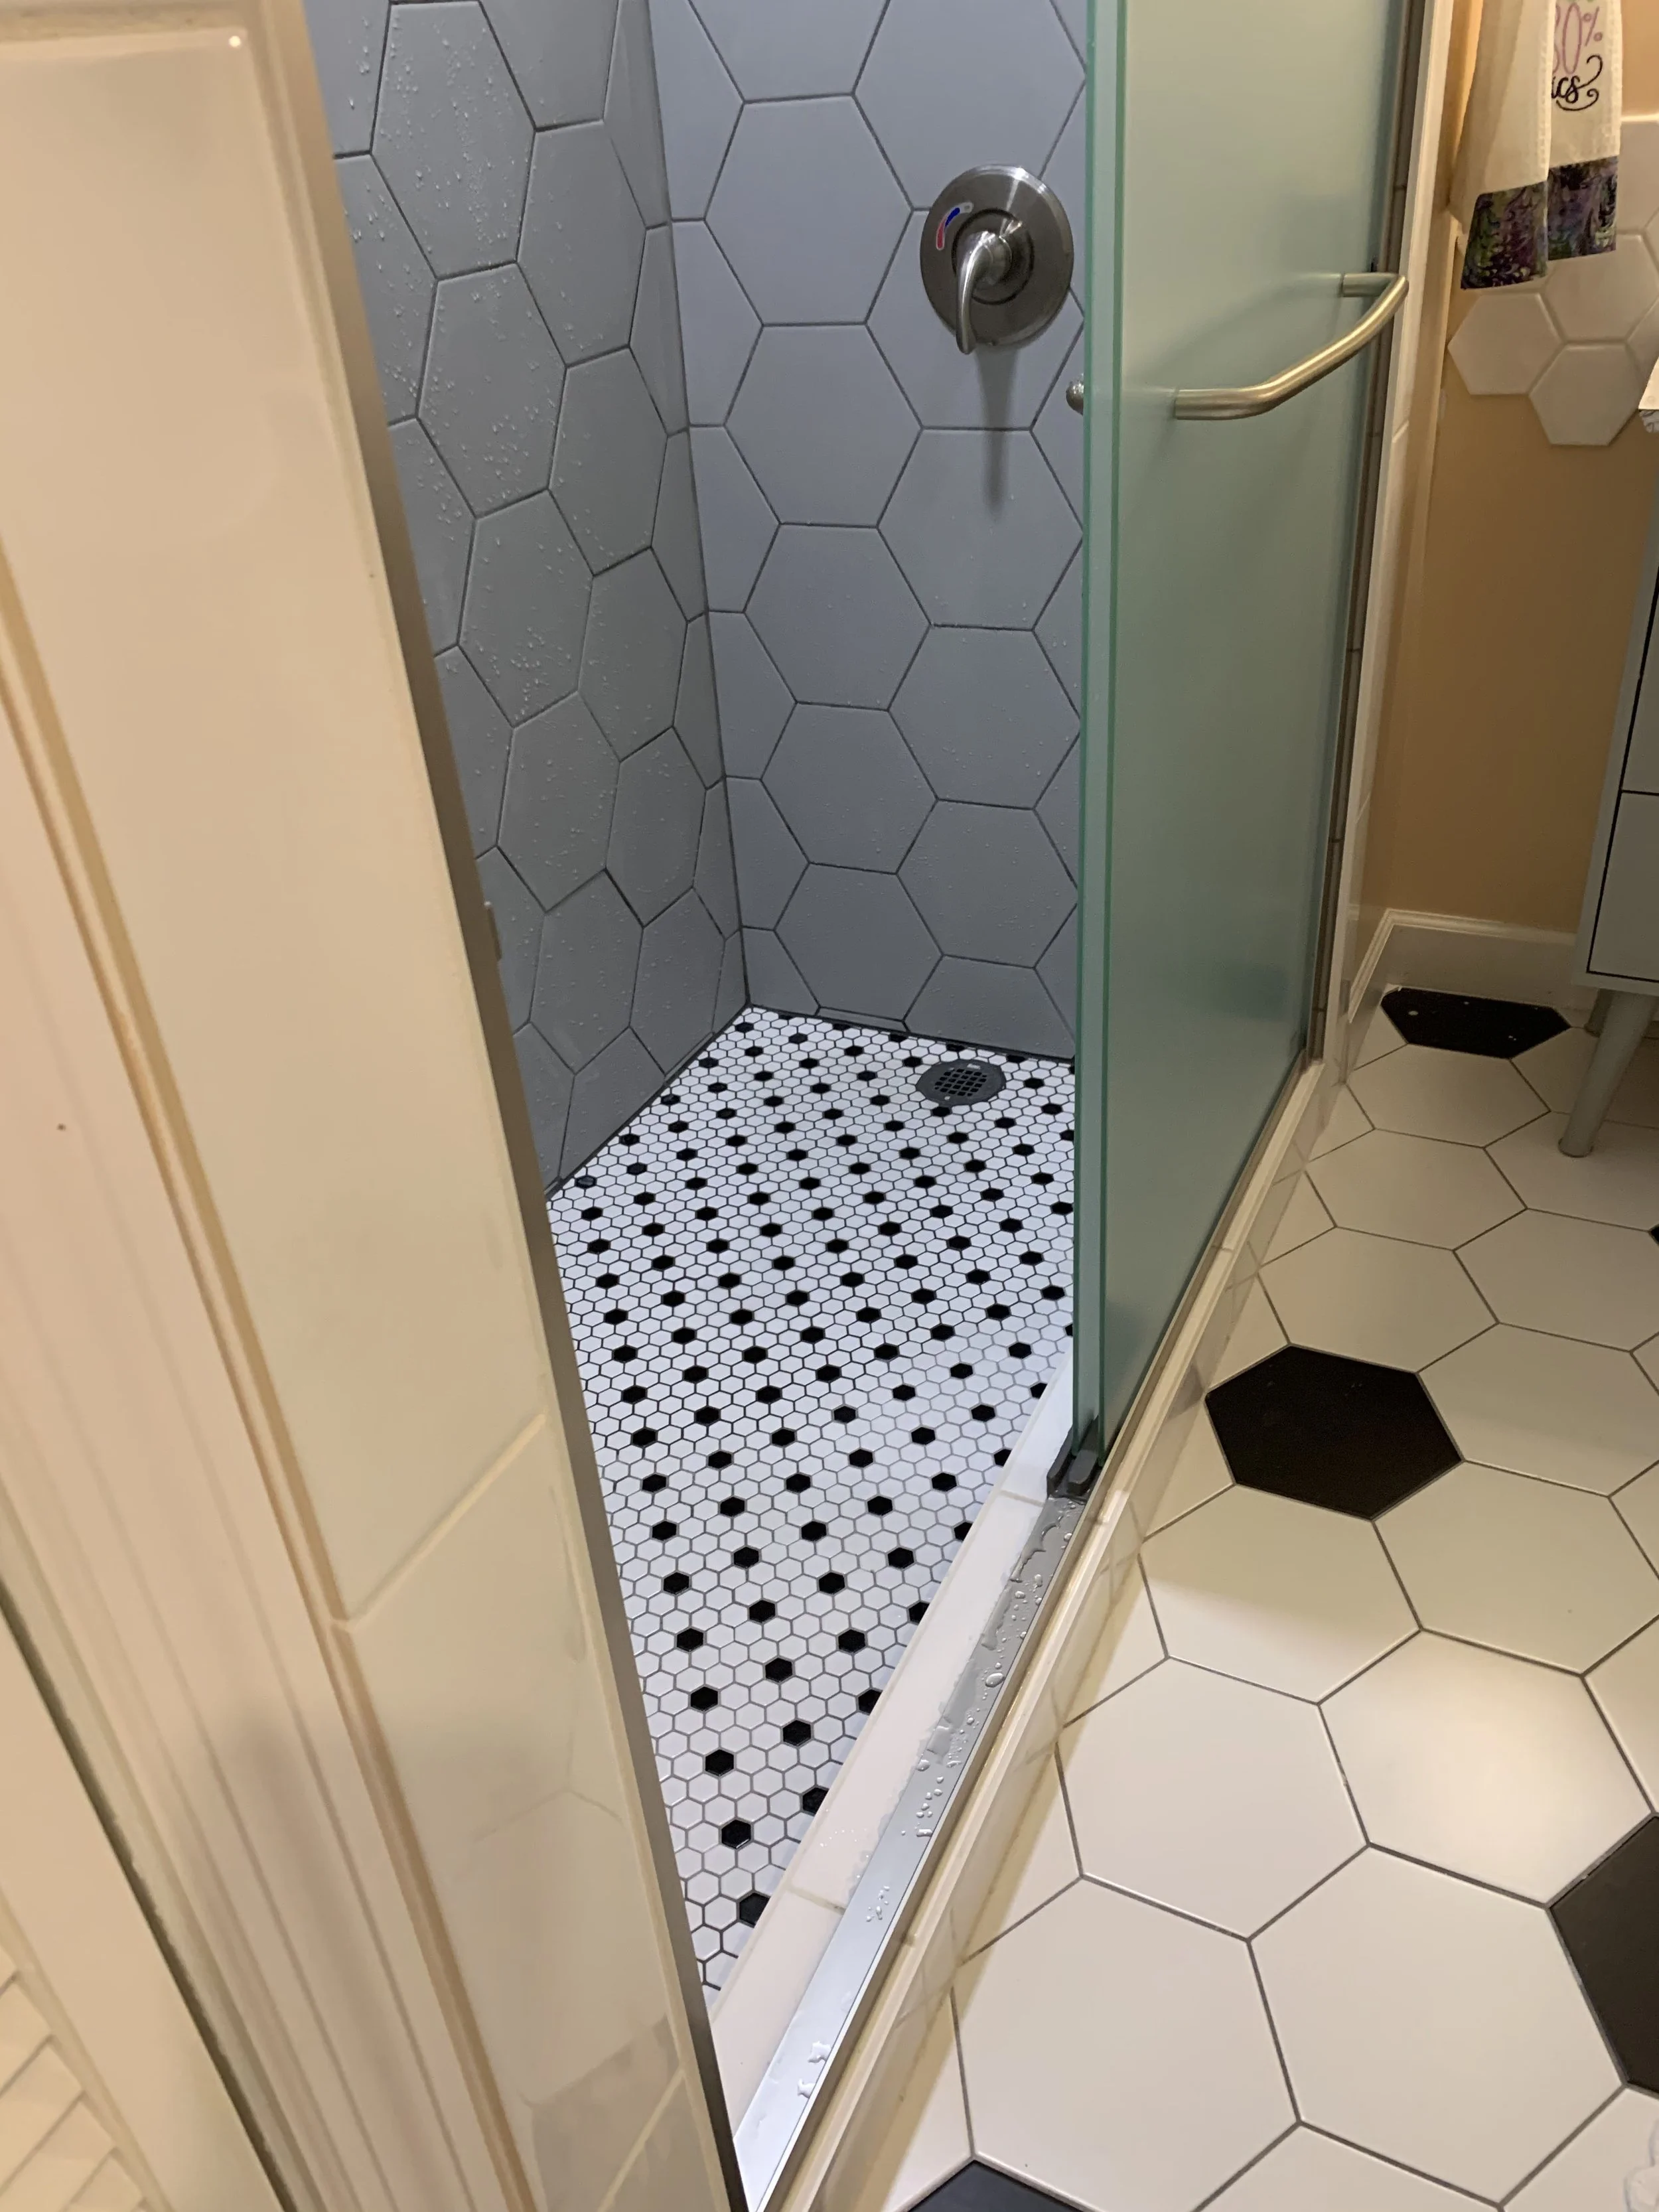
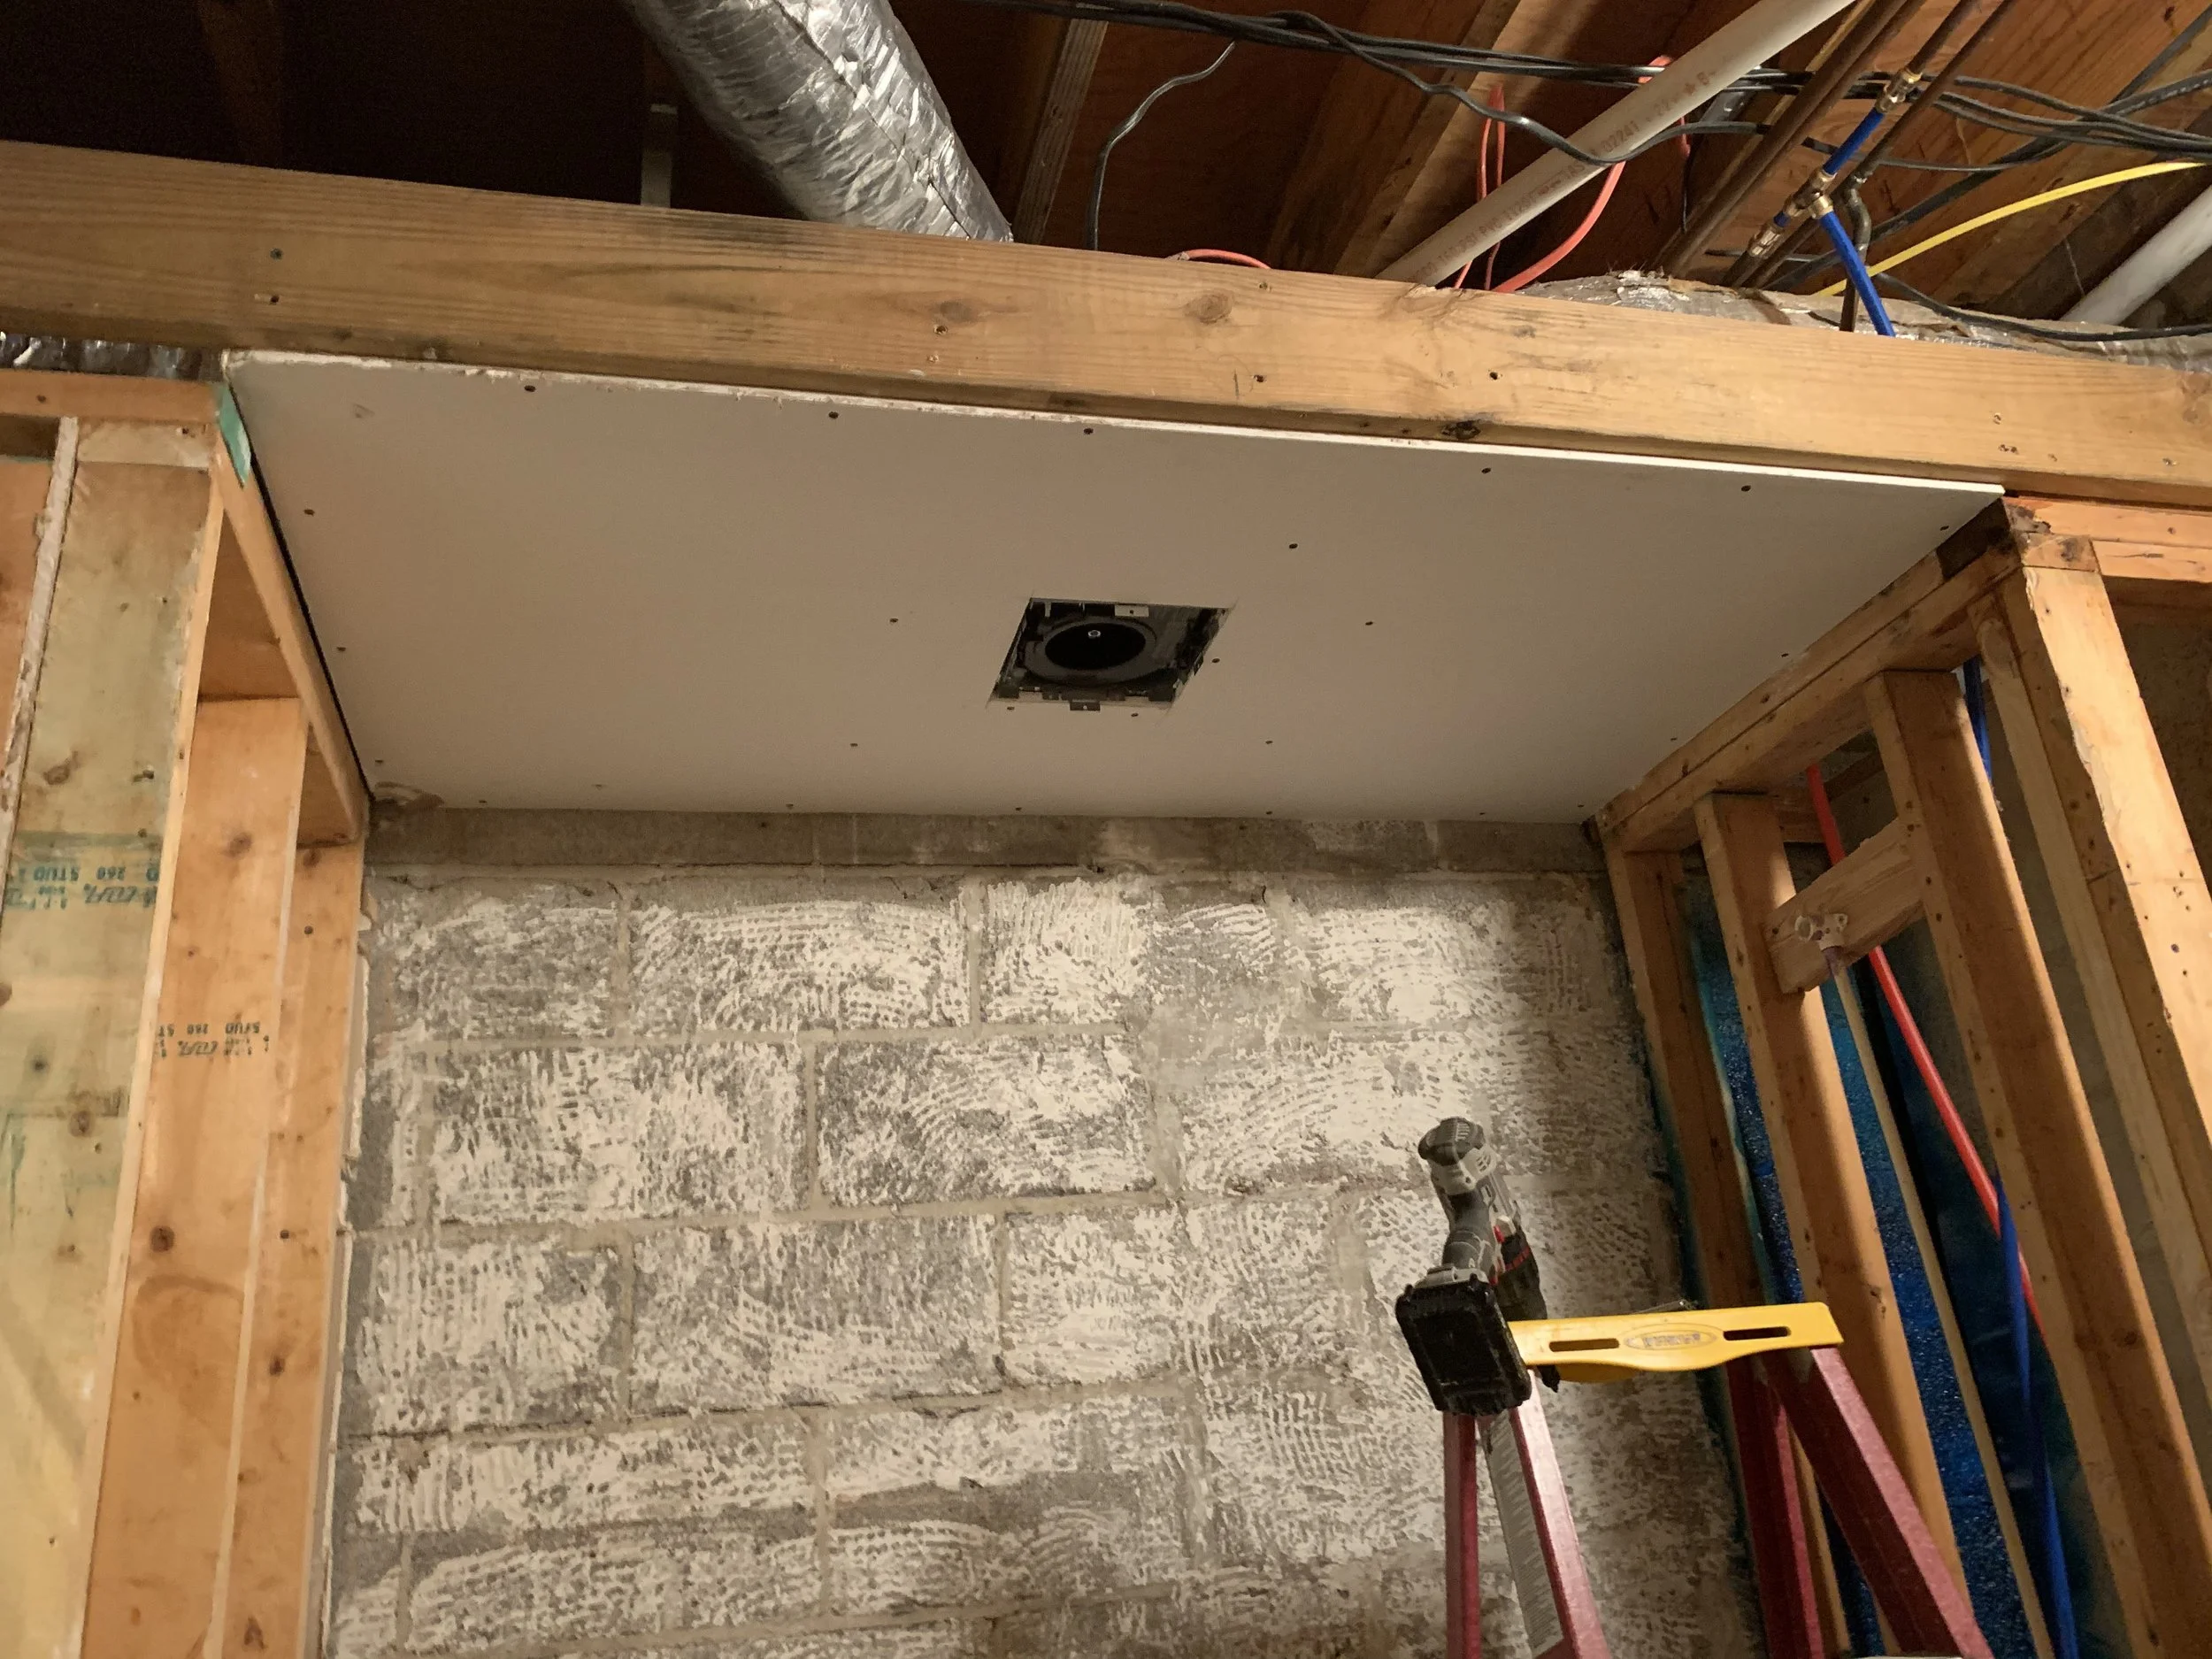
This was a challenge to install. It is very hard to keep lines straight and level. In the end I was glad we did it. As with the rest of the 1st floor, I framed in a new hard ceiling to replace the old acoustic tile. There was plumbing in the way from the main floor above but I was still able to raise the ceiling to 9 feet. I added proper GFI outlets to the vanity counter space as well.
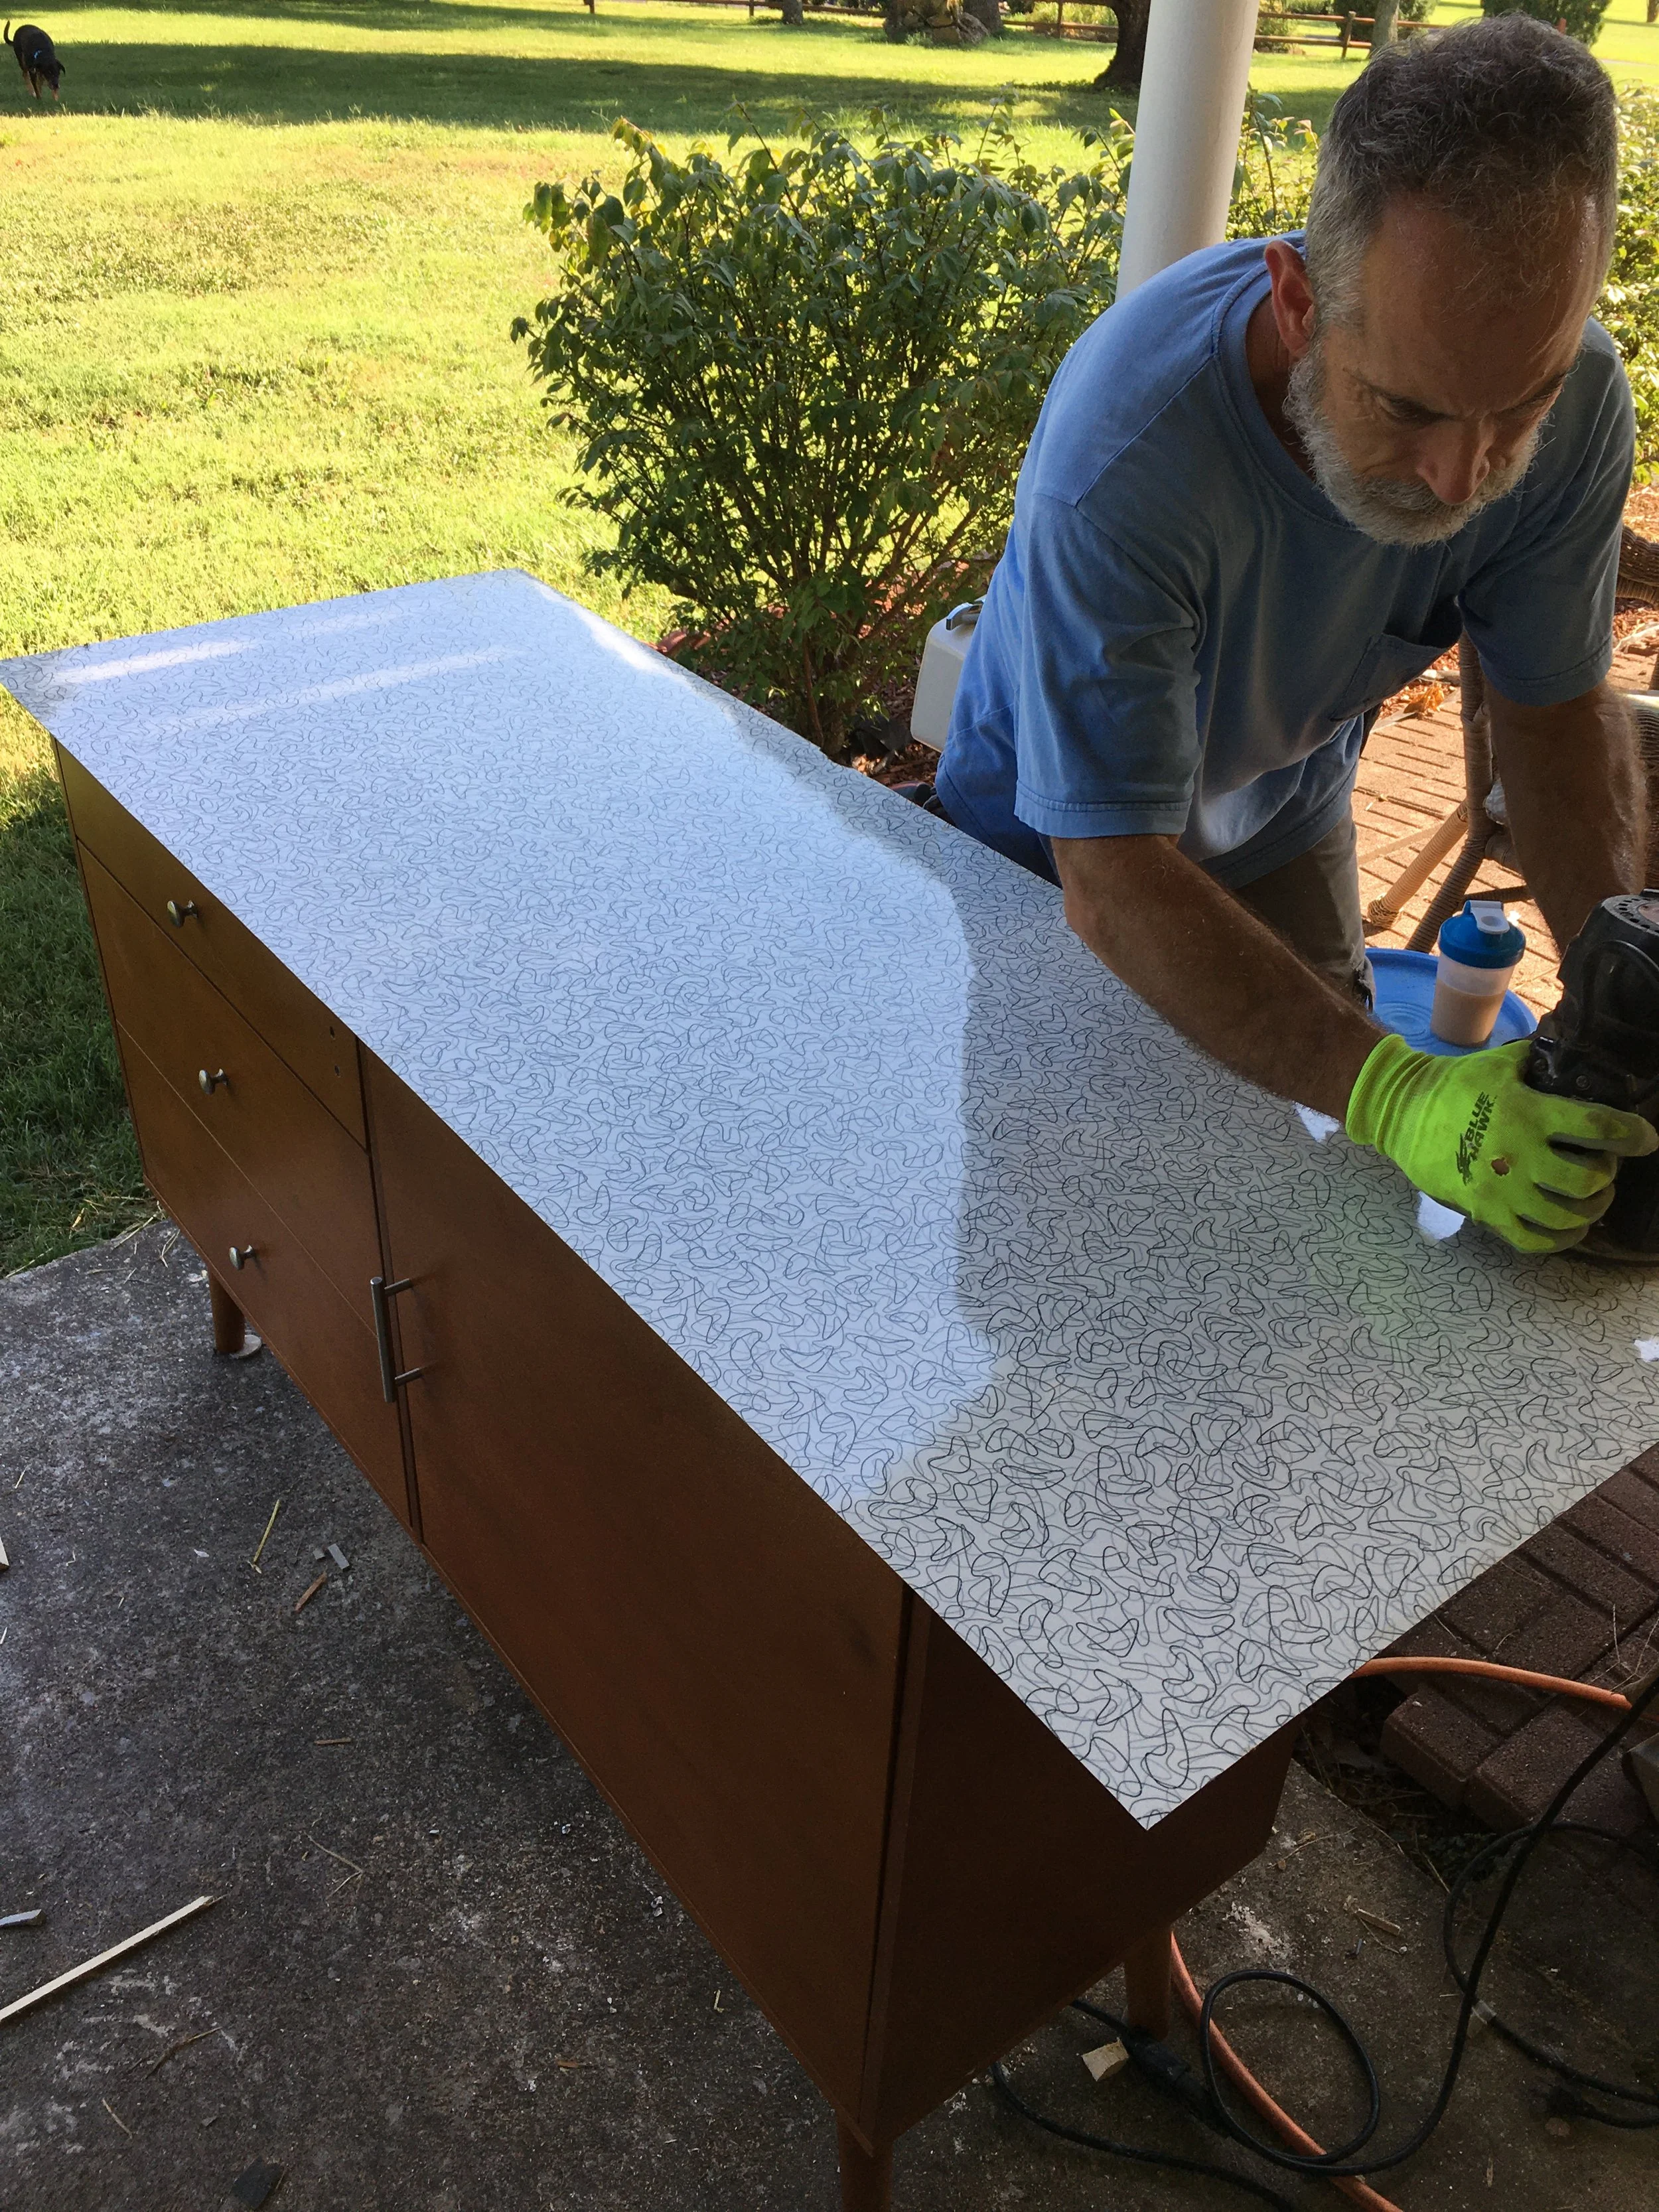
One of the weird design flaws of the bathroom space was the shower space. It didn't leave enough room for a proper vanity without the vanity encroaching into the shower opening. We found a cool mid century credenza on facebook market and decided to convert it to a vanity. The challenge was finding a sink that would fit. The credenza was only 19" deep which worked well in the space but meant making many modifications to fit modern plumbing. Fortunately with modern online shopping you can specify very specific dimensions in searches and I was able to purchase the perfect sized sink. It works great!
Before
After
Before
After